Meeting Organizer Hand Book
Credentials & Login
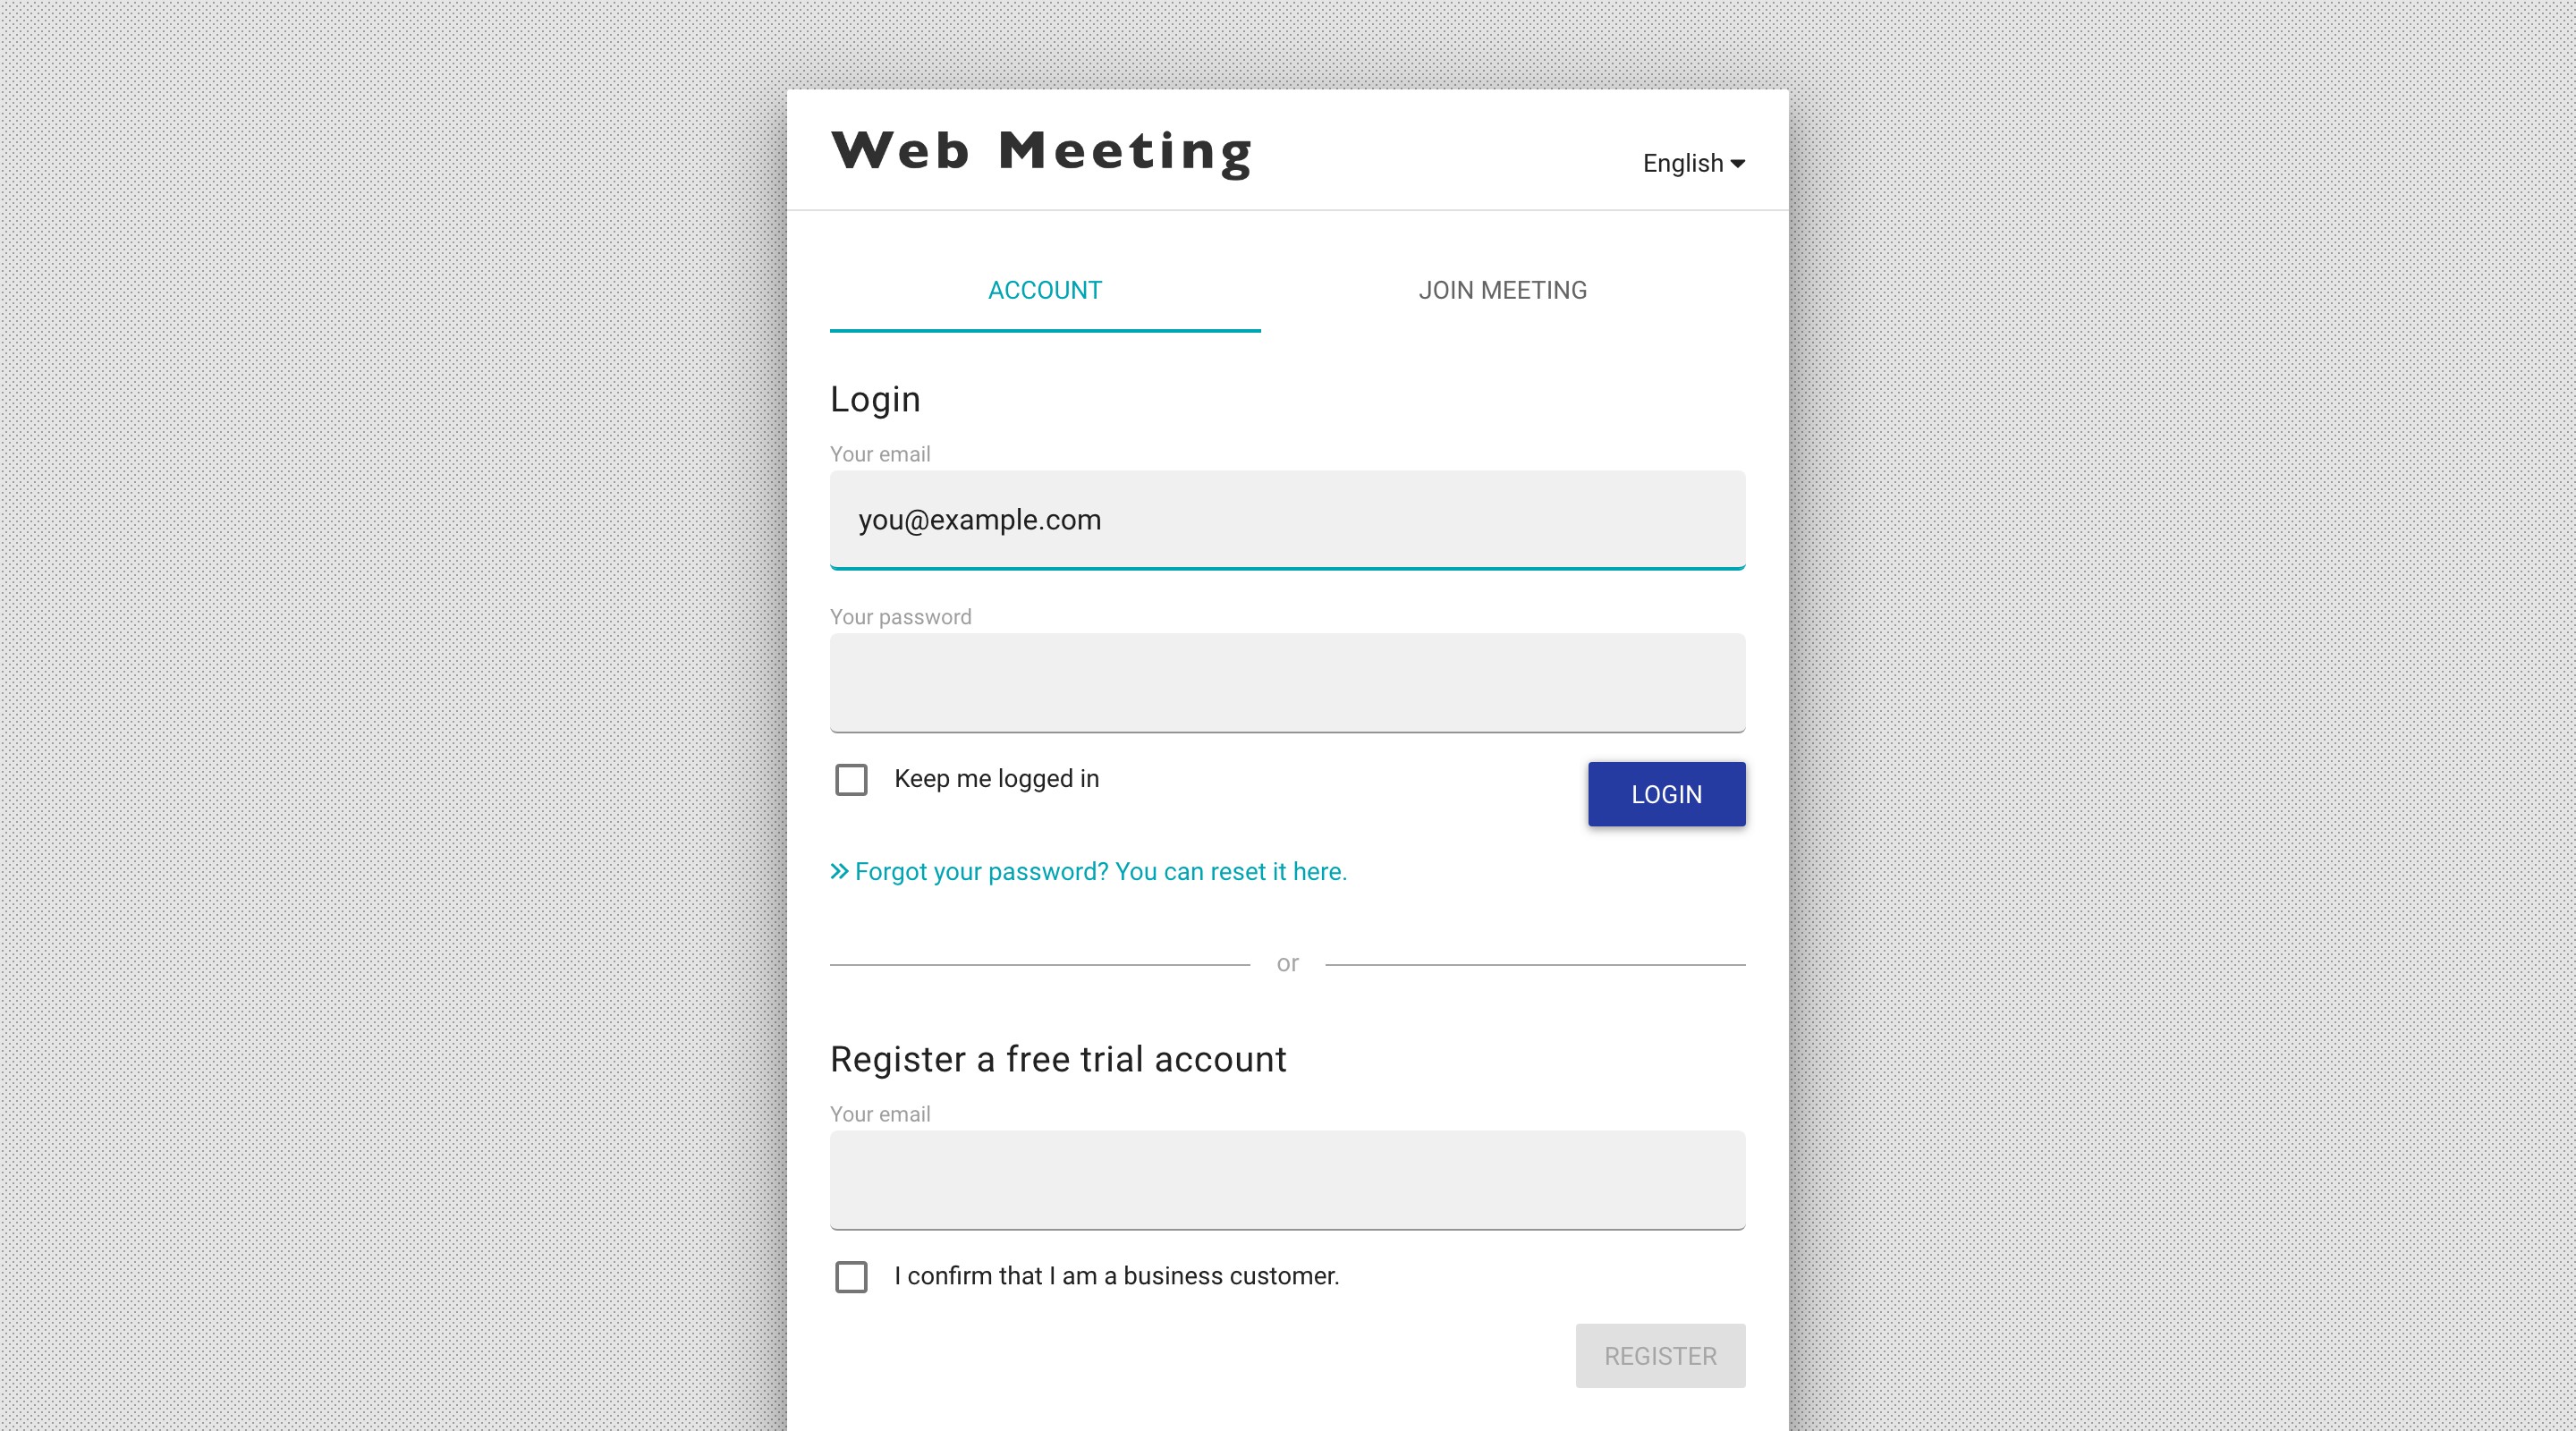
Please use the credentials you have received via e-mail to log on to the Meeting portal. Click on the “Log in now” button in your e-mail. You will be redirected to the login page.
Enter your e-mail and password (from the e-mail received) in the login window.
You will then be redirected to the Meeting portal where you can start planning and managing your meetings. You can afterwards also reset and adapt your password by clicking on “>> Forgot your password? You can reset it here.”
By clicking on the “join meeting” tab a new window will appear, where you can copy a meeting id or a meeting link that you have received to directly join that specific meeting.
The ‘register a free trial account’ option is only for customers who don’t have a Meeting account yet.
Portal & Interface
Via this portal & interface you can now configure and manage your meetings and adapt your account settings.
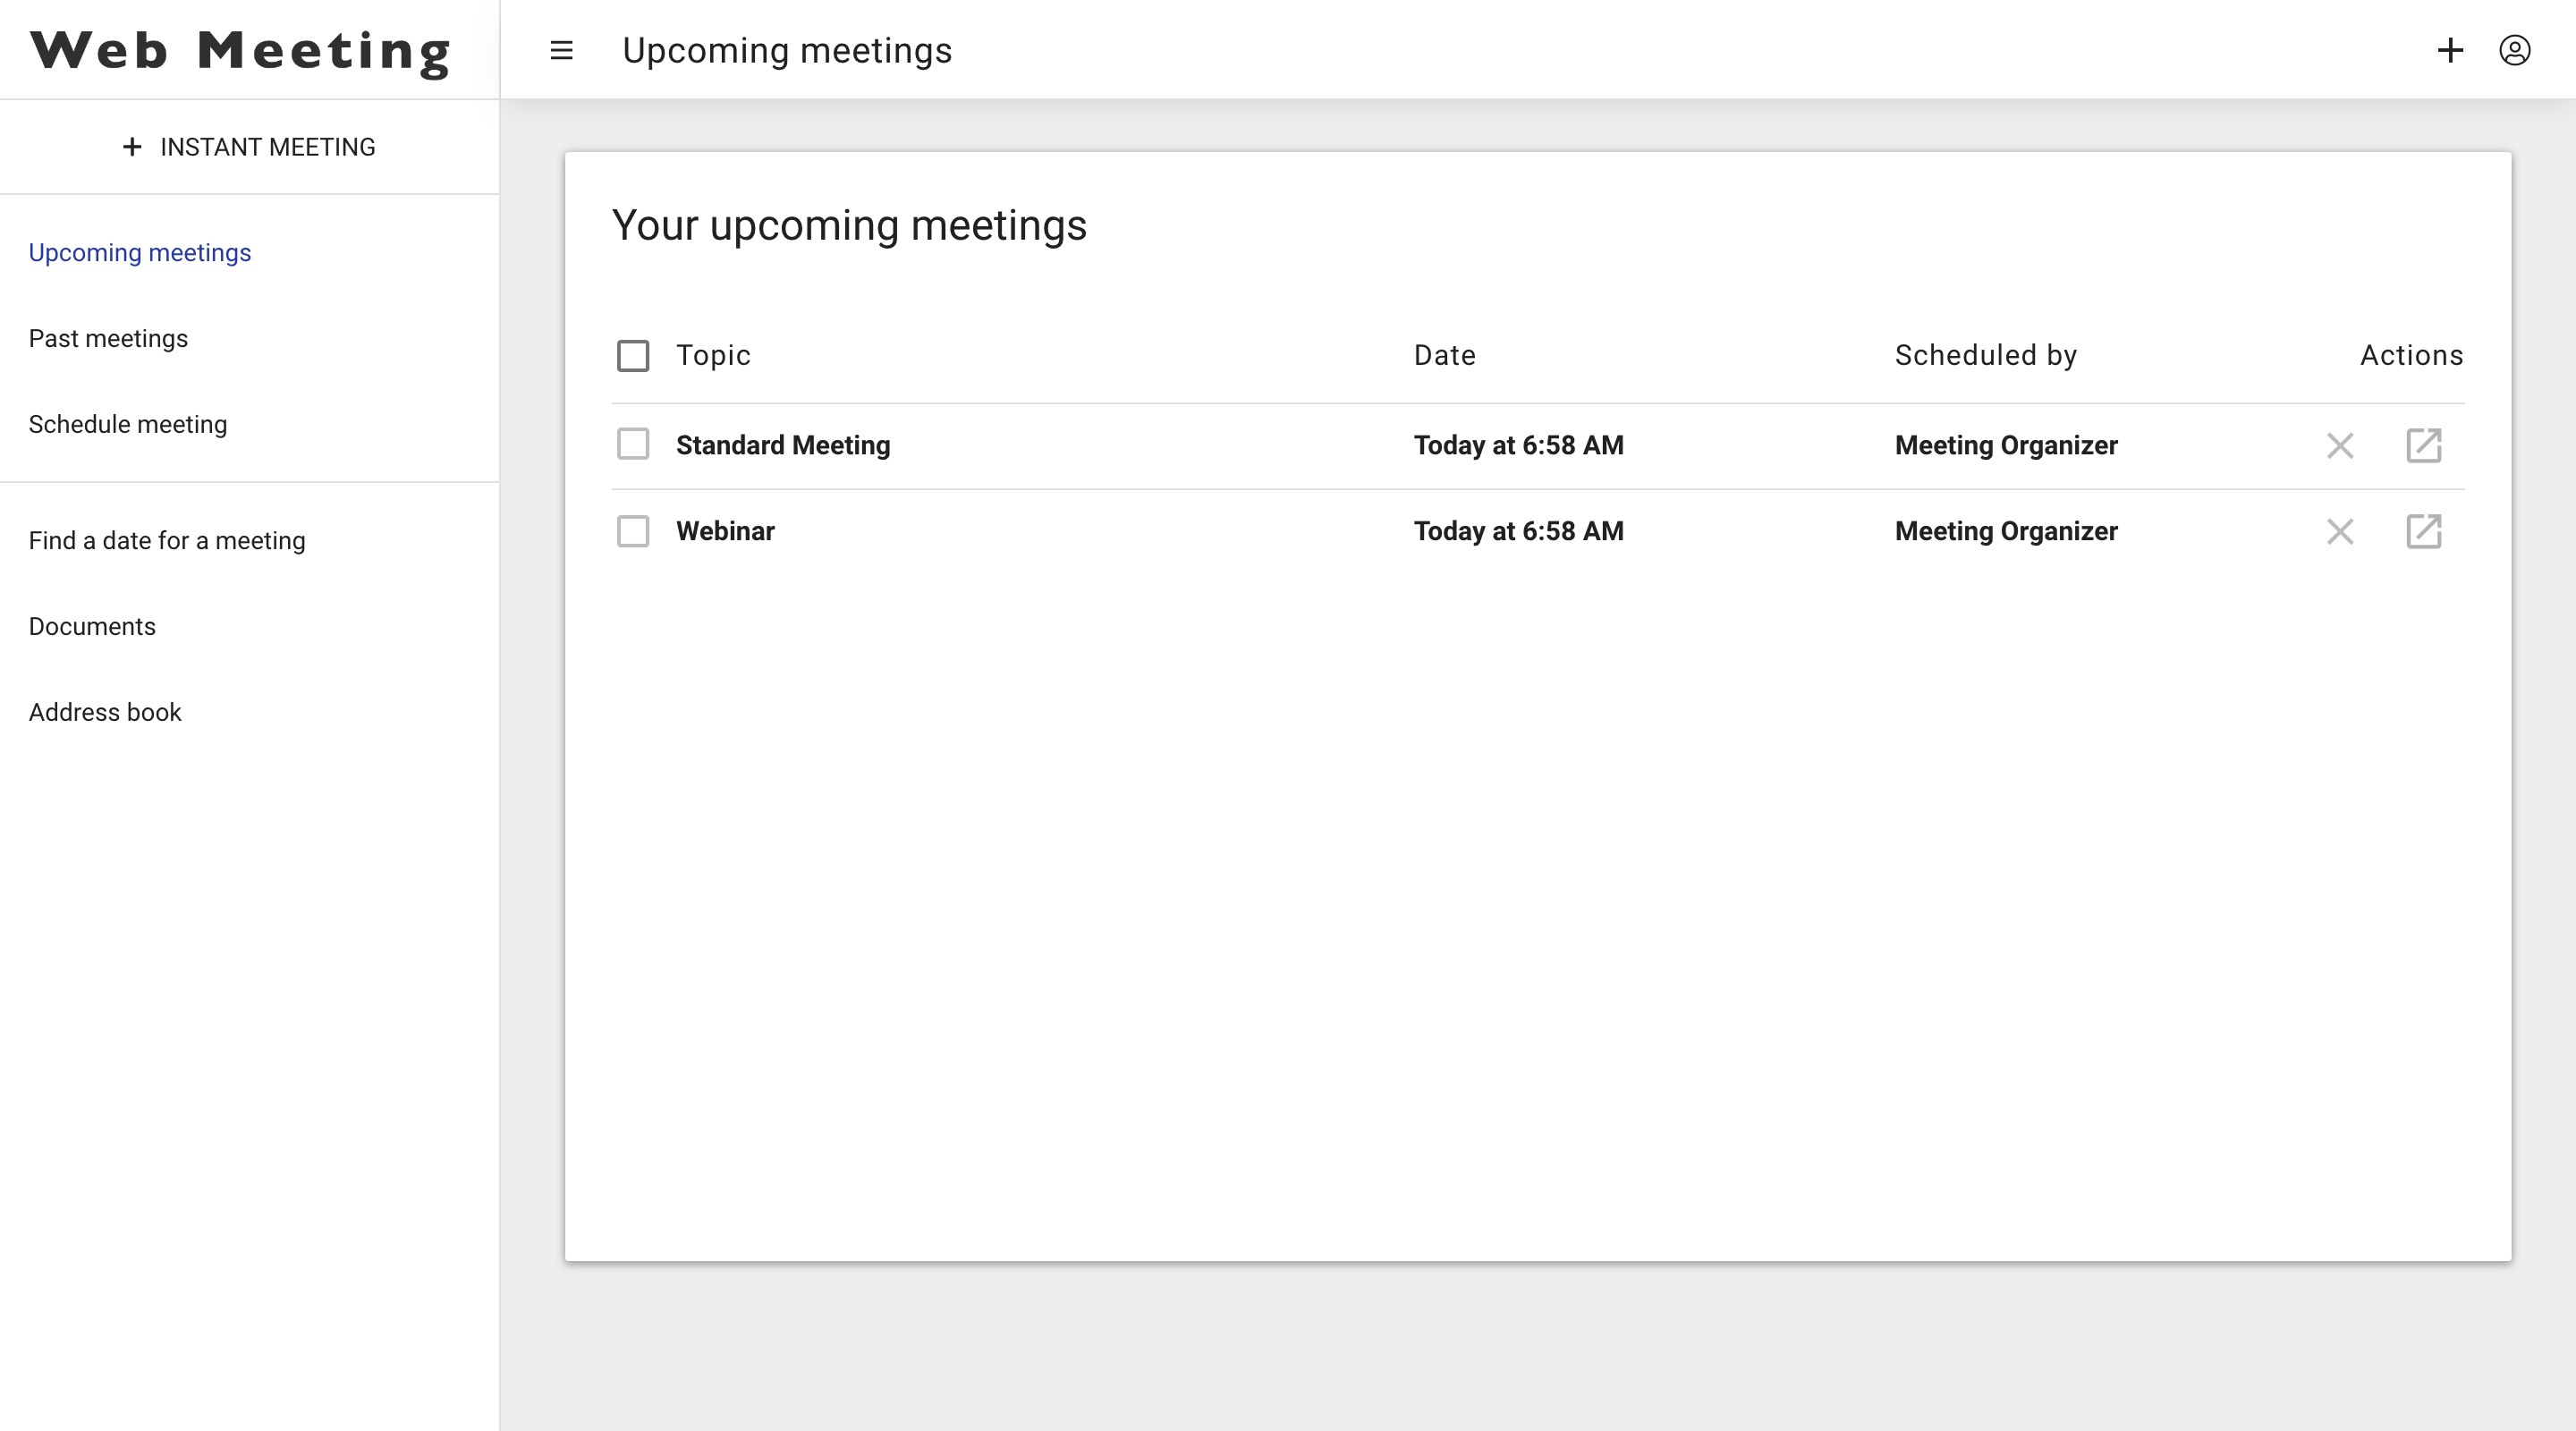
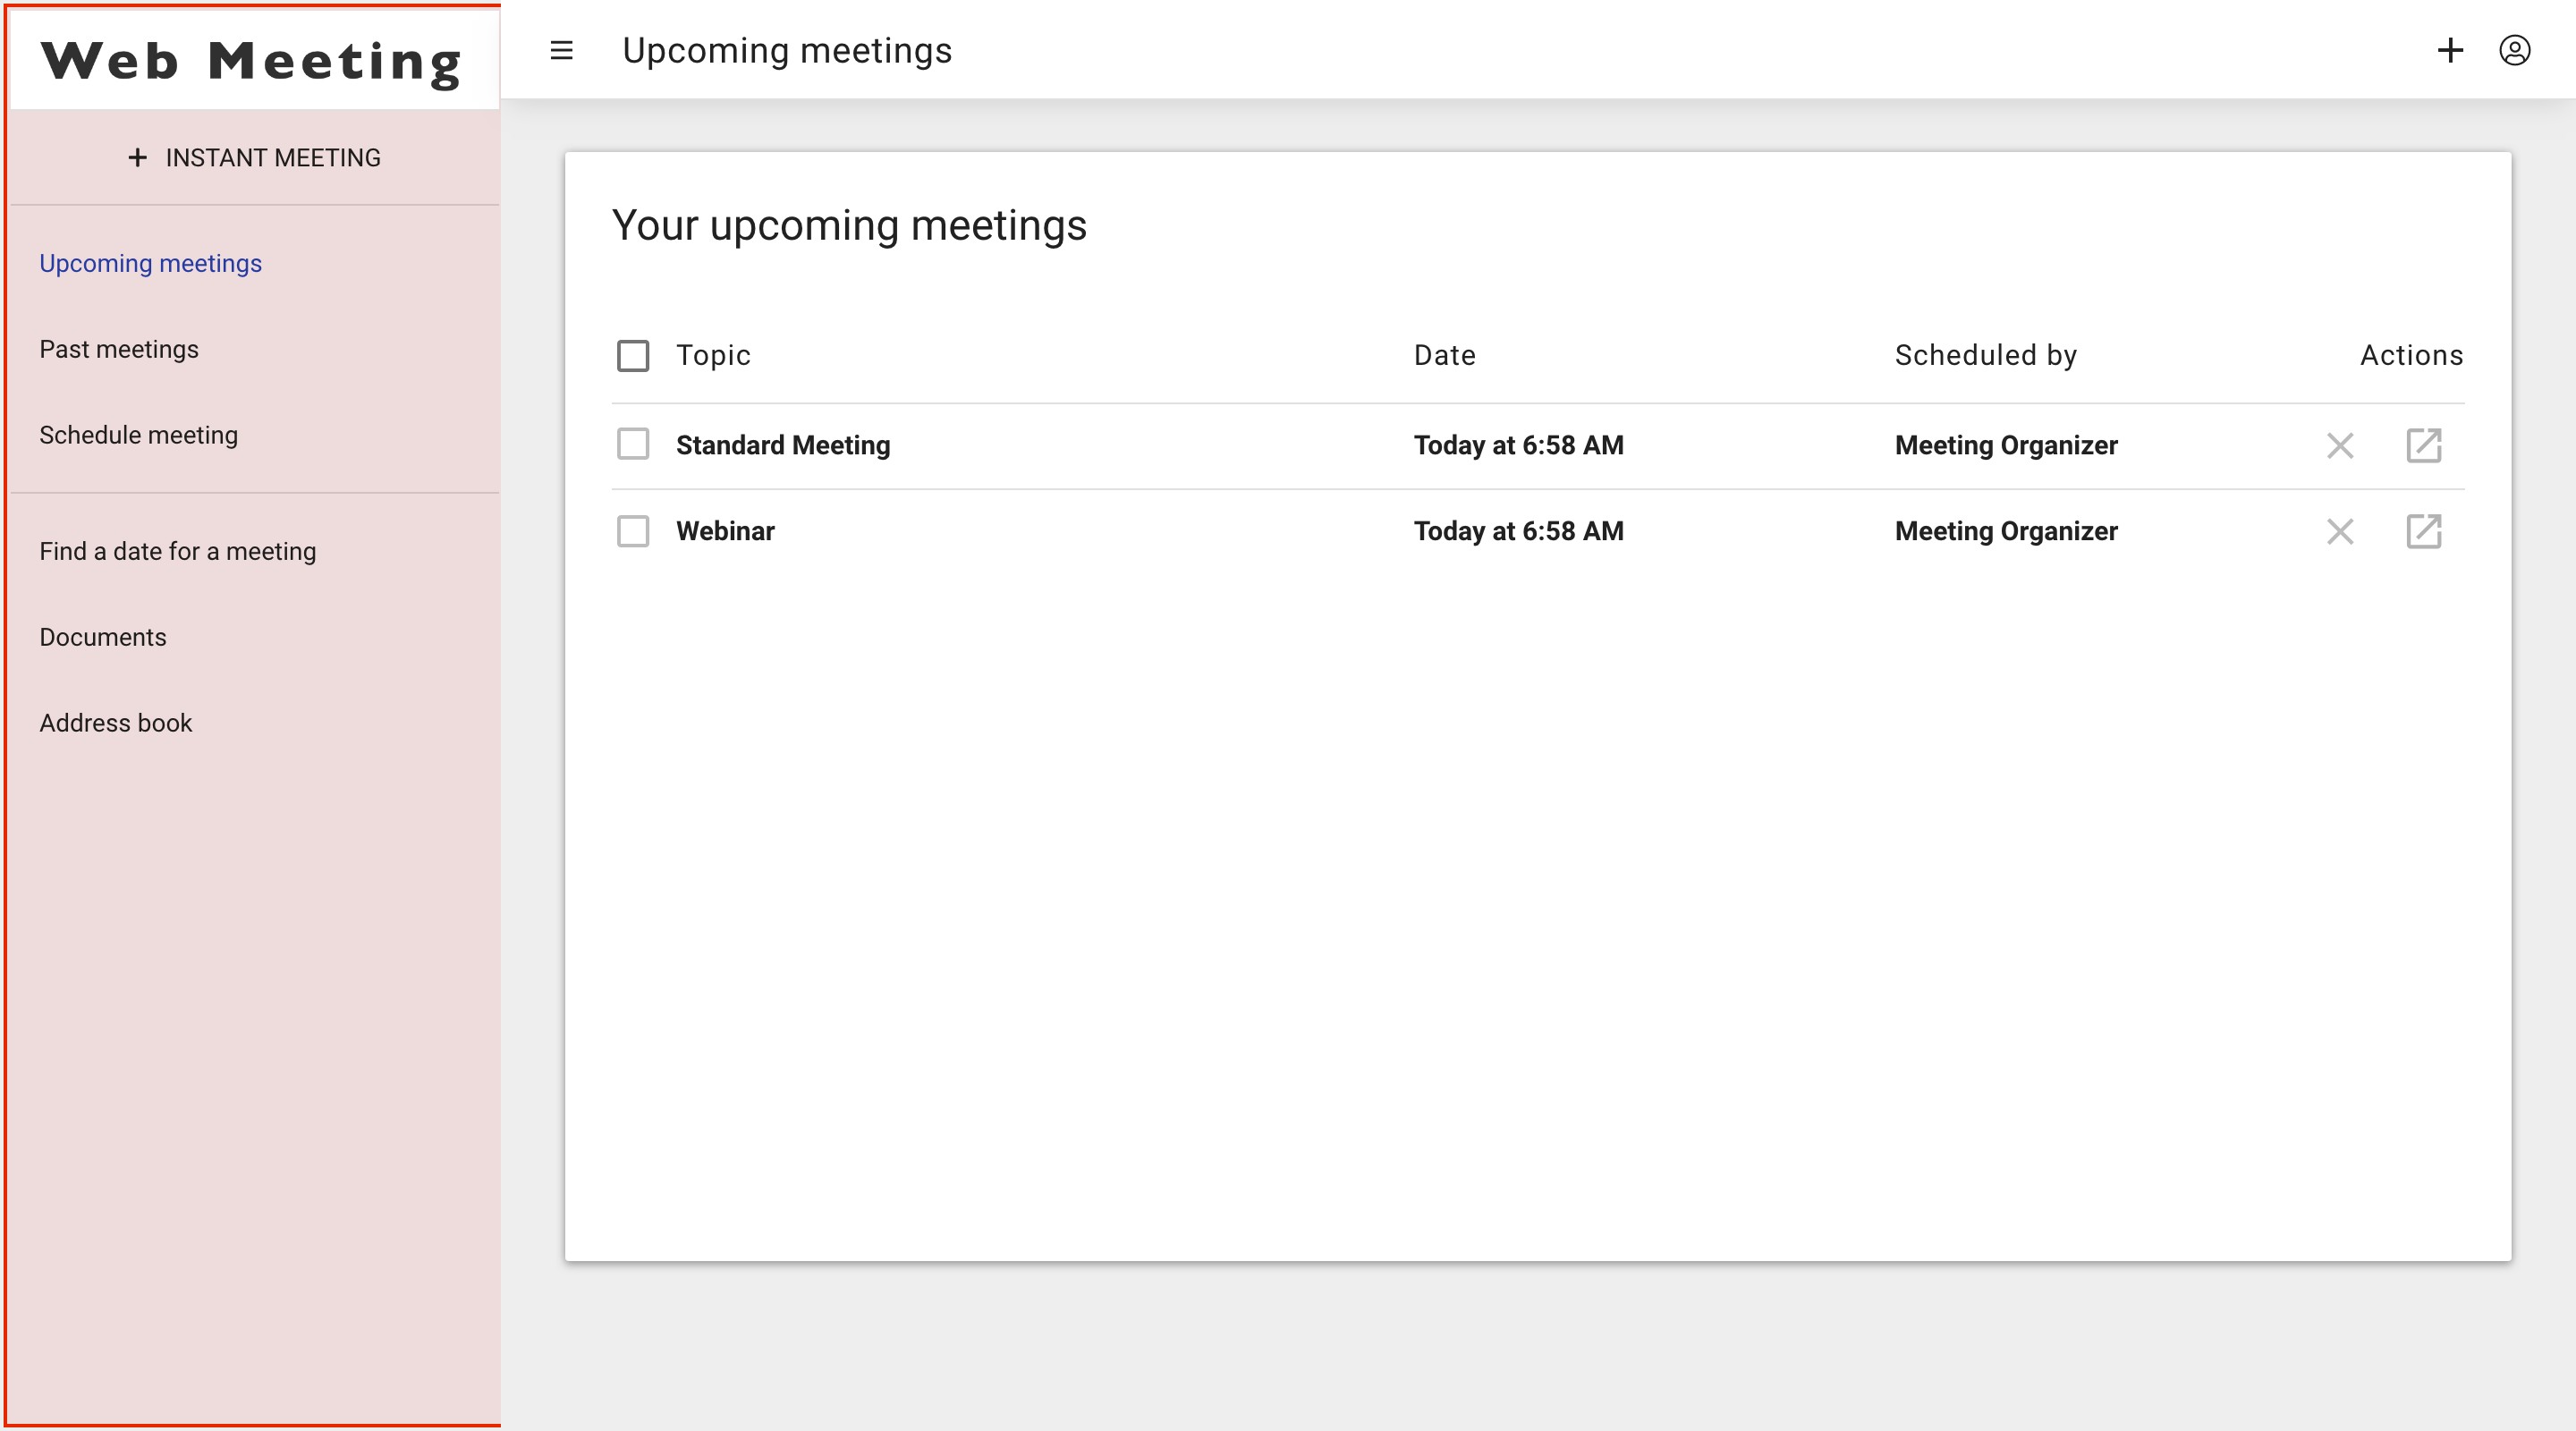
On the left side of your interface you will find all features for scheduling and managing your meetings as well as your account settings. Depending on which feature of the left side column you have selected, the interface will display the options for this feature on the middle area of your screen. (Account settings are not visible for Meeting organizers – only for Account admins)
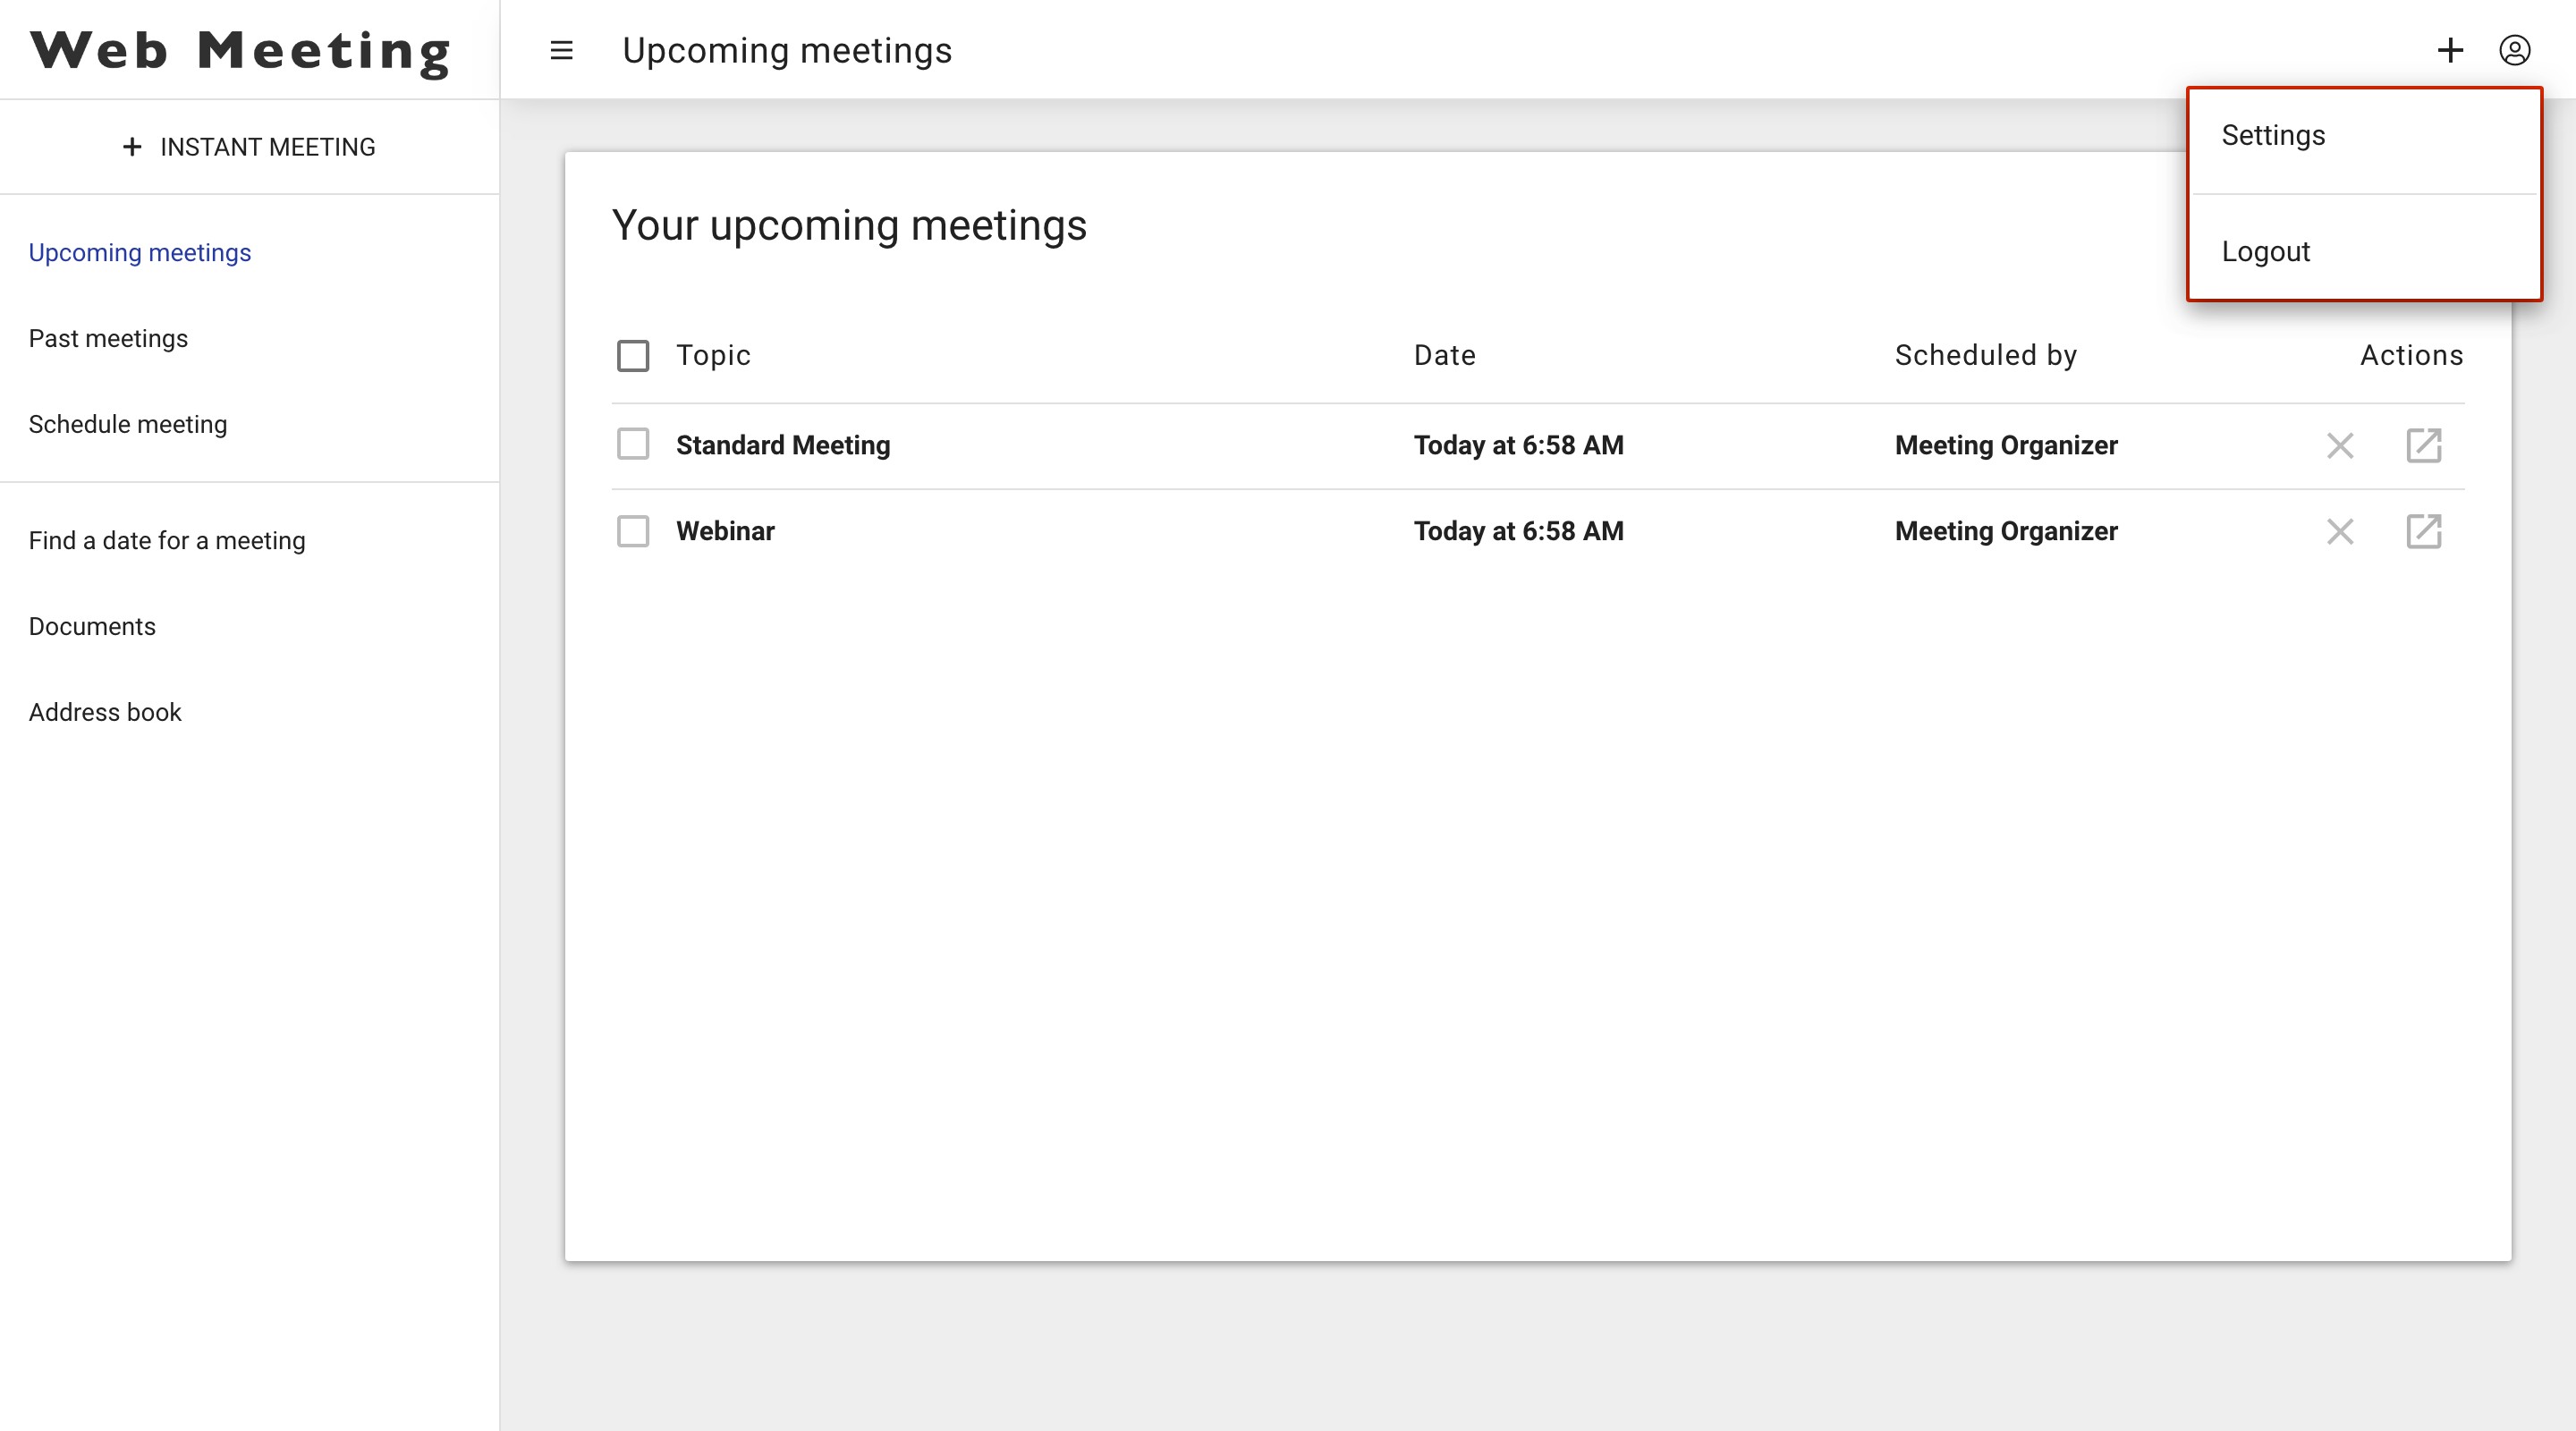
You can access your personal settings and change your preferred language and password by clicking on the top right corner of the main window. You can also log out from the application.
Features
Instant meeting
You can choose to start an instant meeting without any configuration or scheduling in advance; the application will create a meeting room with your default settings (see Account settings - Default Settings).
You can then invite participants by sending them the Meeting link or invite them afterwards once you have entered the Meeting room itself (see Invite others).
Or you can click on the ‘invite’ button on the top right side of your interface. This will open an extra menu where you can enter the e-mail address(es) of the participants.
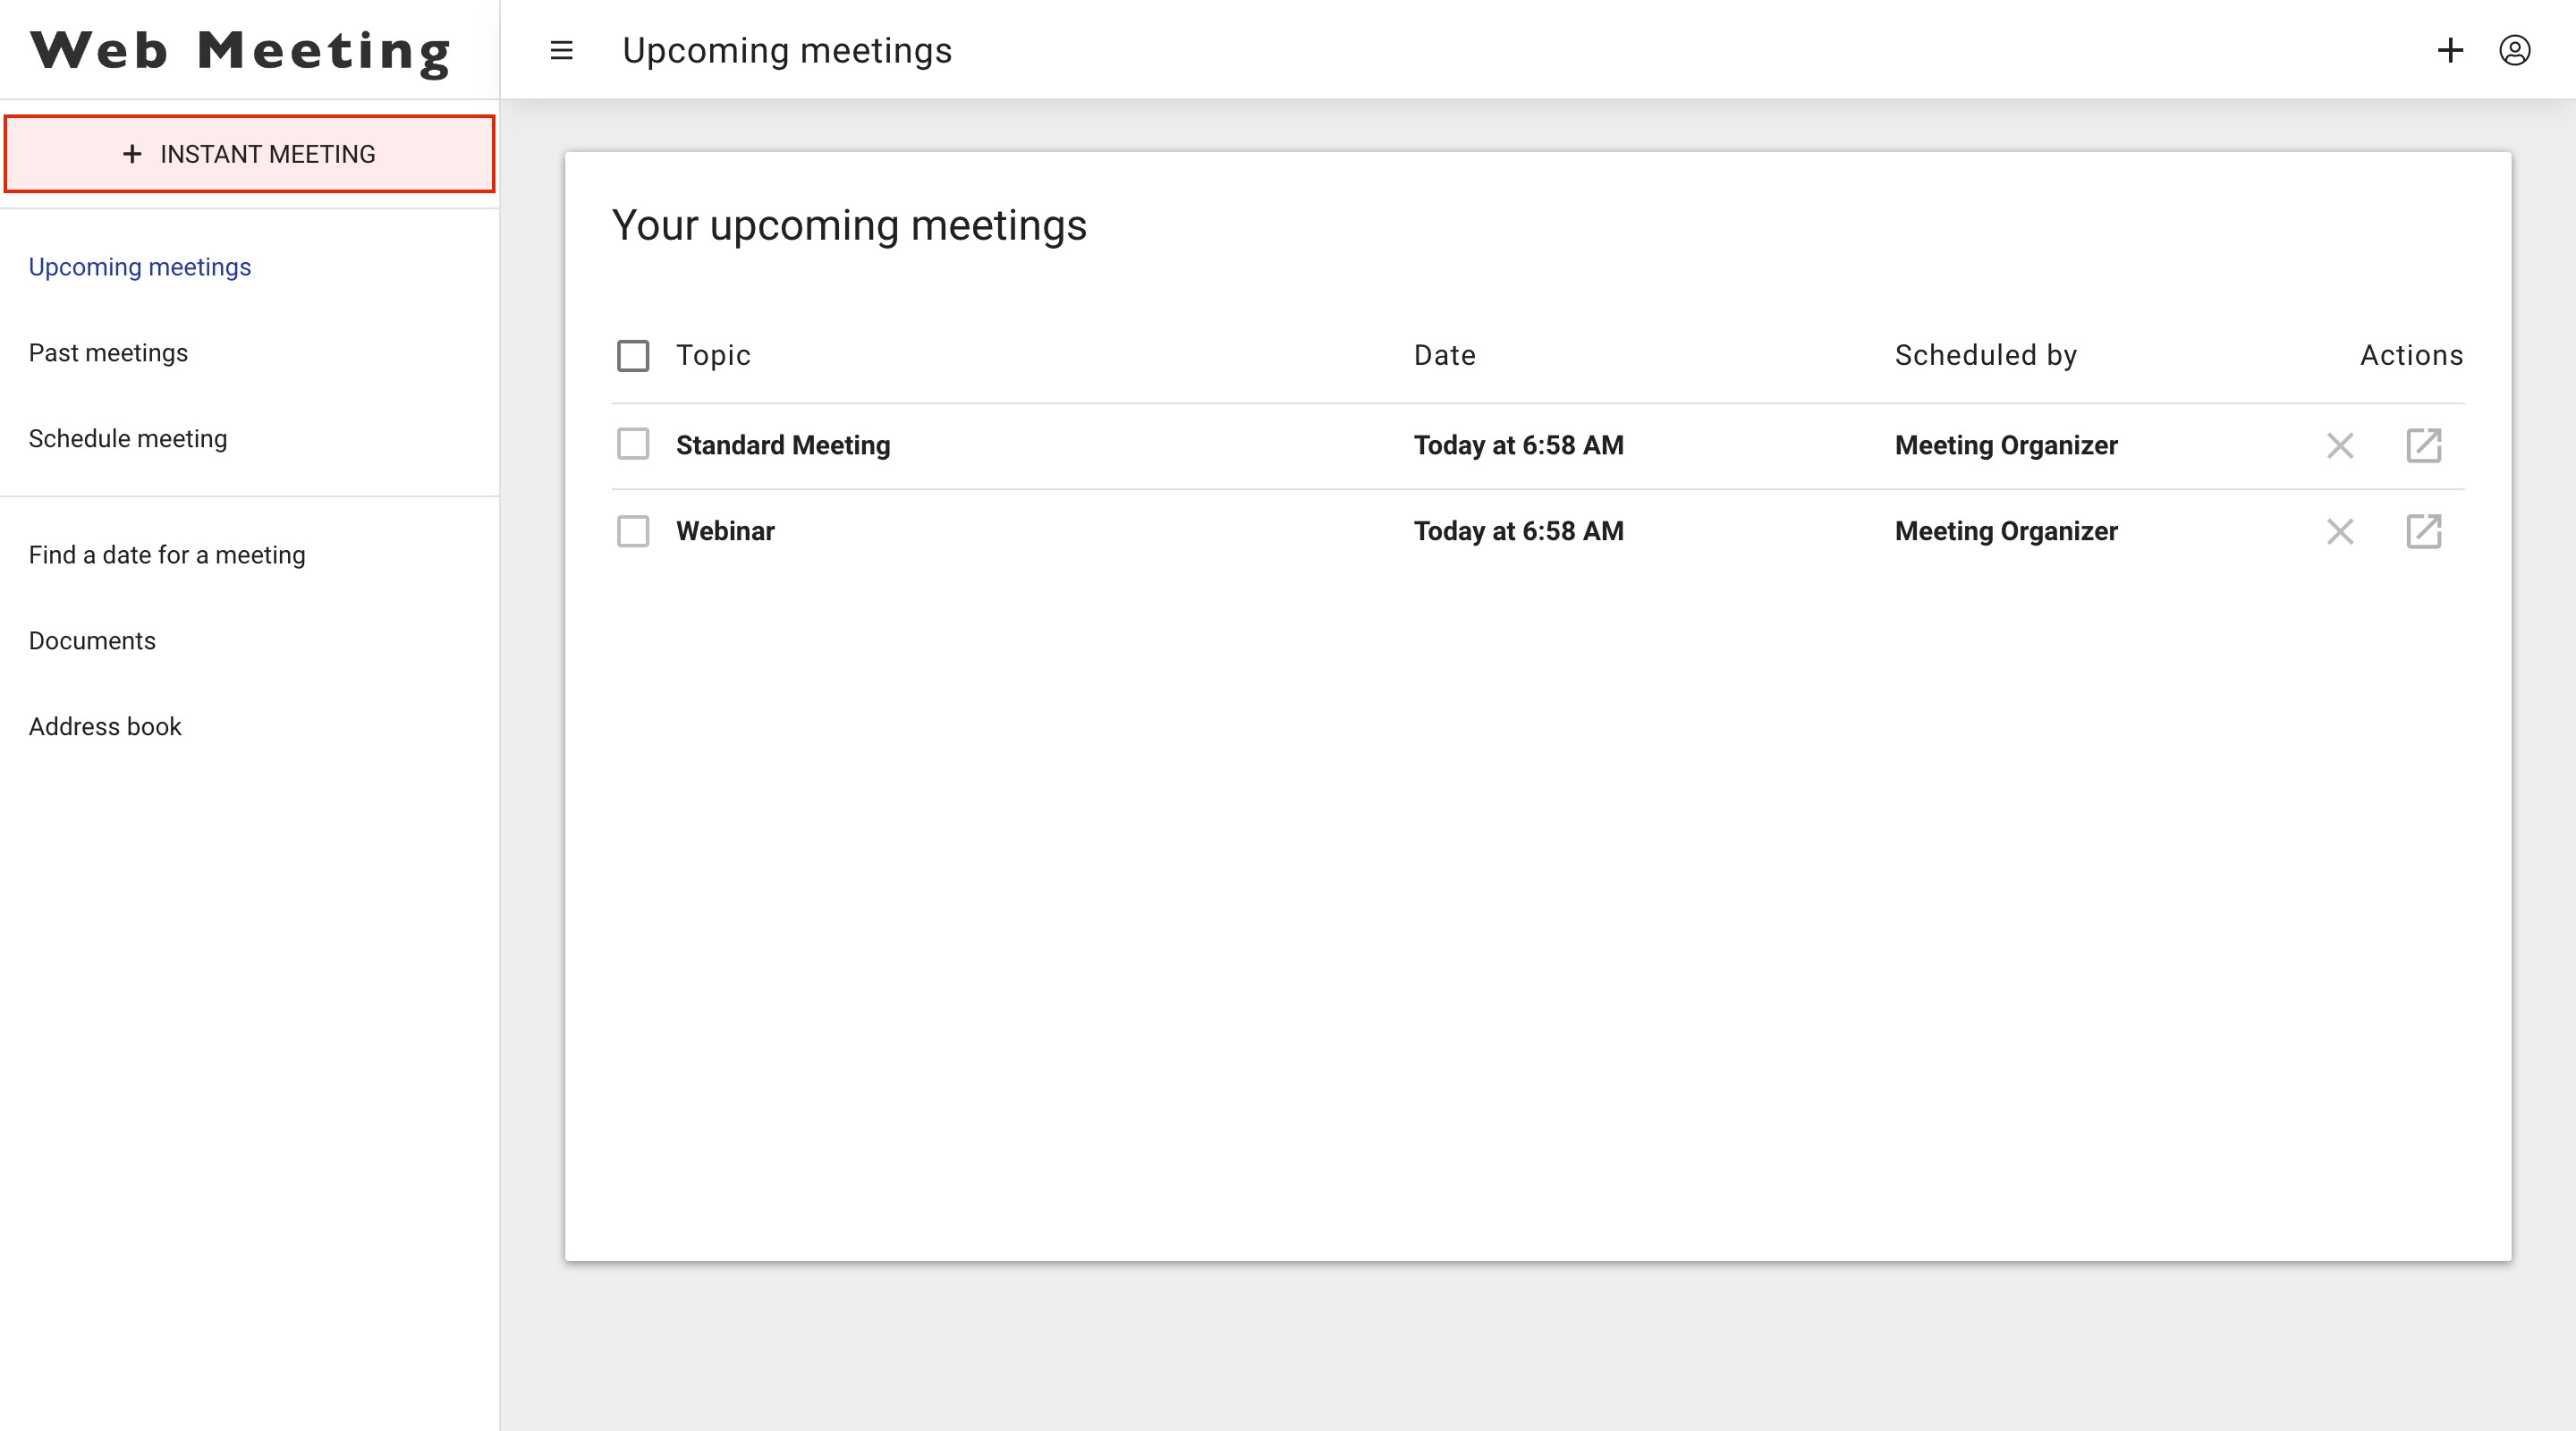
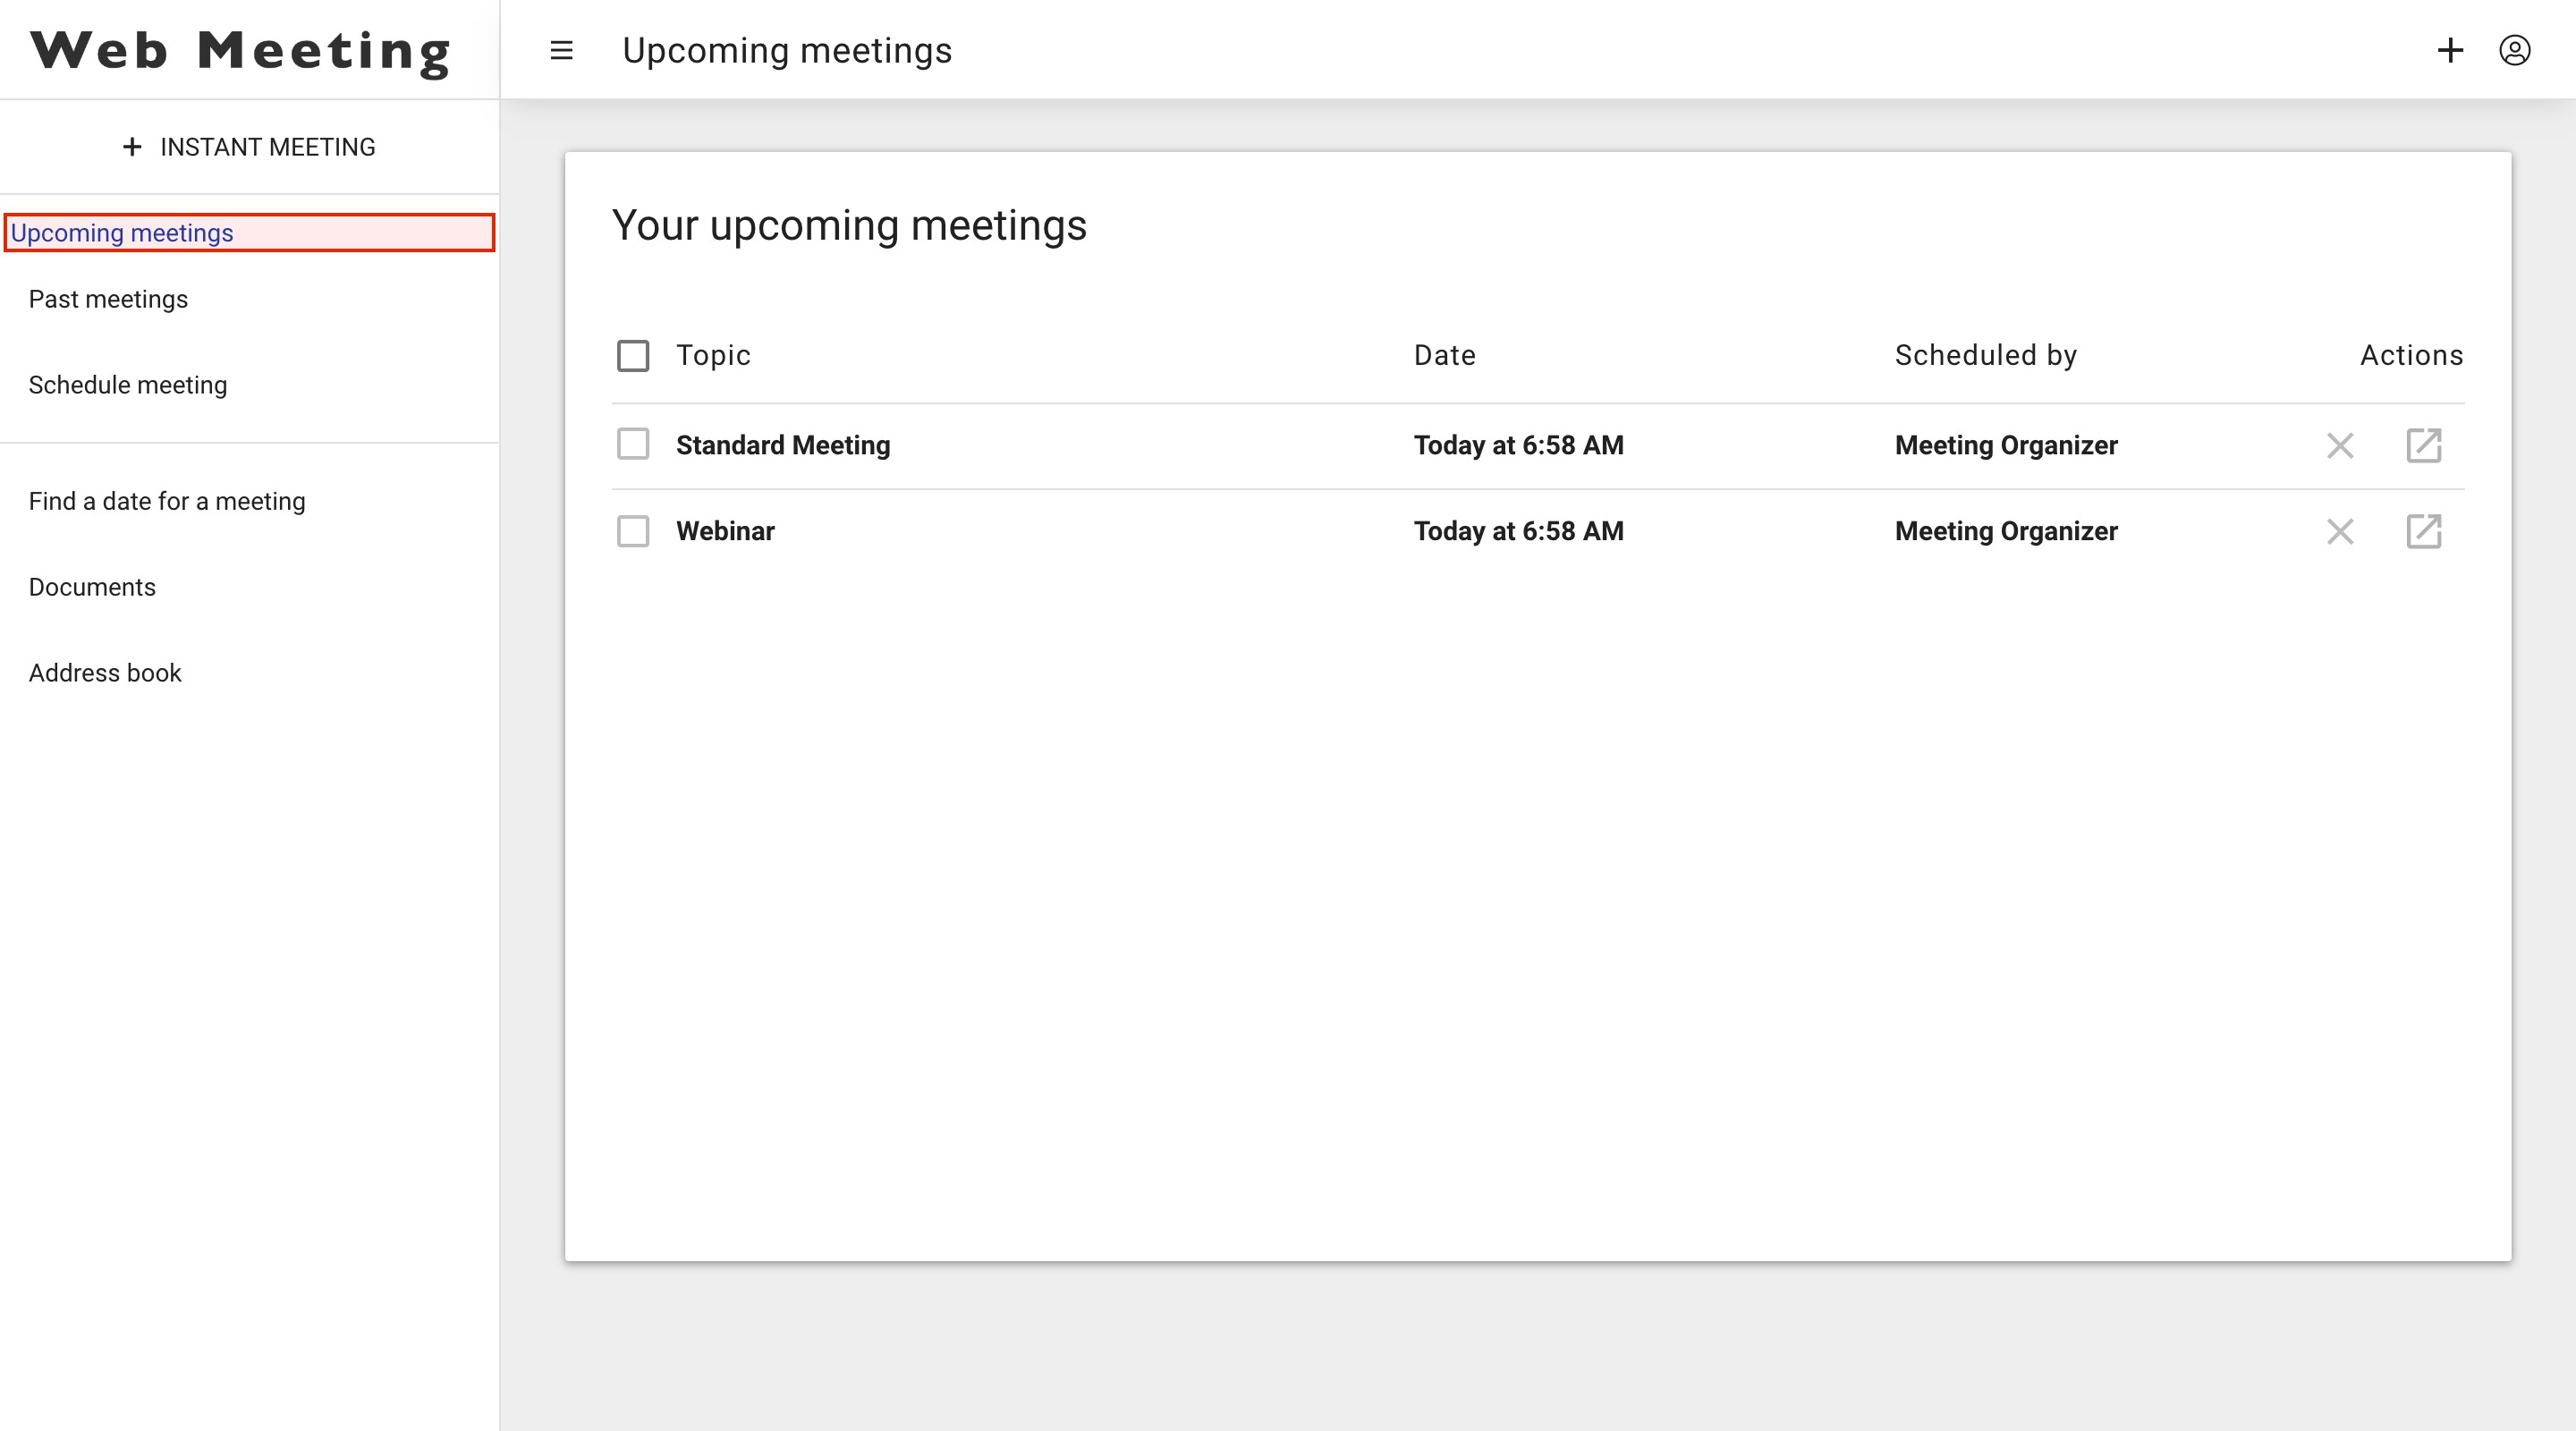
Upcoming meetings
Here you will find an overview of all the meetings that you have scheduled as a meeting organizer or have been invited to by others.
This section appears by default after you have logged in to the portal interface. To view the details of this meeting simply click on the meeting room topic.
By clicking on the pencil-icon you can edit the selected meeting. (only appears for future planned meetings, not on-going meetings).
By clicking on the share-icon you can join the selected meeting.
By selecting the check box(es) in front of the meeting(s) you can select the meeting(s) you wish to delete entirely. A red text ‘delete selected meetings’ will appear in the top right corner of the interface. Click this text to delete the meeting(s).
Some meetings are not deletable; if you are not the organizer or the meeting is on-going you cannot delete it.
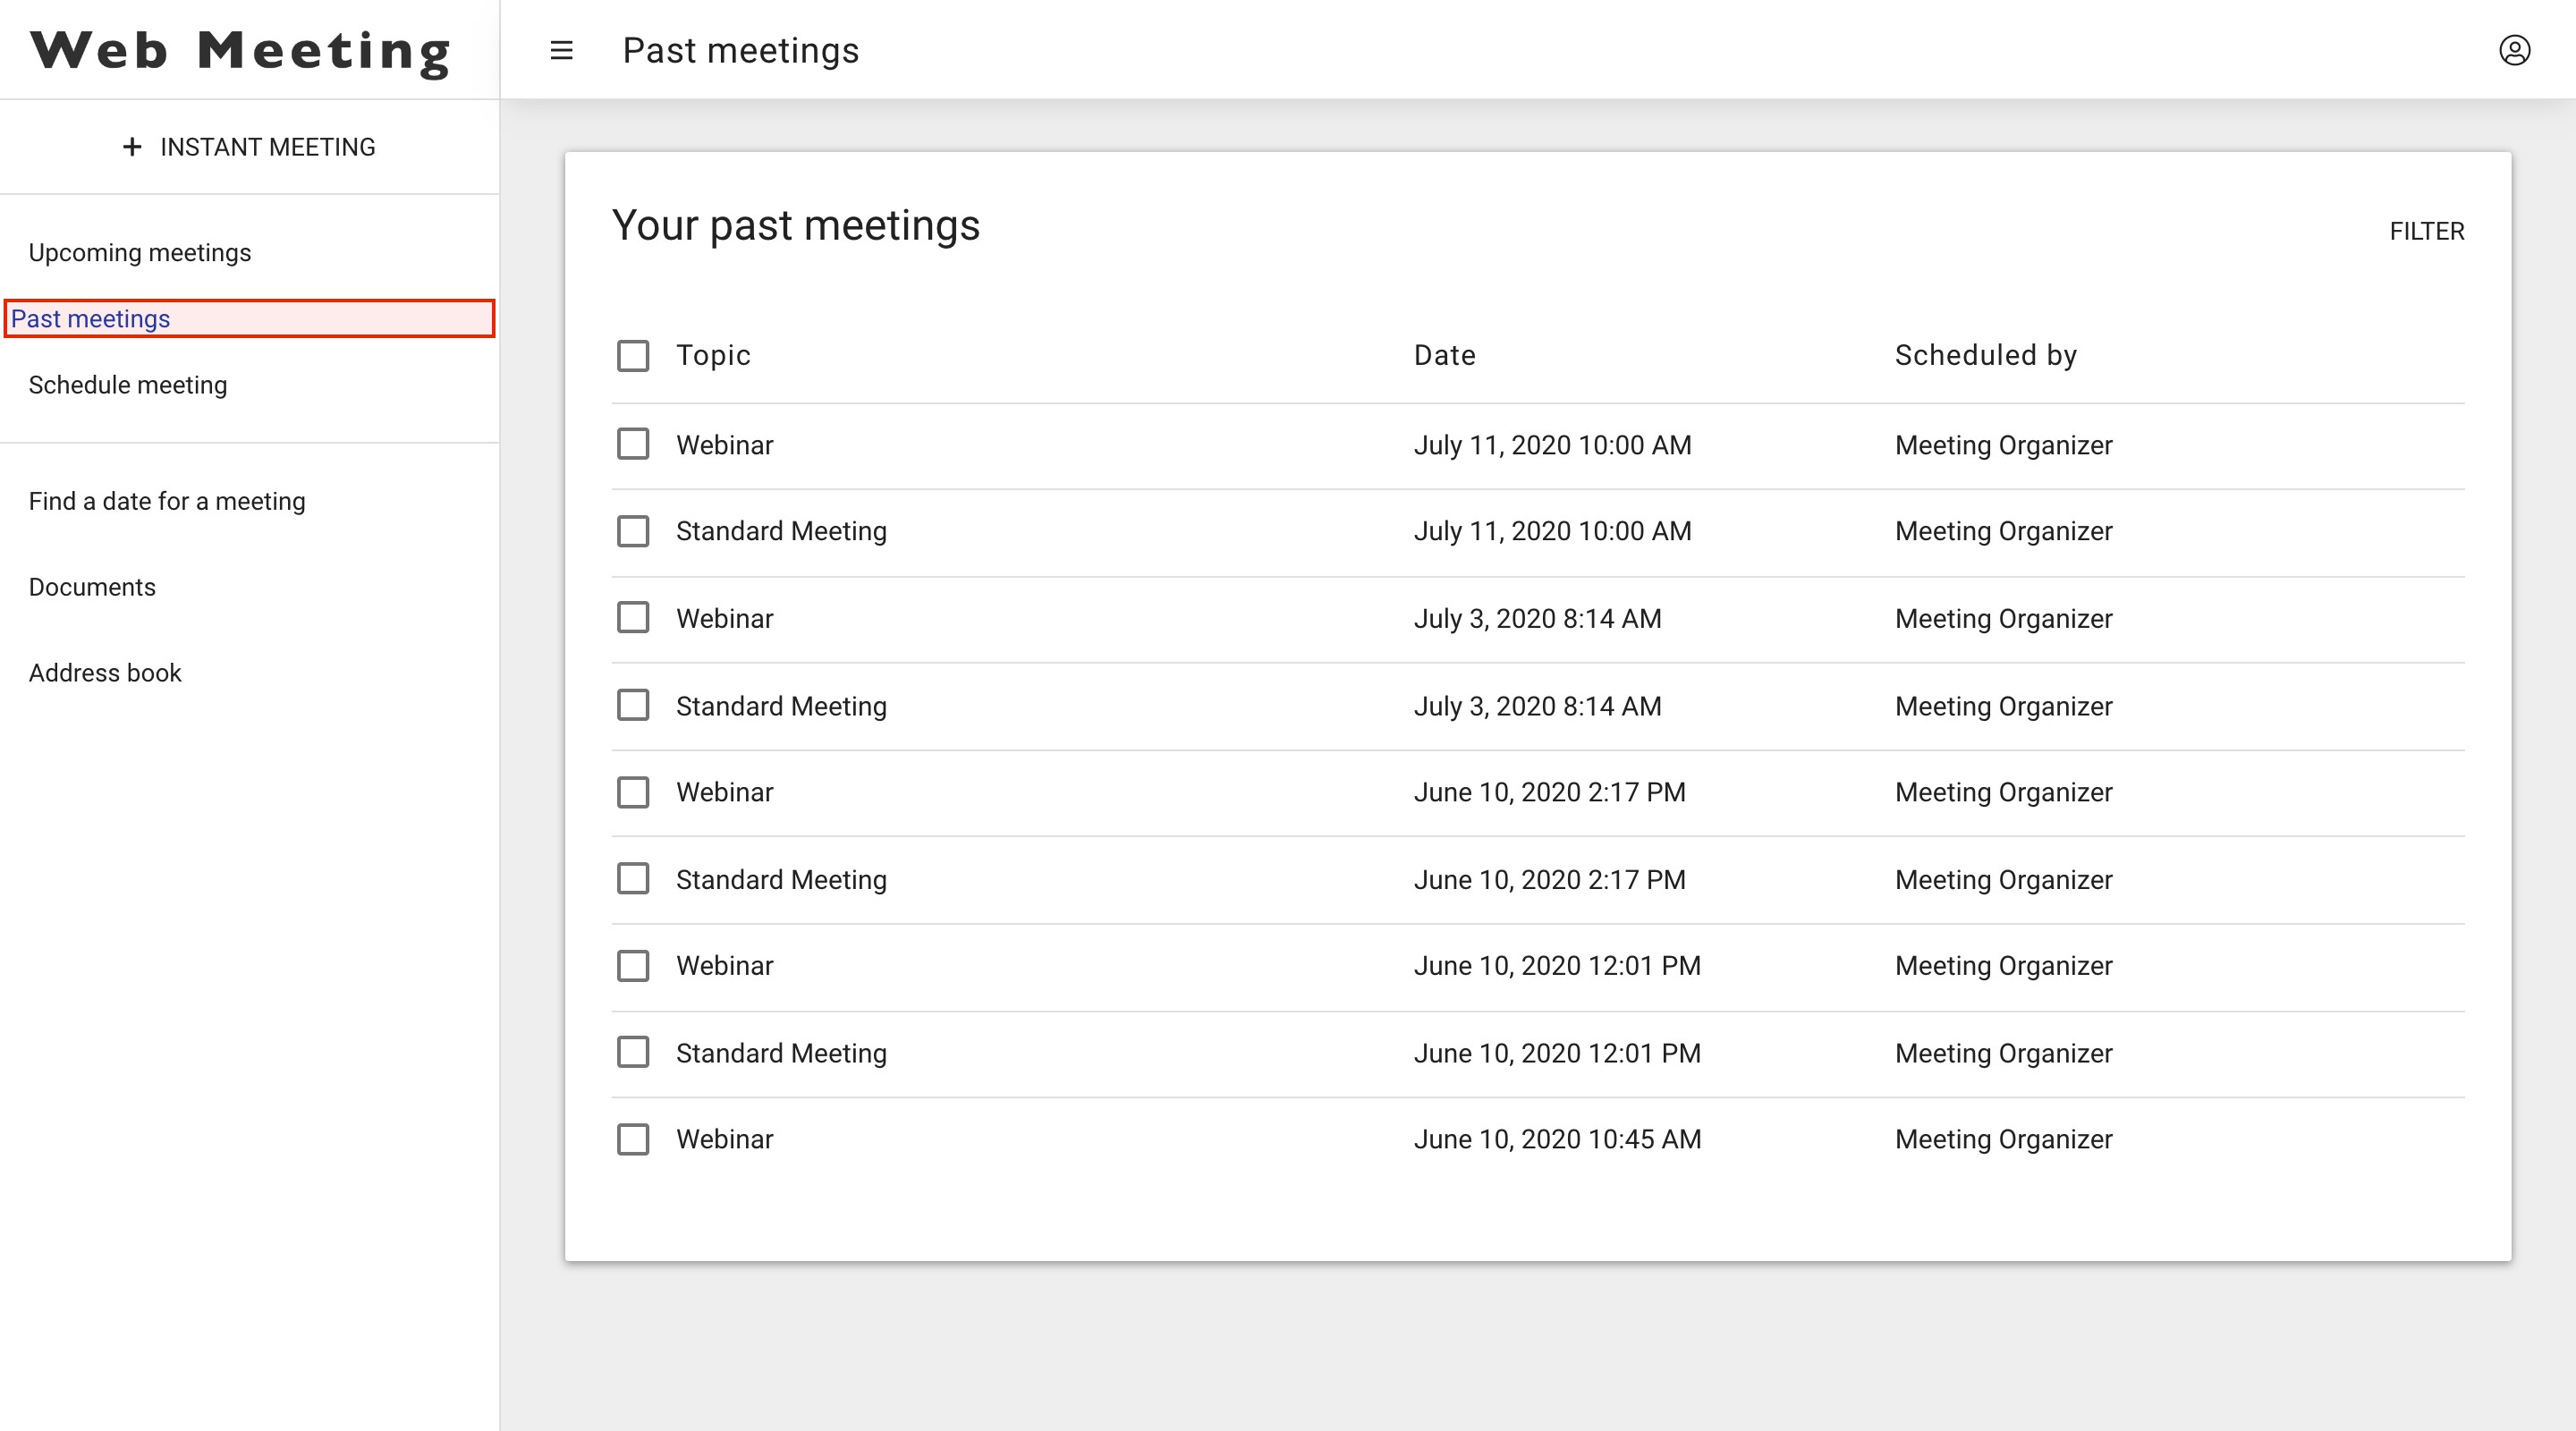
Past meetings
Here you can review all that meetings were planned, attended, or which you have been invited to in the past, including your own meetings.
To view the details of this meeting simply click on the meeting room topic.
By selecting the check box(es) in front of the meeting(s) you can select the meeting(s) you wish to delete entirely. A red text ‘delete selected meetings’ will appear in the top right corner of the interface. Click this text to delete the meeting(s).
Meetings are not automatically deleted, but you can change this default setting (Account settings - Default Settings) to have the system delete meetings automatically after some period of time.
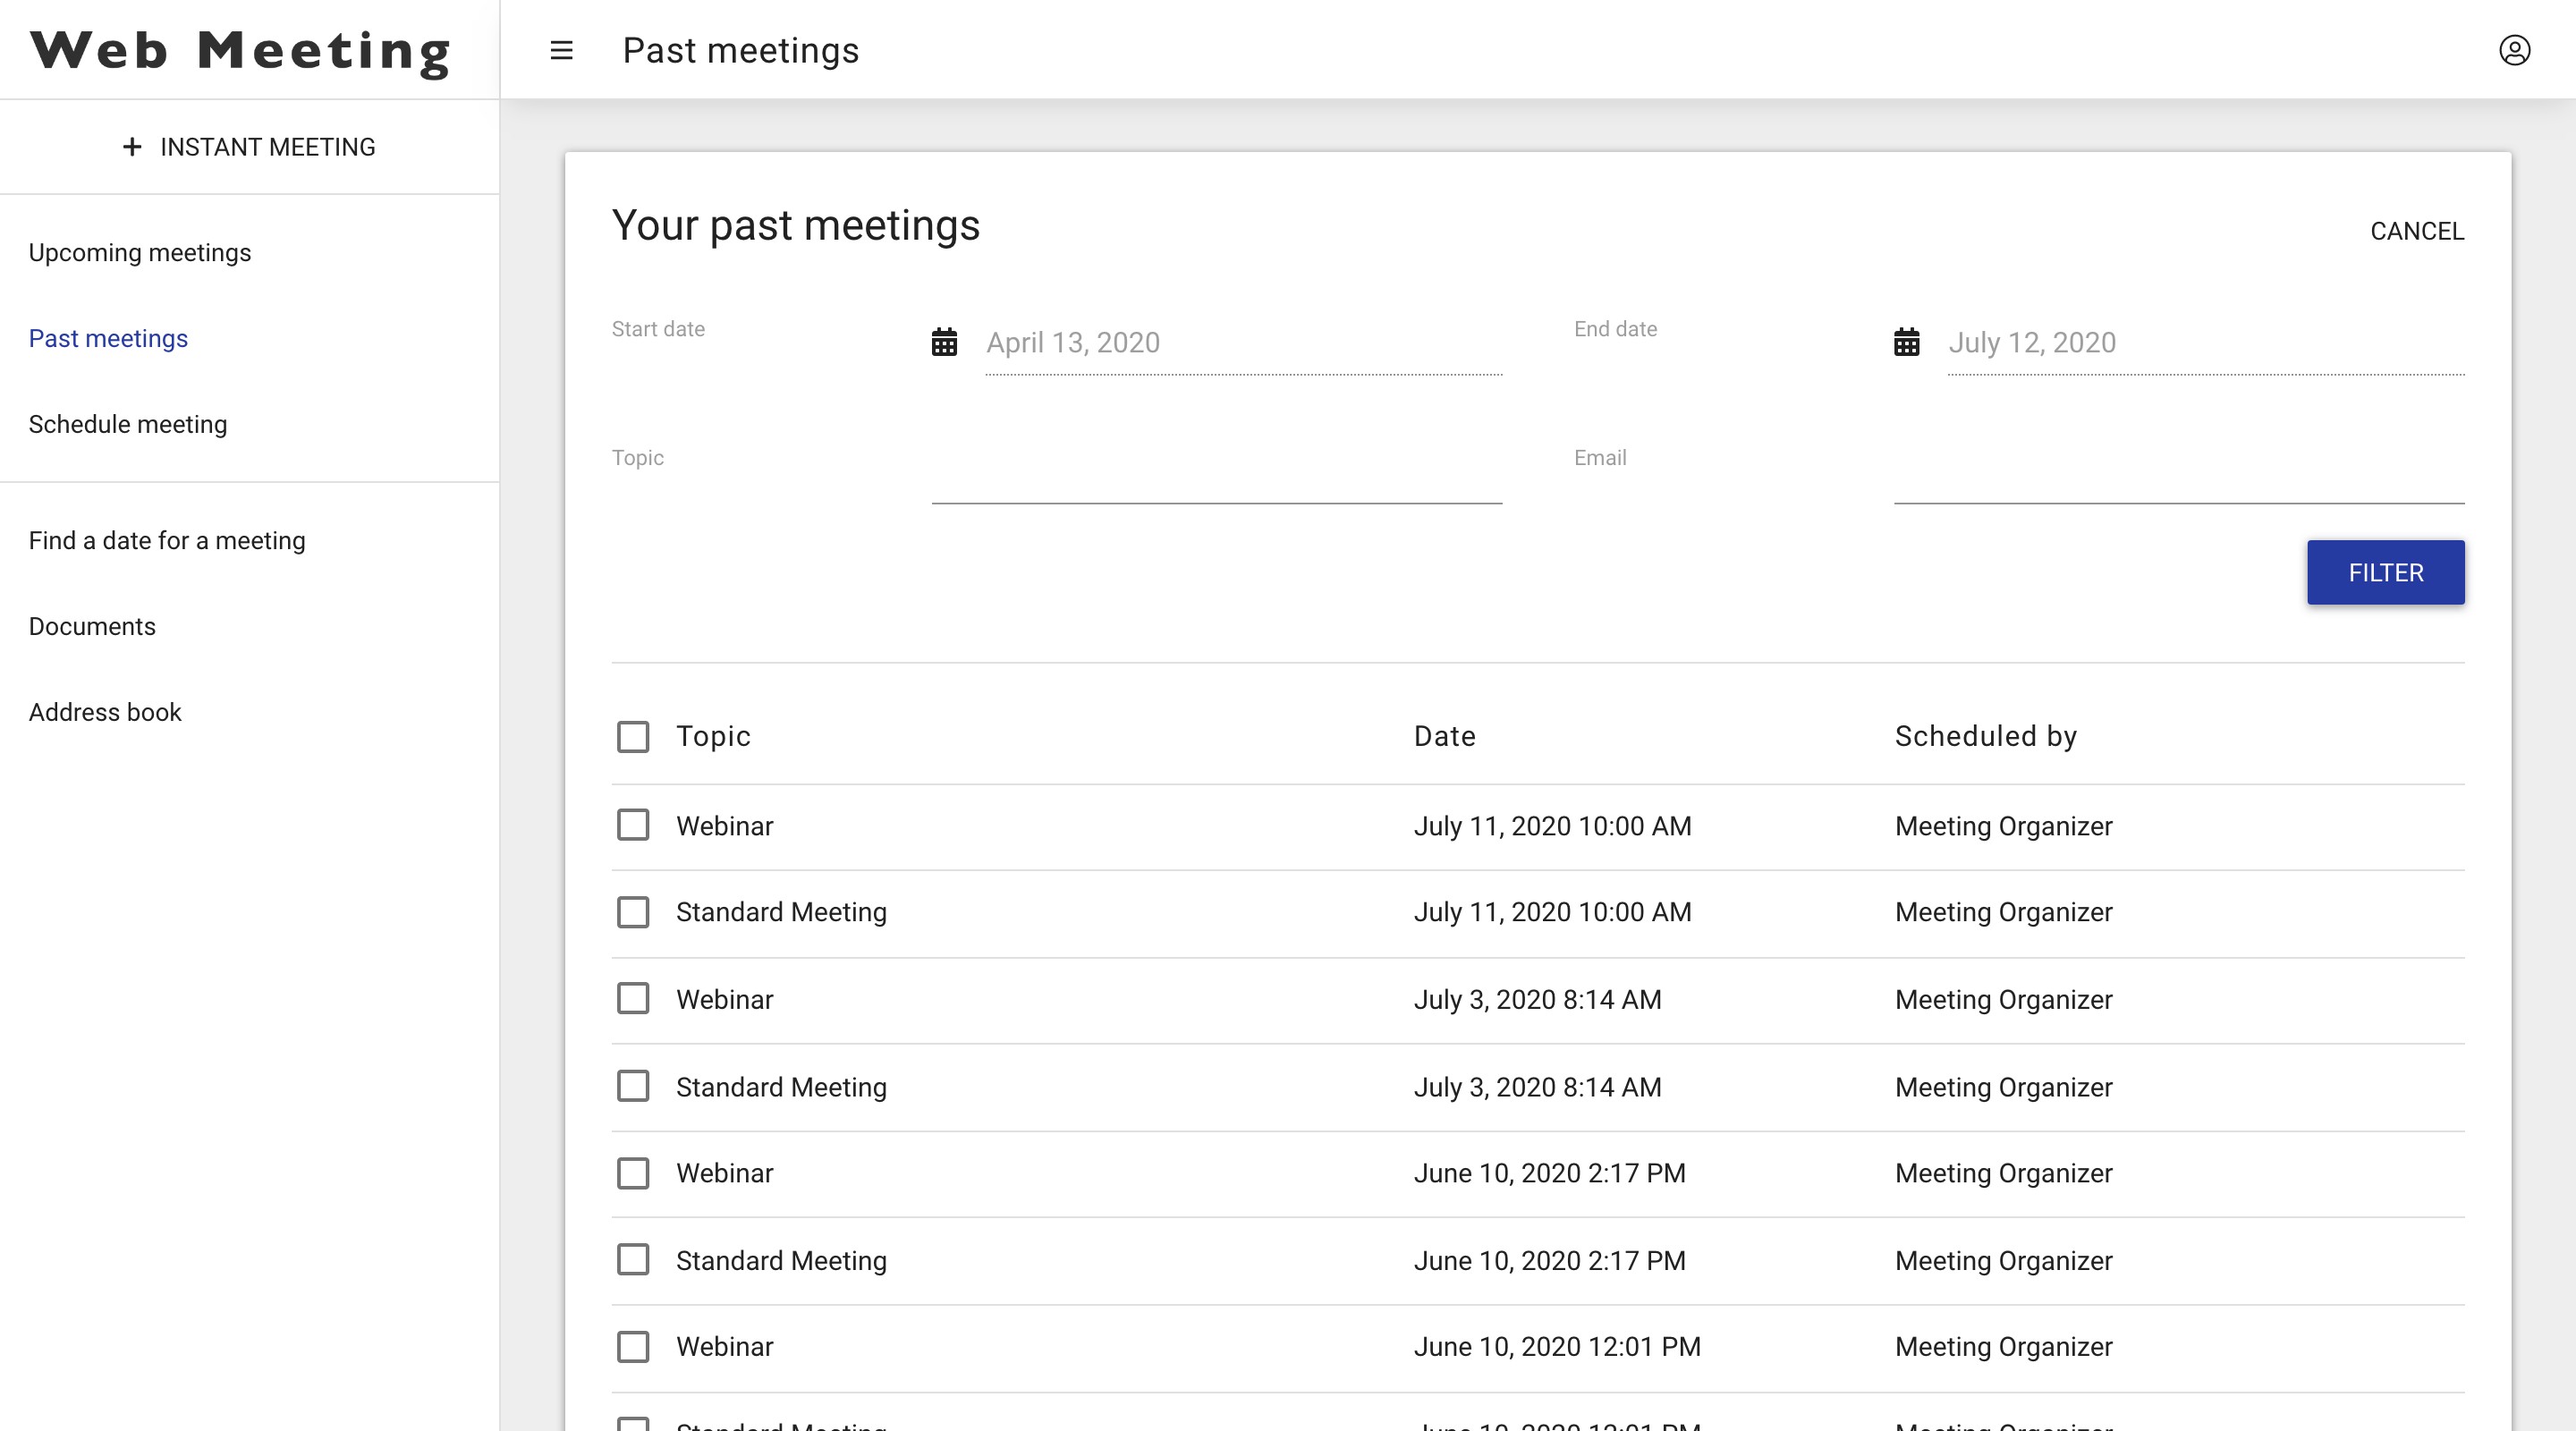
In the top right corner of your interface you can also click on the ‘filter’ button to start a search in your past meetings.
Fill in your desired criteria to do the search and hit the ‘filter’ button.
The filtered result will be shown in the list below.
Schedule meeting
Here you will enter the ‘New meeting’ window to be able to configure and schedule your meeting room.
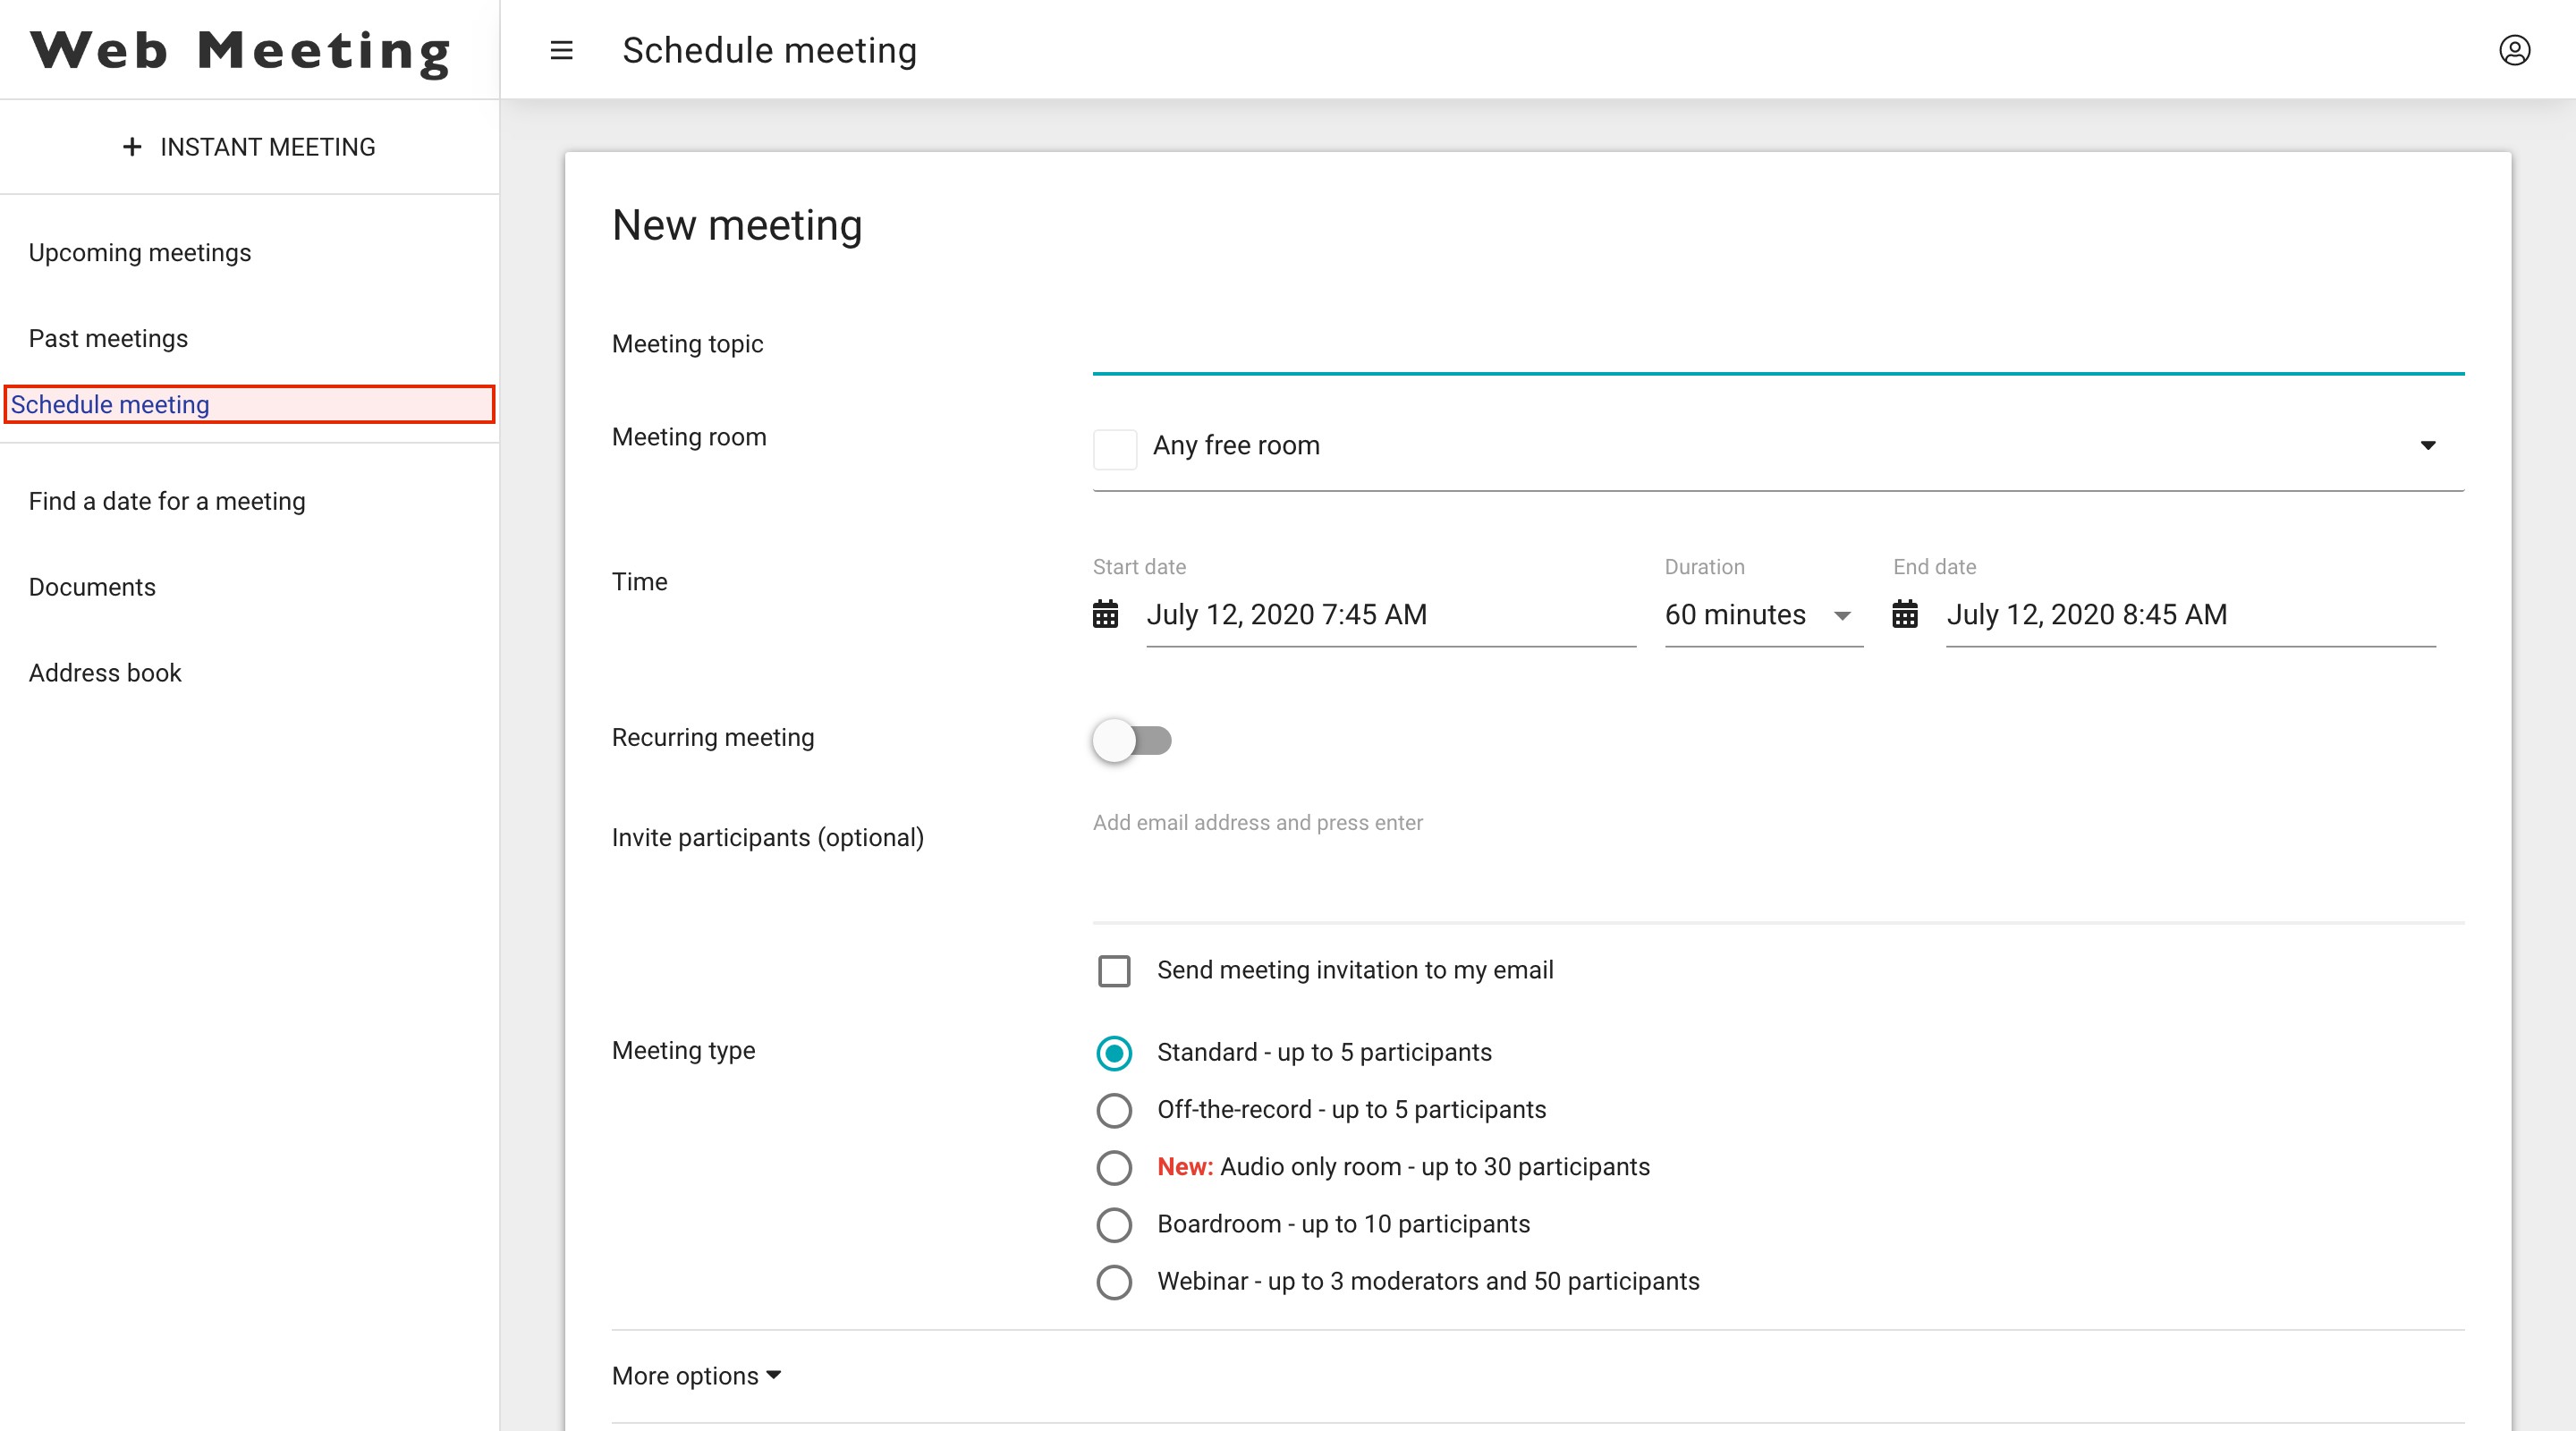
Hereunder you will find an explanation of the different fields that need your input before scheduling the meeting room.
Meeting topic
Enter a desired title or subject for your Meeting.
Meeting room
If you have several meeting rooms (to be able to do simultaneous meetings within your company), you can select which meeting room you wish to use. If all meeting rooms are in use, you will receive a message that all meeting rooms are occupied.
You can opt for the ‘any free room’ option so the system will search for an available meeting room automatically.
Time
Choose the start date in the ’date field’ (click on the calendar icon on the left side of the date field, a calendar will be displayed in which you can select the date and start time), then choose the duration of your meeting.
The end time will automatically be set following your chosen duration. You will have the option to extend your meeting time if needed in the meeting room itself (see Remaining Time) on the condition that the meeting room is still free.
Recurring meeting
If you wish to use this meeting as a recurring meeting, click on the slide bar. A popup menu will appear where you can choose the frequency for your recurring meeting.
Invite participants (optional)
You can invite participants by adding the email address(es) and then hitting enter.
Participants will the receive the invitation in their mailbox with all necessary information for this meeting after your scheduling is completed.
This step is optional because you can also invite participants by sending them the meeting link or meeting id that will be generated in your interface once the scheduling is completed, or invite them afterwards once you have entered the meeting room itself (see Invite others)
Meeting type
The meeting room solution includes 5 different types of meeting rooms. All meeting rooms come with the same collaboration features, they differ only in terms of encryption and number of participants.
- Standard Meeting: Up to 5 participants. Audio, video and screen sharing is end-to-end encrypted, the meeting data is sent encrypted to the server. This allows the server to send out a meeting summary at the end of the meeting. Therefore, the server is able to read your meeting data.
- Off-the-Record Meeting: Up to 5 participants. Audio, video, screen sharing and all data is end-to-end encrypted, the server only receives meta data. Therefore, the server cannot send a meeting summary. It is however possible to download the summary directly in the browser during the meeting.
- Audio-Only Meeting: Up to 30 participants, but without video. Audio, screen sharing and all data is sent encrypted to the server. This allows the server to send out a meeting summary at the end of the meeting. Therefore, the server is able to read your meeting data.
- Boardroom Meeting: Up to 30 participants. Audio, video, screen sharing and all data is sent encrypted to the server. This allows the server to send out a meeting summary at the end of the meeting. Therefore, the server is able to read your meeting data. Additionally, one can optionally activate recording and dial-in by phone number for these type of meetings.
- Webinar: Up to 3 presenters and 100 participants. Audio, video, screen sharing and all data is sent encrypted to the server. This allows the server to send out a meeting summary at the end of the meeting. Therefore, the server is able to read your meeting data. Additionally, one can optionally activate recording and dial-in by phone number for these type of meetings.
If you choose the Board Room or Webinar option, a pop-up menu will appear with the option for recording or dial-in. It is not possible to have both options activated at the same time.
The recording option records the video stream as well as screensharing. It does not show the group chats and the possible build-up of the whiteboard. The result of the whiteboard is in the PDF with the summary of the meeting.
You can consult the recording via past meetings, click on the specific meeting, then go to summary. You will have to launch a request to retrieve this information and download it via the 3 dots at the bottom right of your screen.
Important: Meeting recordings will be automatically deleted 14 days after the meeting
More options
By clicking on the ‘More options’ drop down you will be able to configure additional settings for your meeting room.
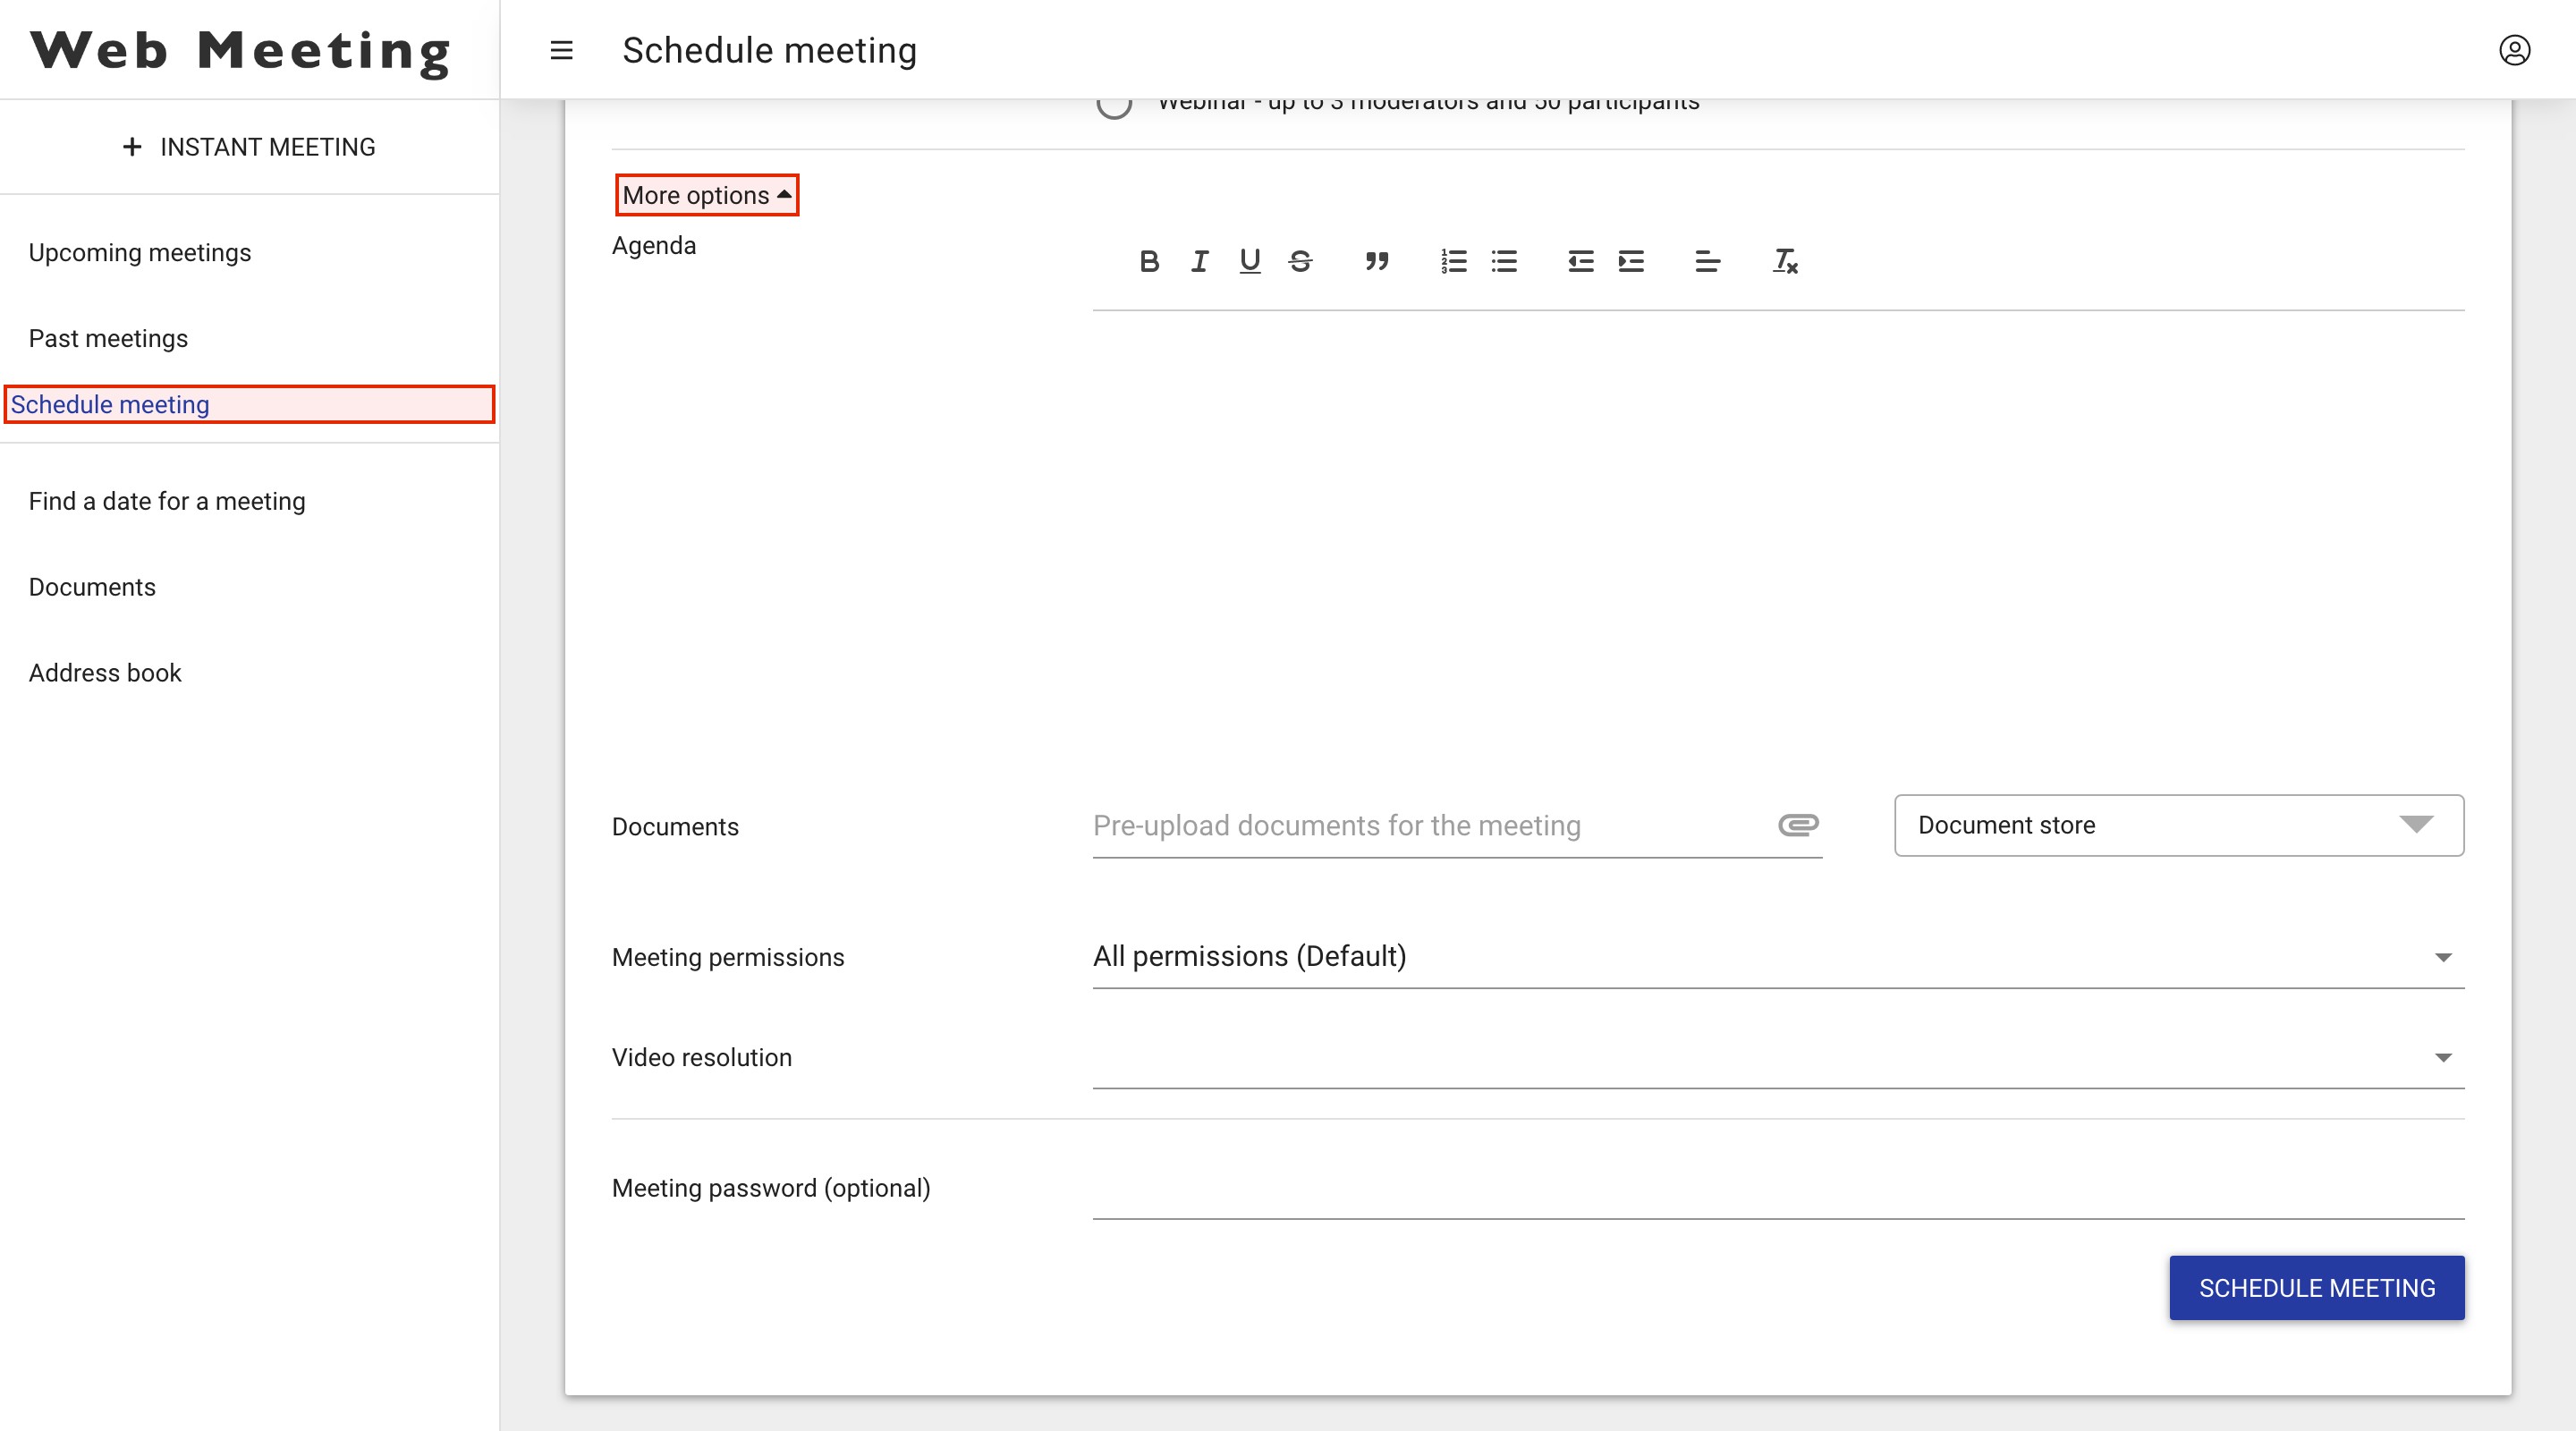
Agenda : You can define a meeting agenda prior to the meeting so your participants can see what you will be talking about during the meeting. The details of the agenda will also be shared in the meeting invitation. Make the best use of your time by setting the agenda for the meeting in advance. When everyone is on the same wavelength, your virtual meetings are even more productive
Documents : You can already upload documents prior to your meeting, so your participants will be able to consult or download them during the meeting. You can upload them from your PC or from you documents library in the Meeting portal (see Documents)
Meeting permissions : You can create different types of meeting permissions (see Meeting permissions)
Video resolution : choose the desired video resolution for your screen in order to have optimal quality.
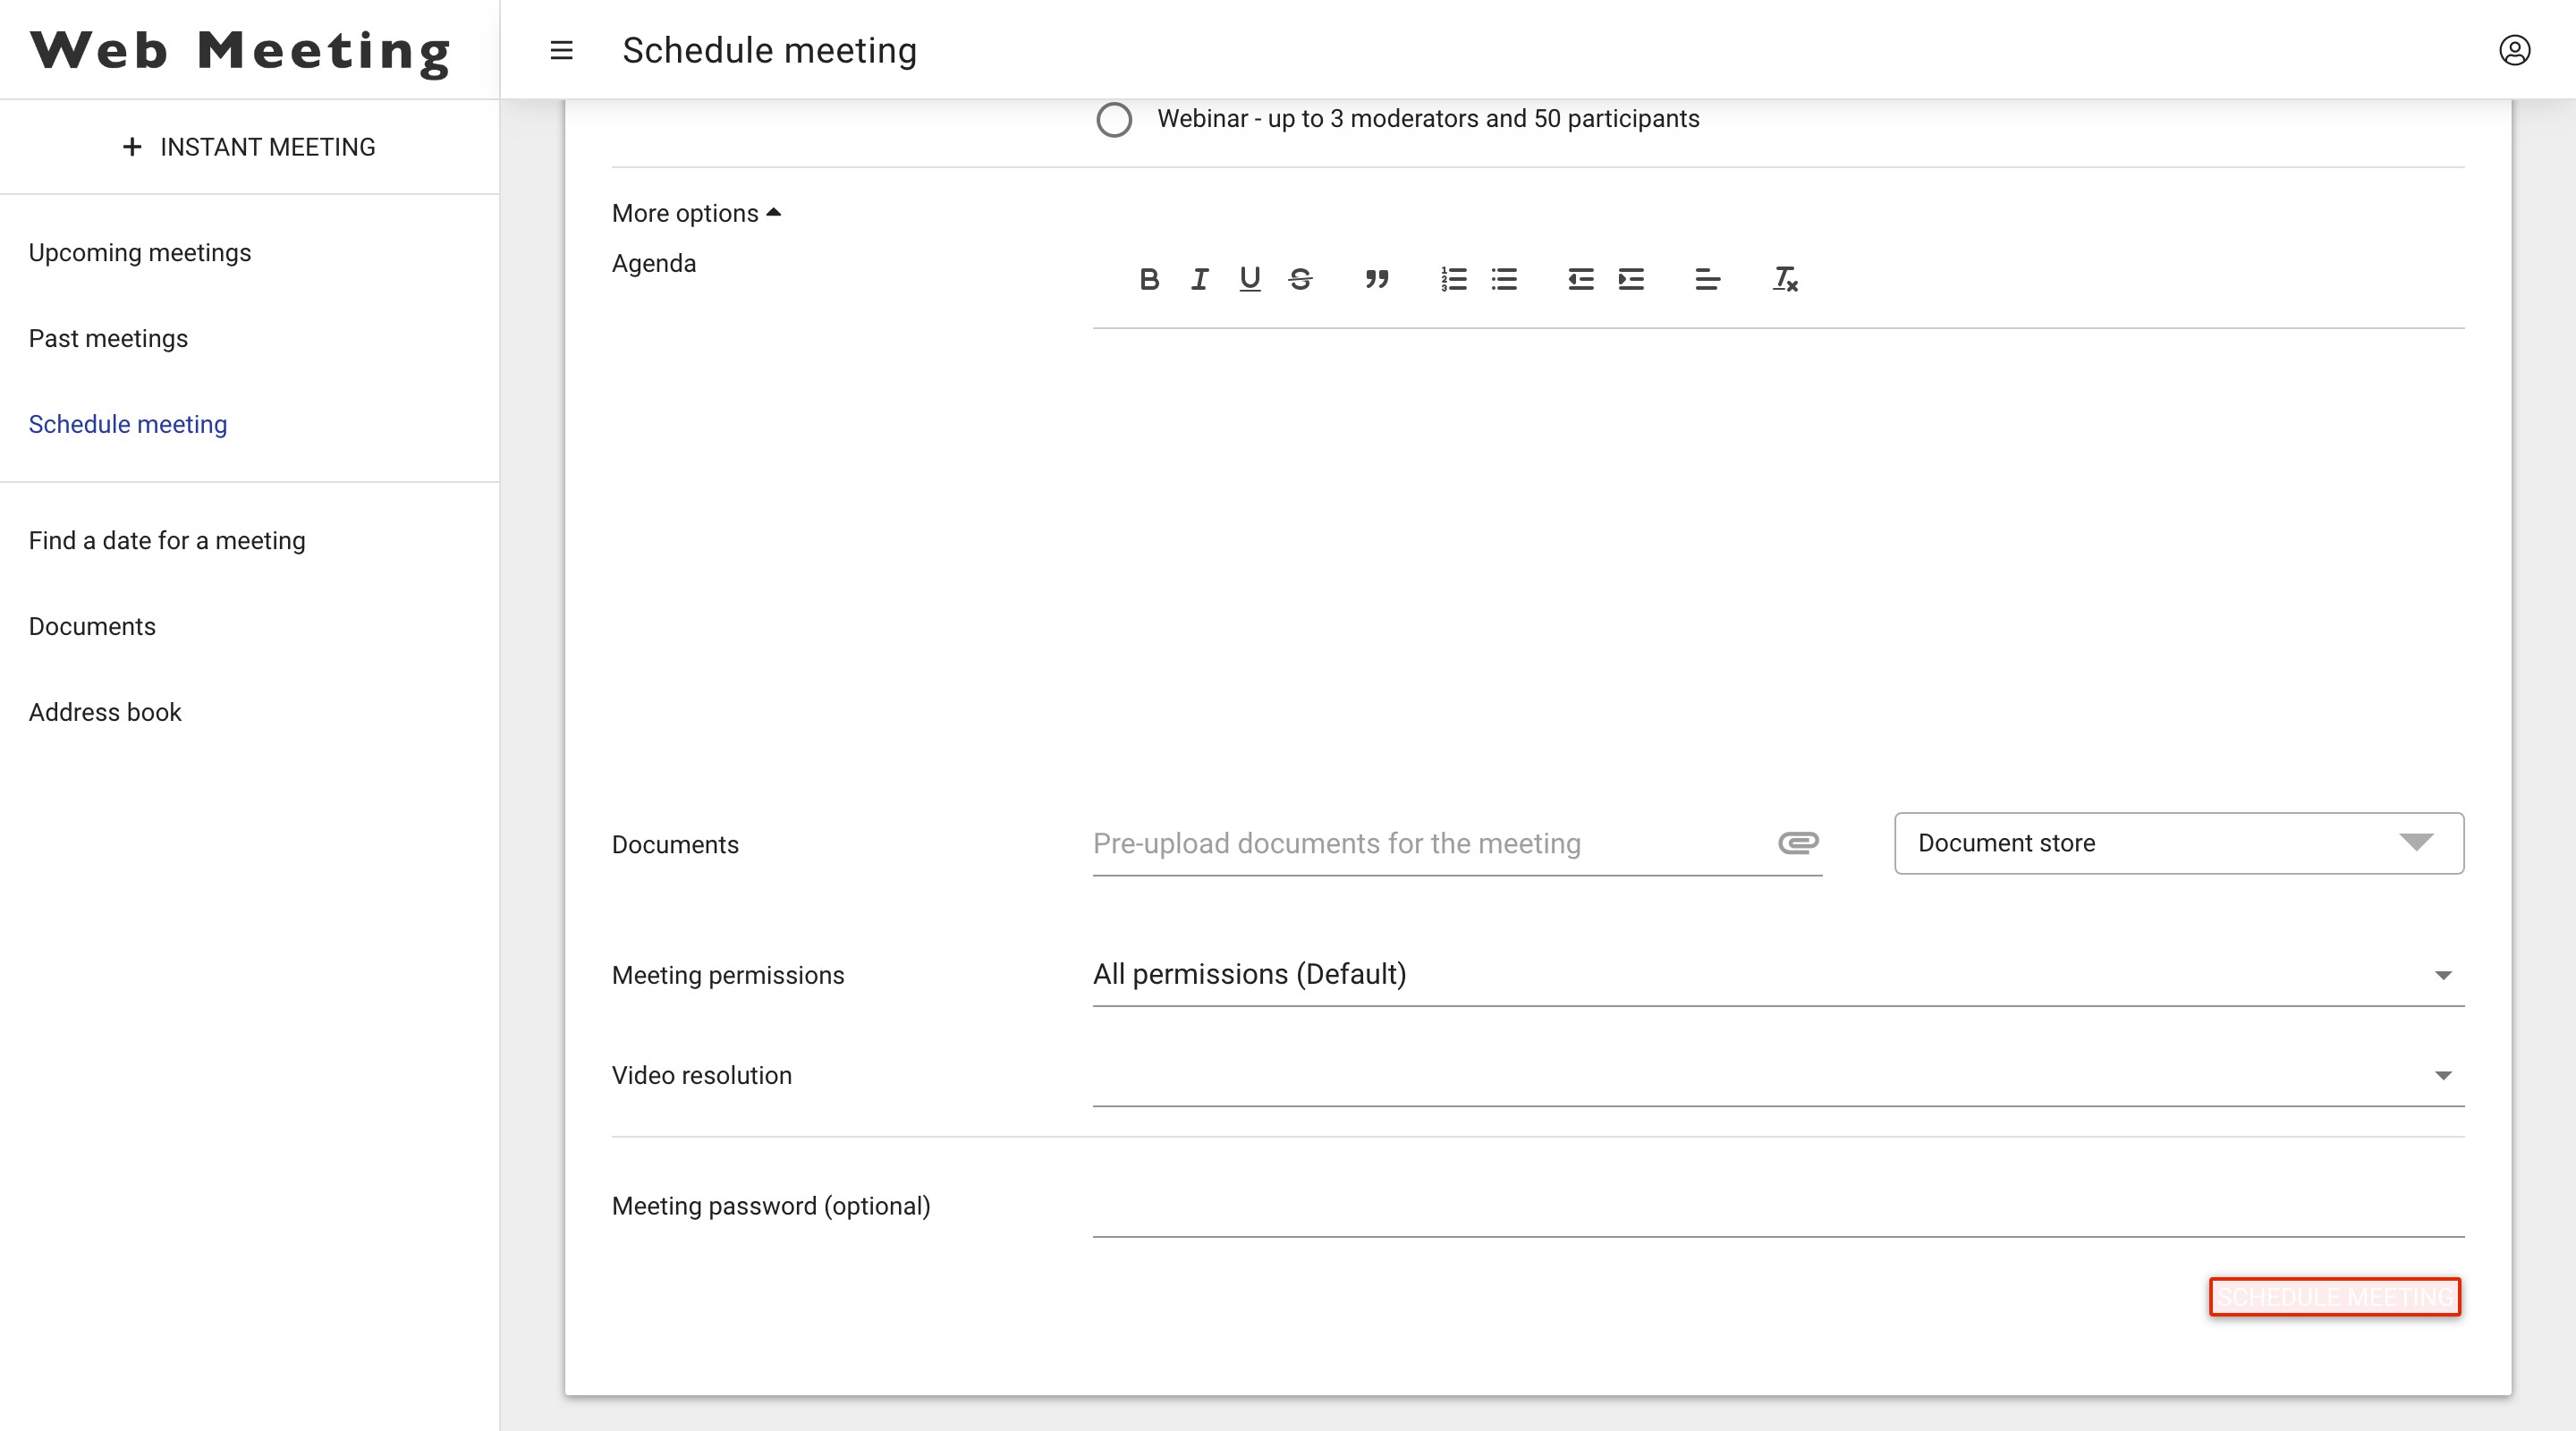
Meeting password : you can opt to require a password to be able to enter the meeting room, this password will be sent in the invitation to your participants. After you have entered all the required information, click on the ‘schedule meeting’ button on the bottom right of your interface. The meeting is then scheduled and ready to be joined and used.
You will be re-directed to a new screen with all the details of your scheduled meeting. The scheduled meeting will now also be listed under the upcoming meetings menu.
You can still invite extra participants by sending them the Meeting link that is generated on your interface, or invite them afterwards once you have entered the Meeting room itself (see Invite others)
Webinar
Scheduling a Webinar
Unlike the other types of meetings, in Webinars you usually don’t want the participants to be able to draw on the whiteboard, upload documents, share their screens etc. Therefore, we advise you to first create meeting permissions specific for a Webinar (see Meeting Permissions). You can then schedule a Webinar using the newly created meeting permissions.
The Webinar itself has two types of participants, there are moderators and participants. A participant is a user who joins the Webinar but does not stream audio and video, the participant only consumes the presentation. A moderator on the other hand is allowed to present, share audio and video, see the list of all participants, etc. In a school the teacher would be the moderator and the participants are the students.
To schedule a Webinar you need to select ‘Webinar’ as the ‘Meeting type’. You also have to scroll down, open the ‘More options’ tab and select your created meeting permissions and select it to apply to this webinar.
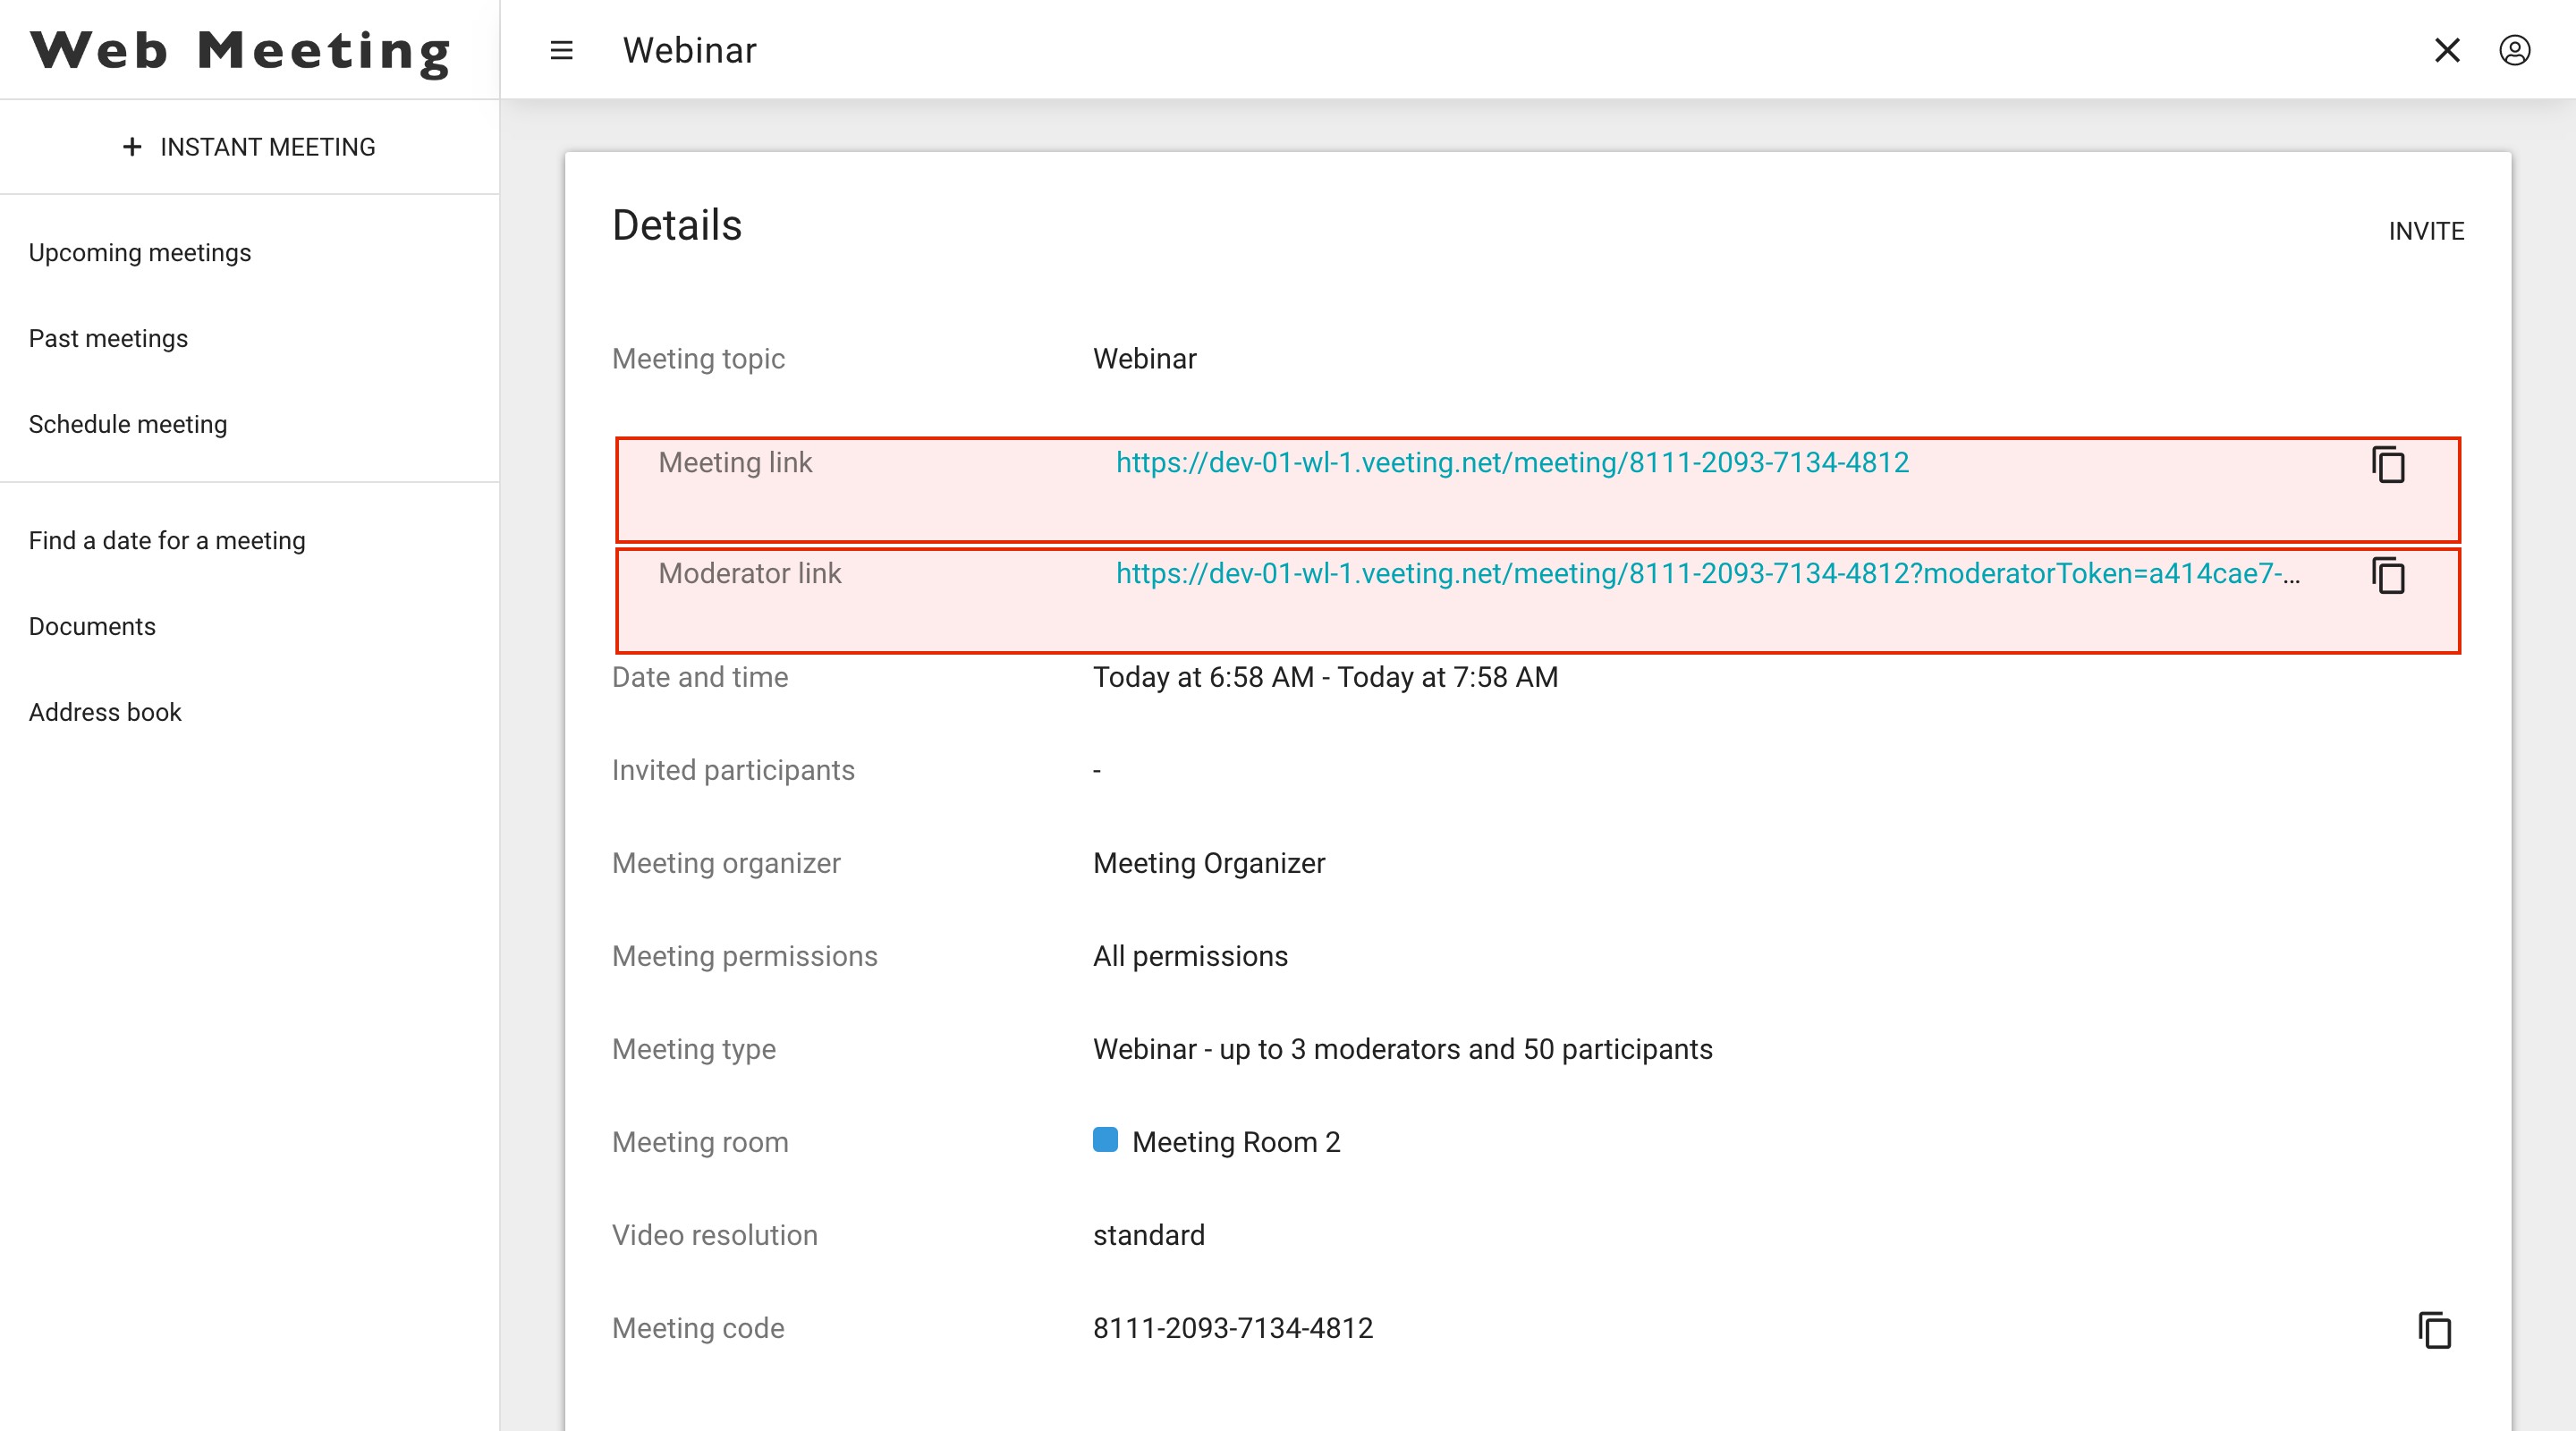
Once scheduled you will have two different meeting links: the standard “Meeting link” for the participants and the “Moderator link” for the moderators. If you have invited participants to this webinar, they all received the standard “Meeting link” only. You need to distribute the moderator link yourselves. (max. 3 moderators per Webinar)
Hosting a Webinar
The Webinar has different features for the moderators and participants. Moderators have access to a special webinar tab that lists all participants, shows all participants who raised their hand and displays a list of all questions asked by the participants.
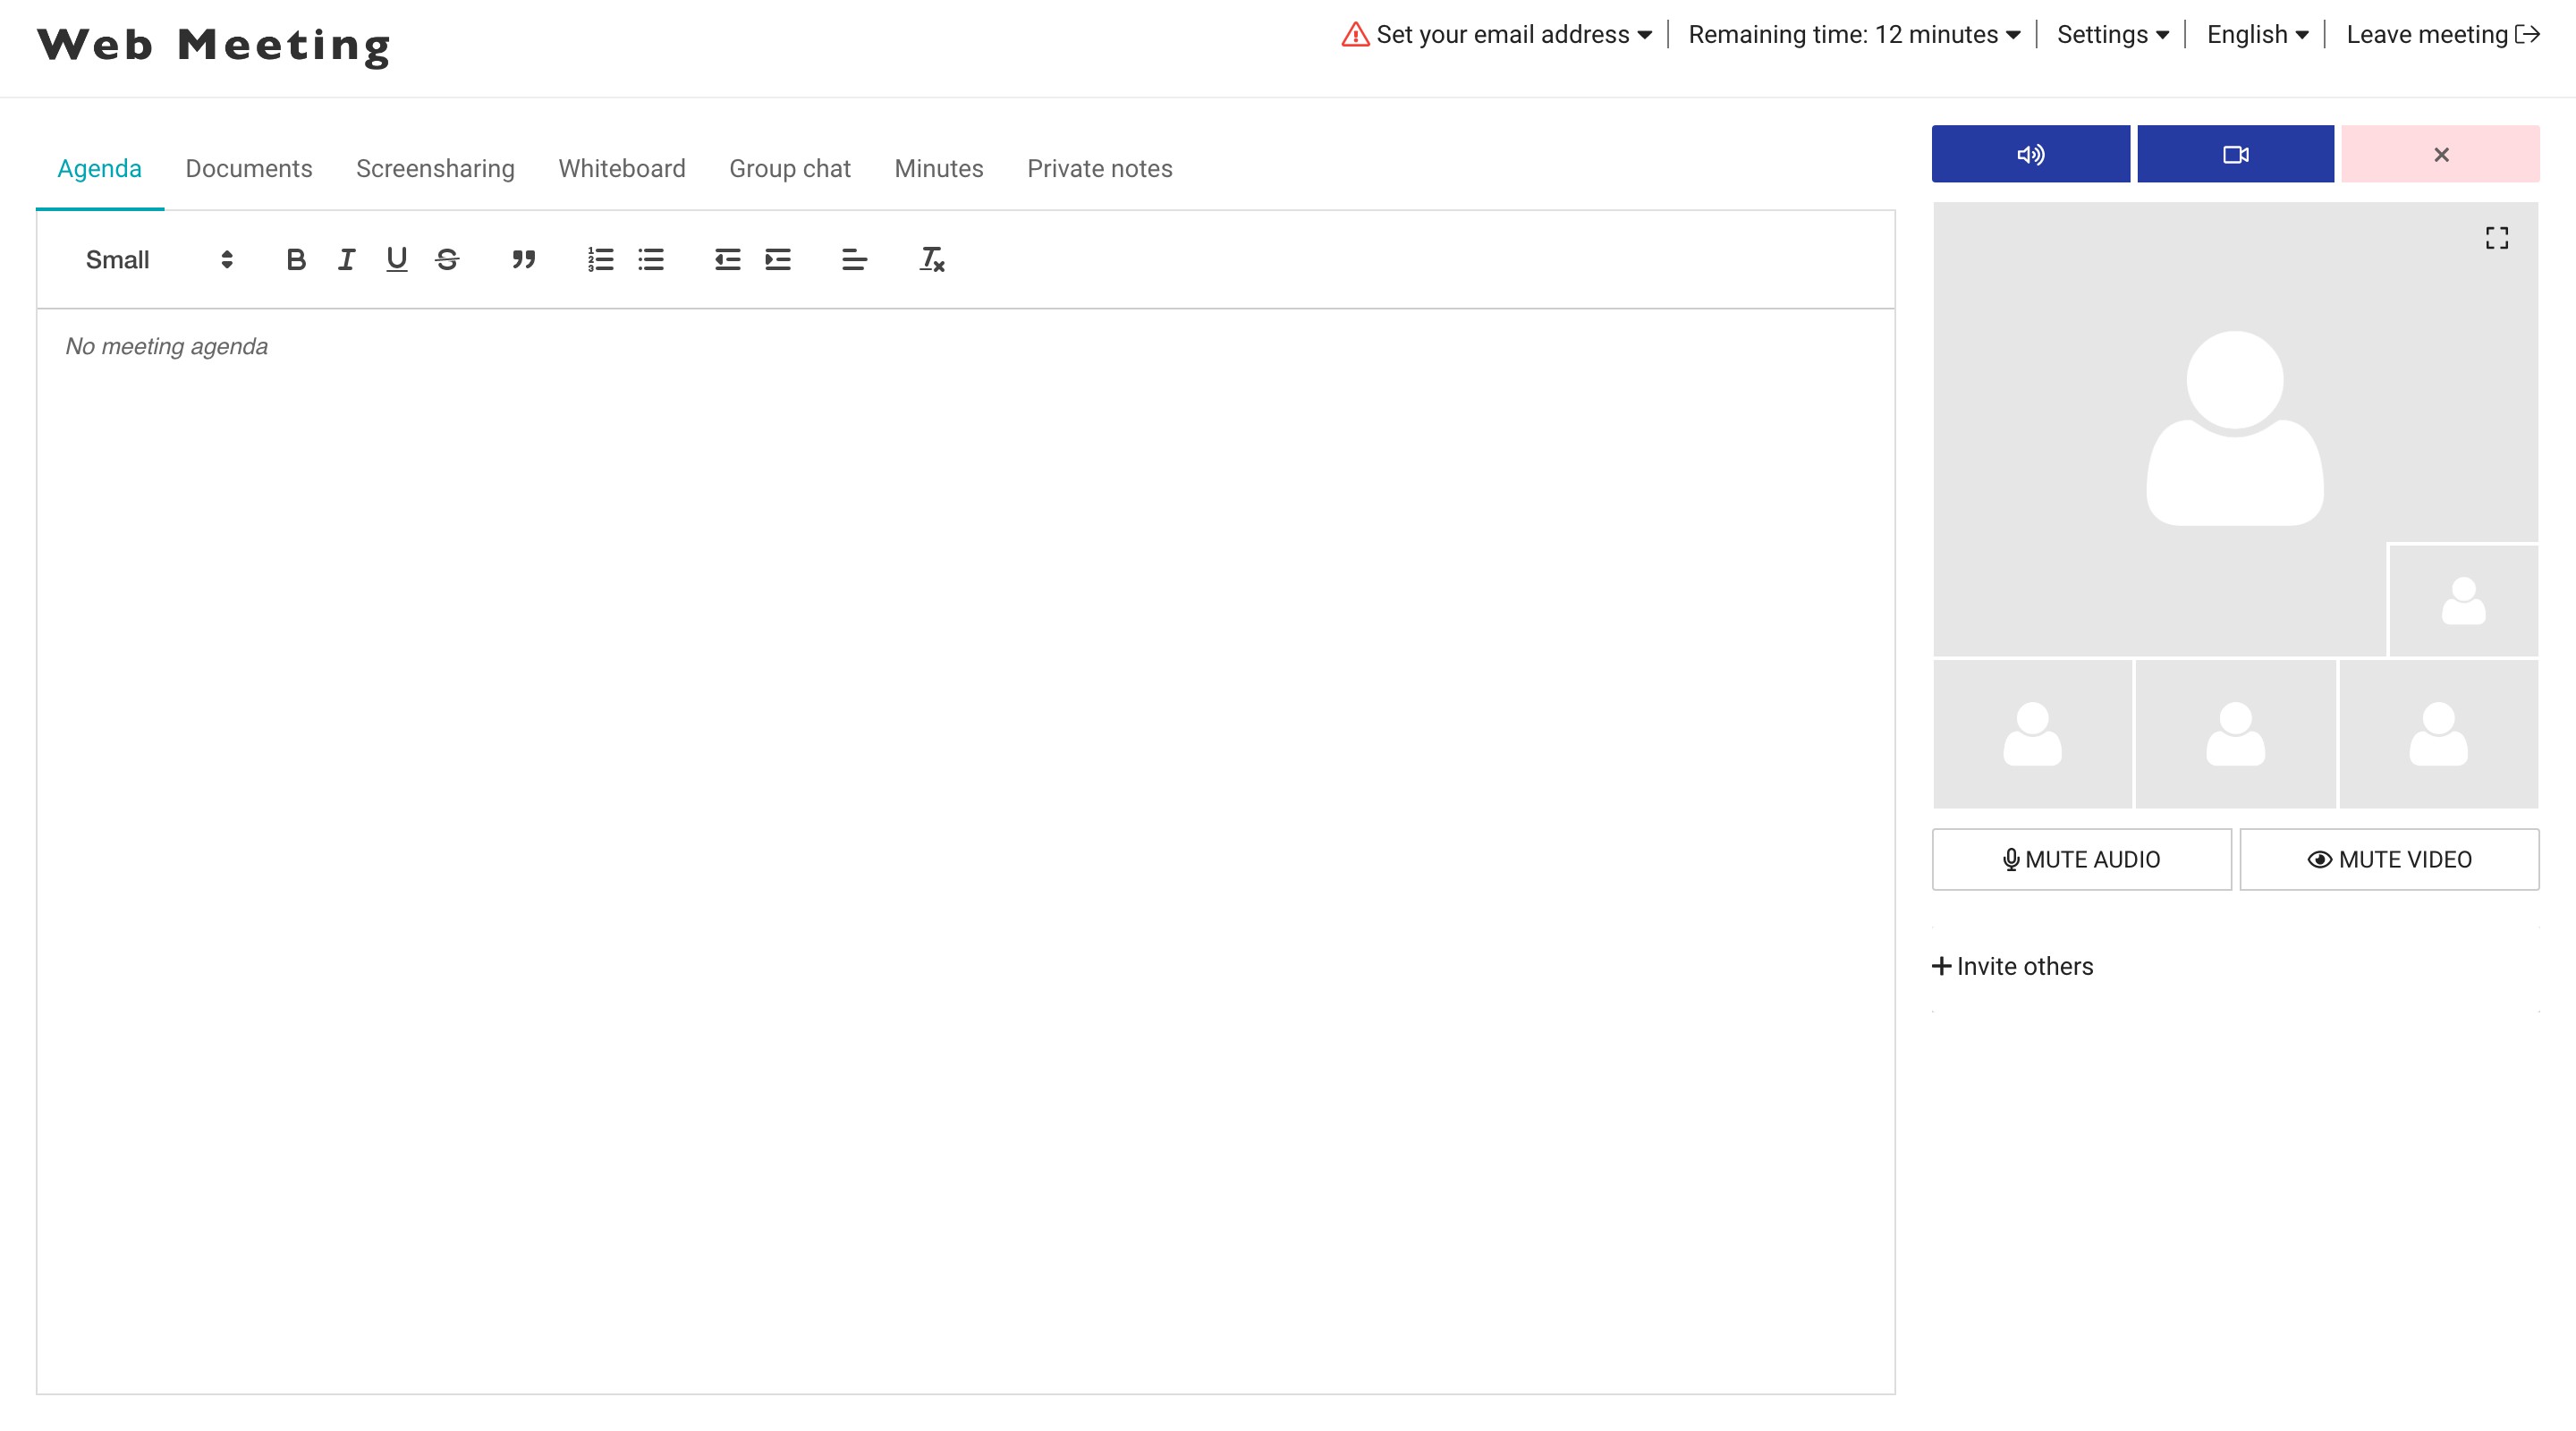
The moderator can also answer those questions and grant special permissions to individual participants.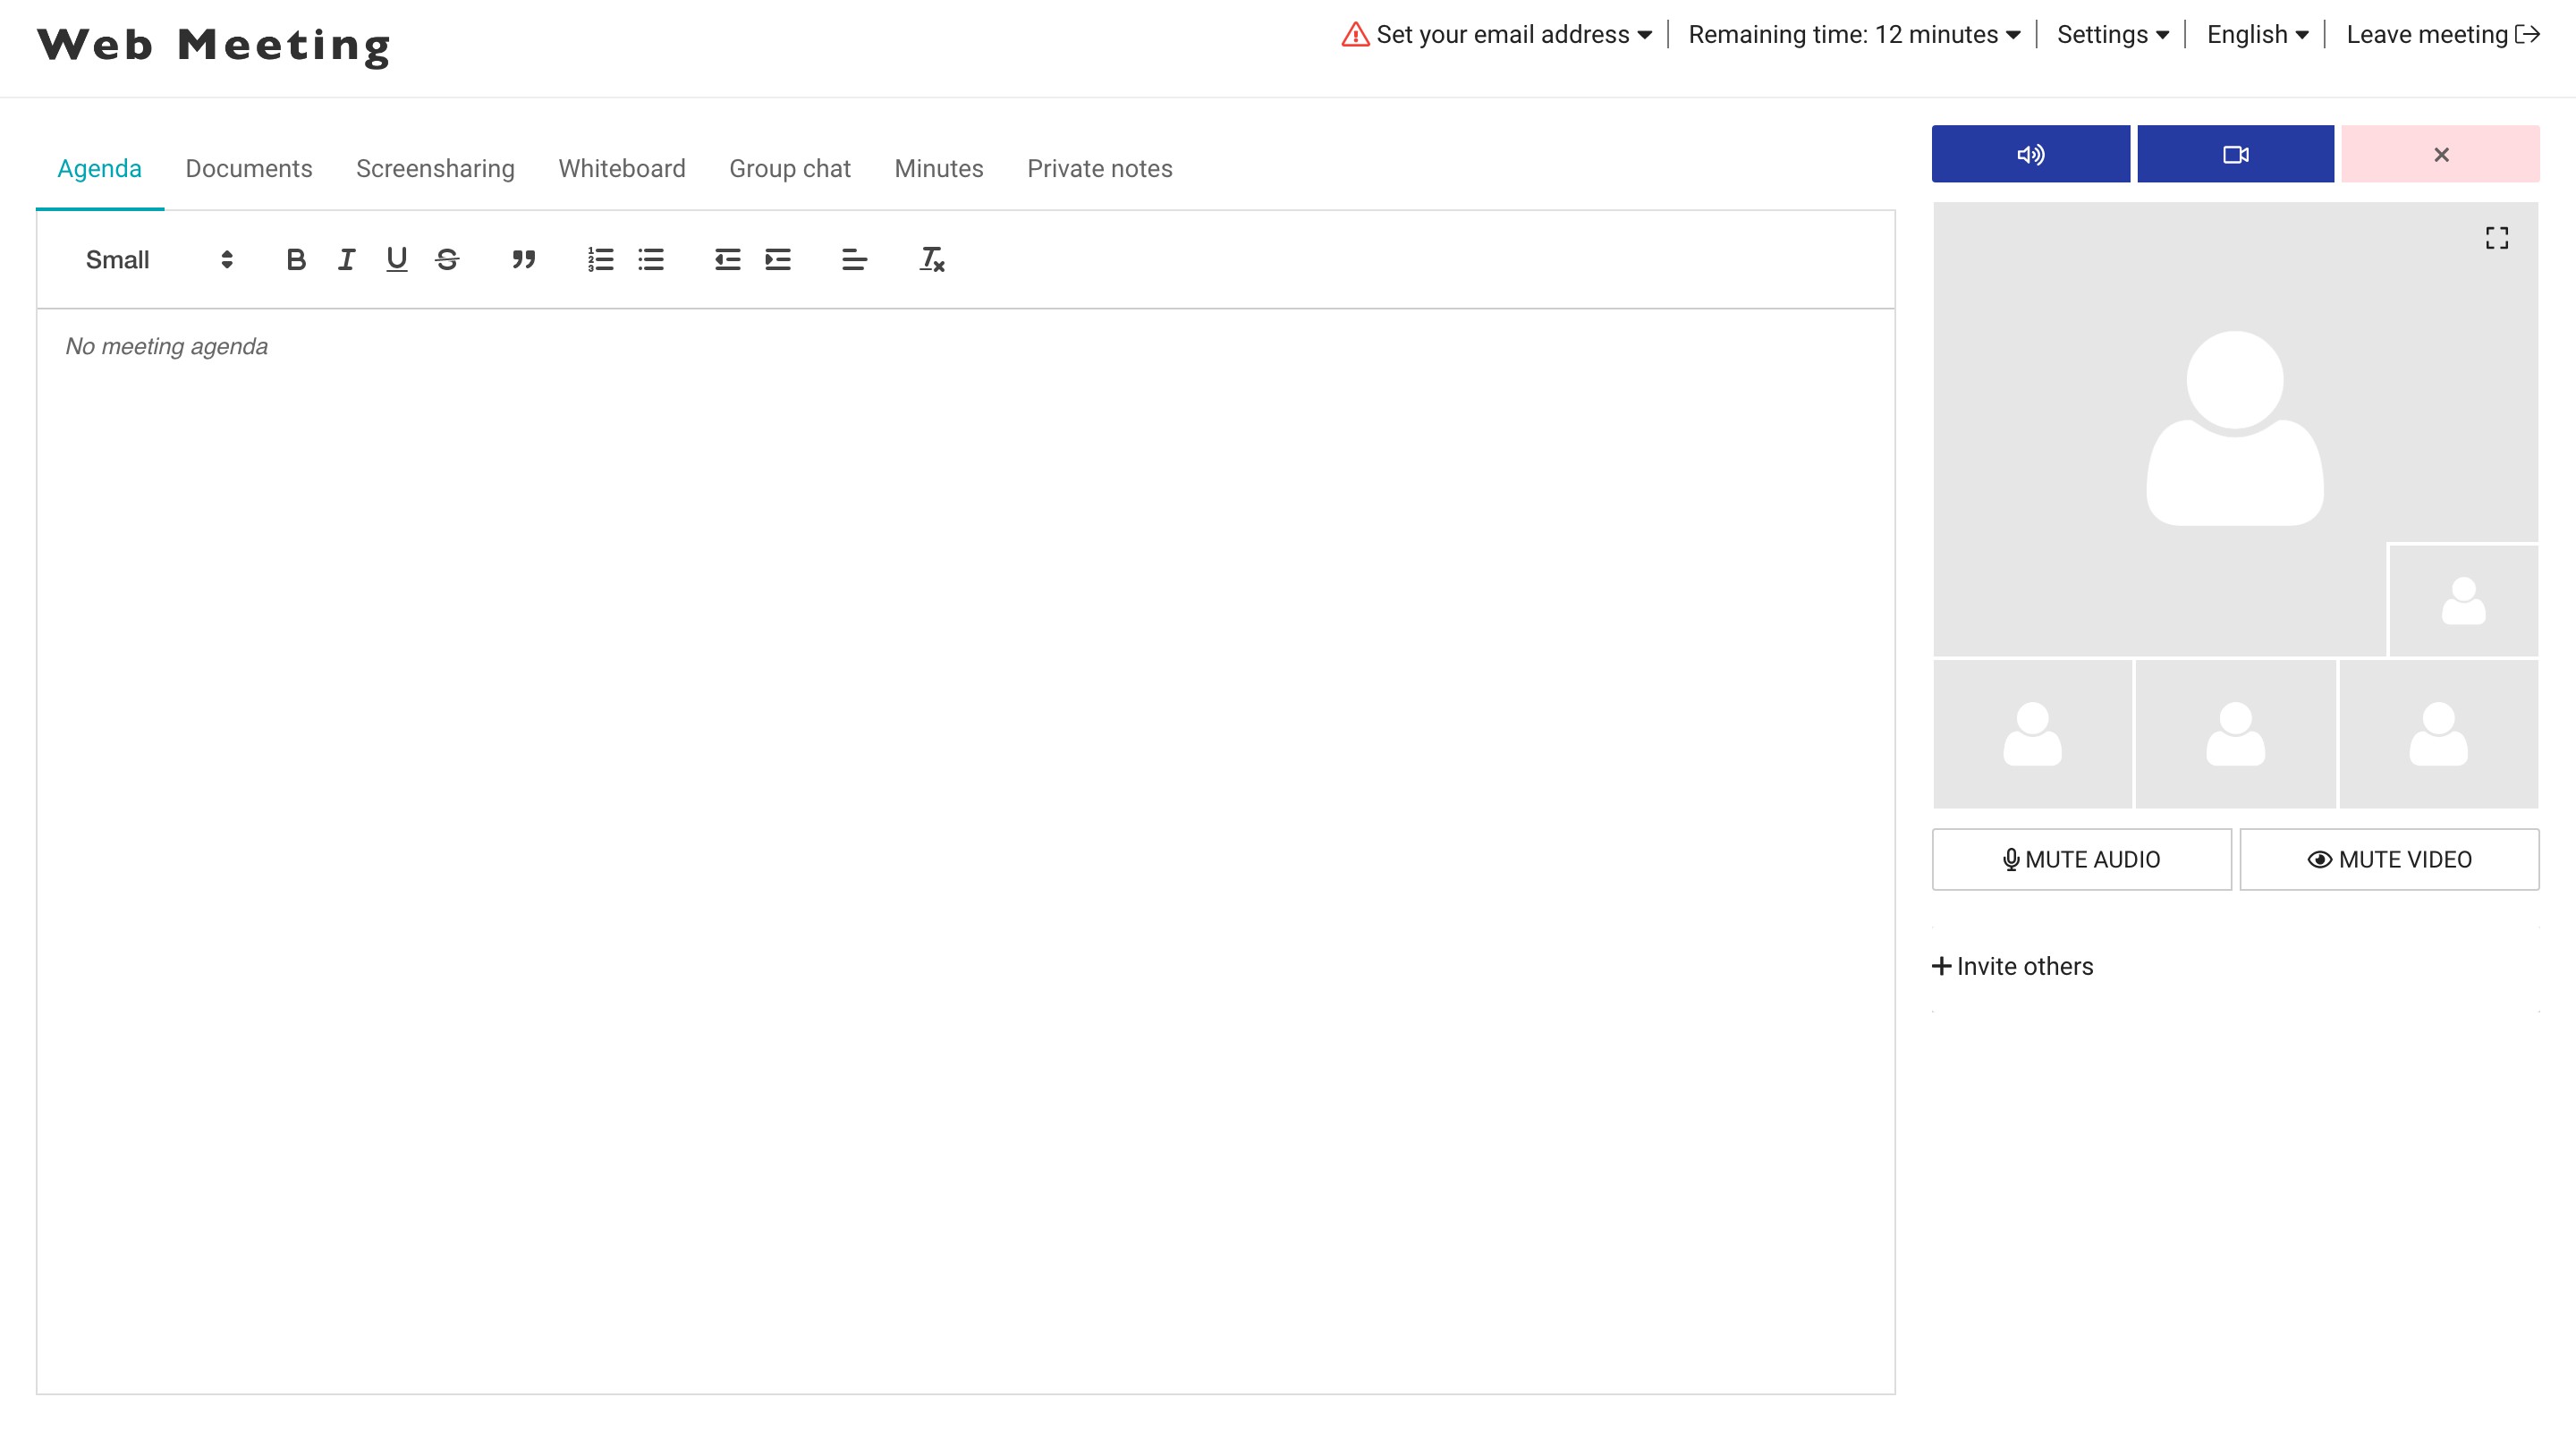
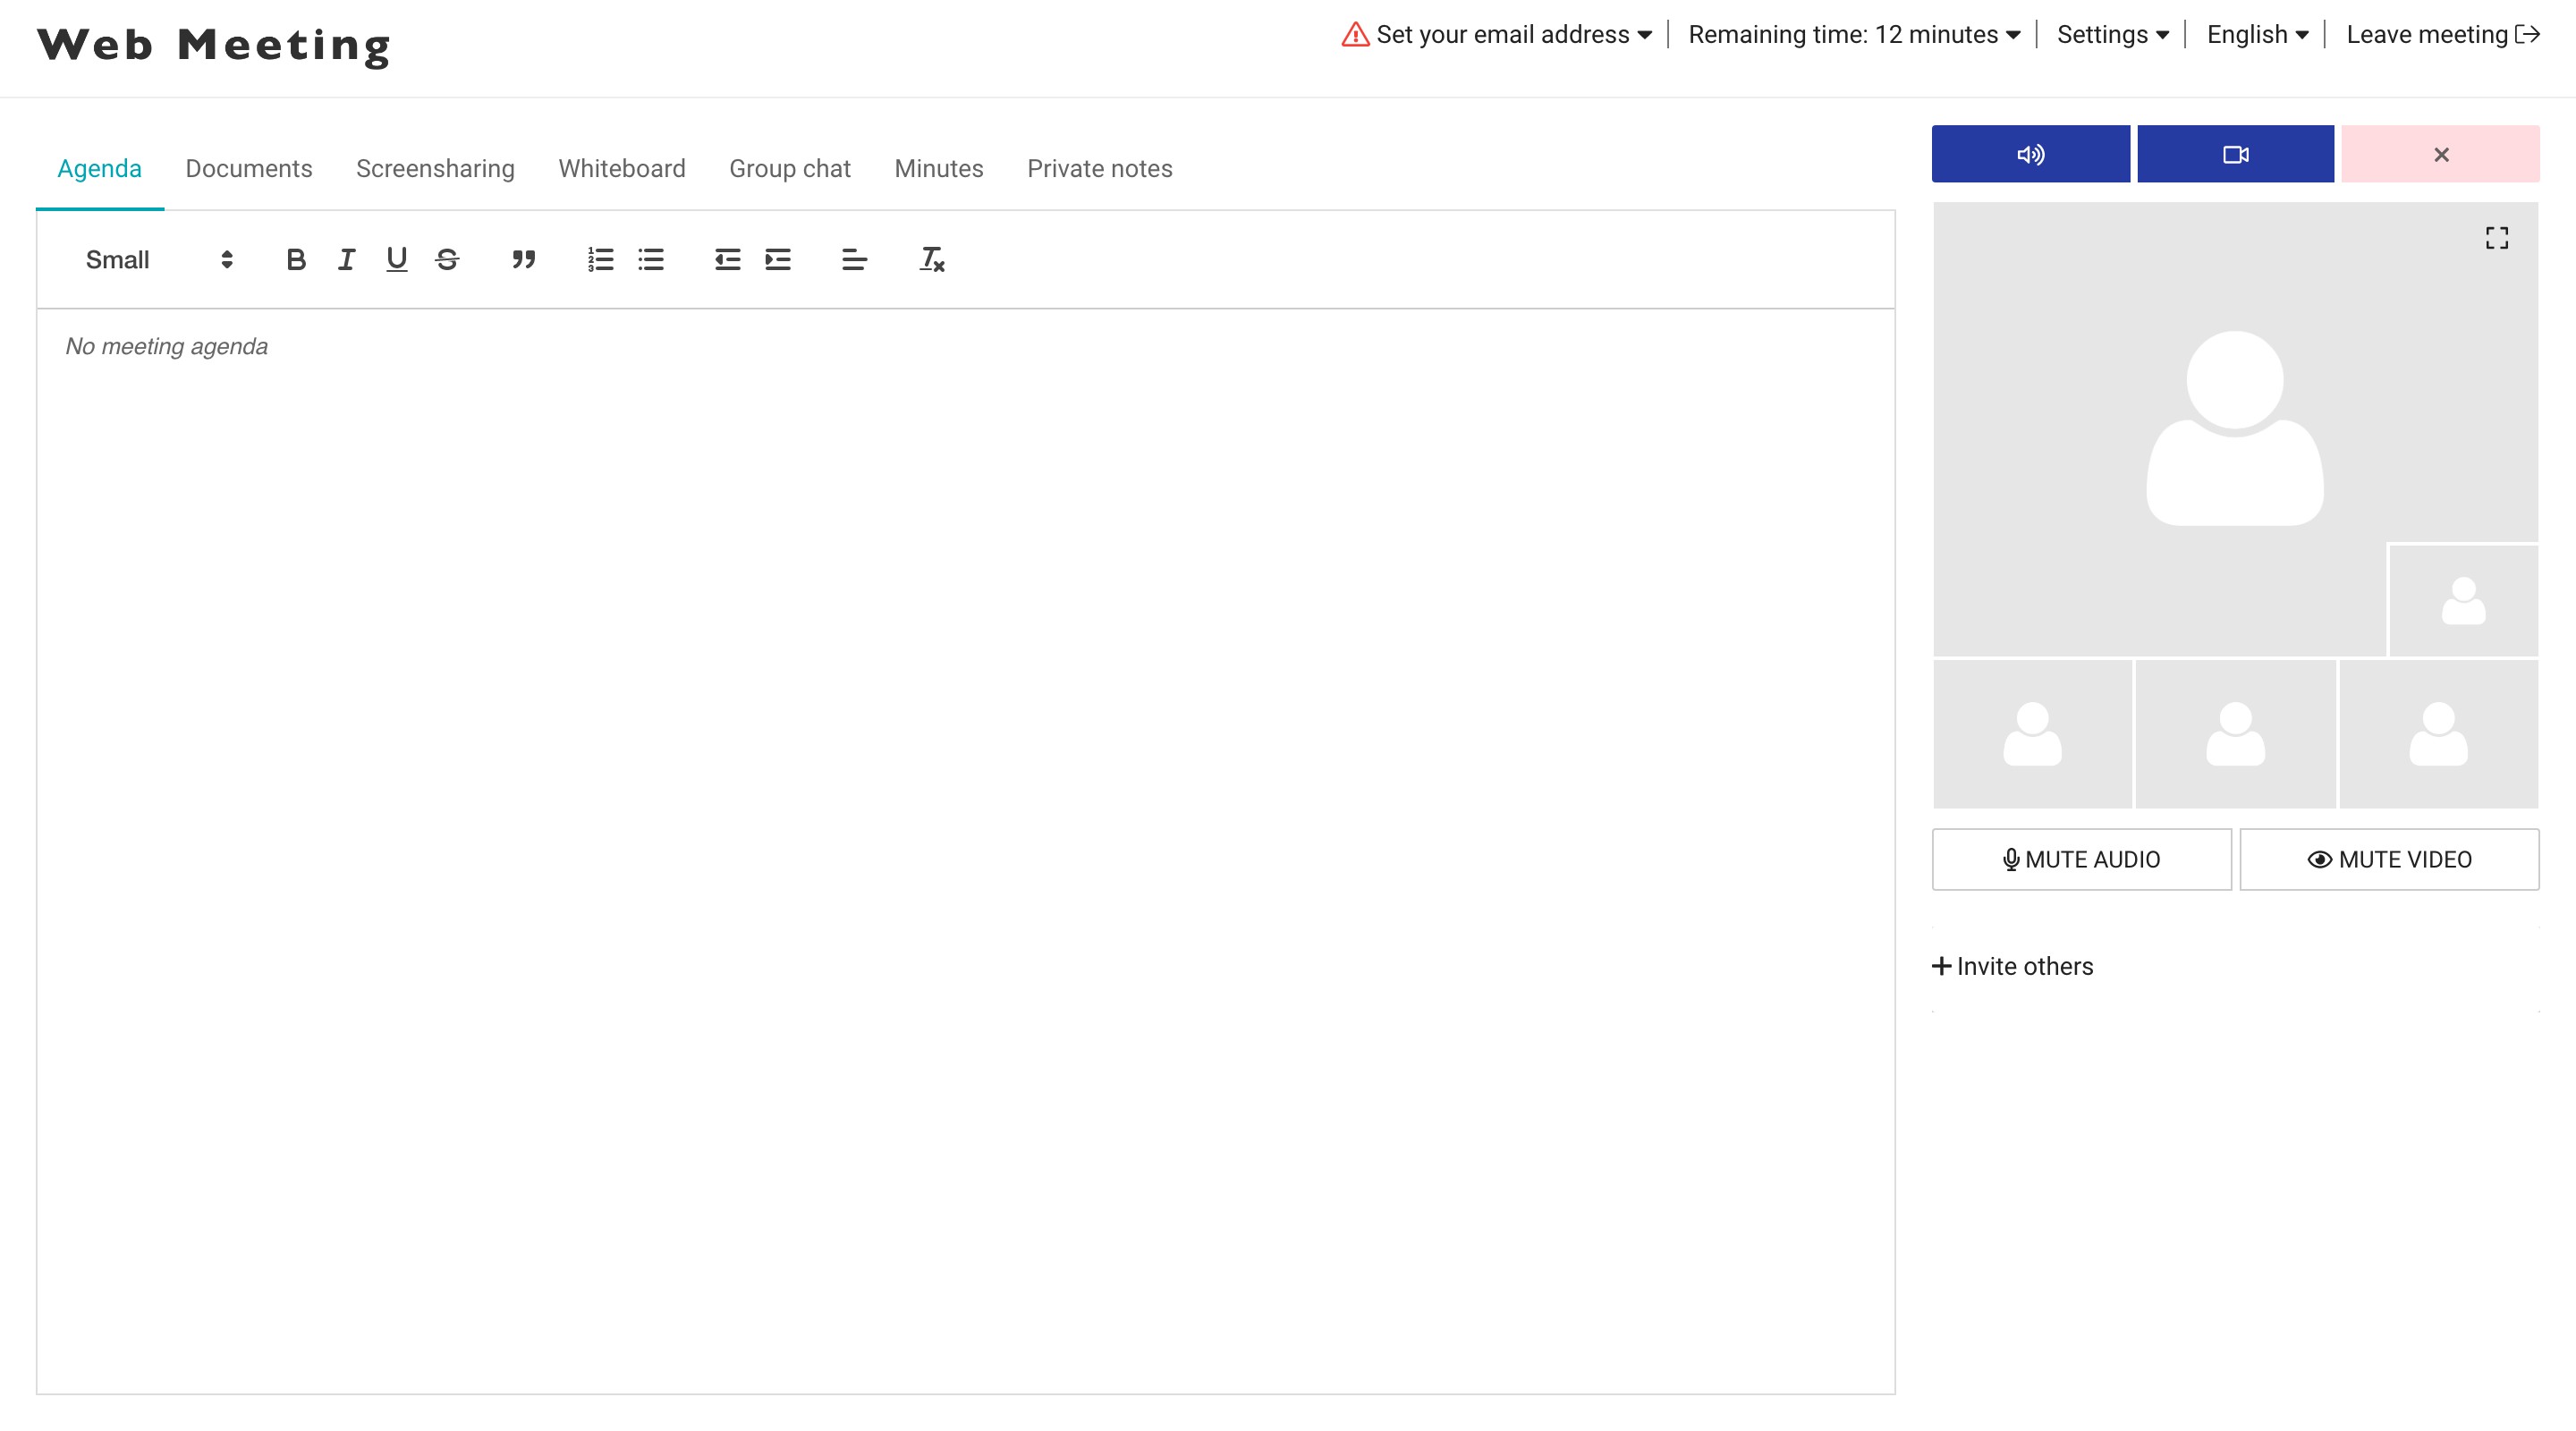
Participants on their side can ask questions and raise their hand to make them noticed.
Find a date for a meeting
Meeting organizer can ask participants about their availability for a possible meeting. You can create a poll and send it to other participants. To create a new poll, click on the "+" sign at the top right of your screen.
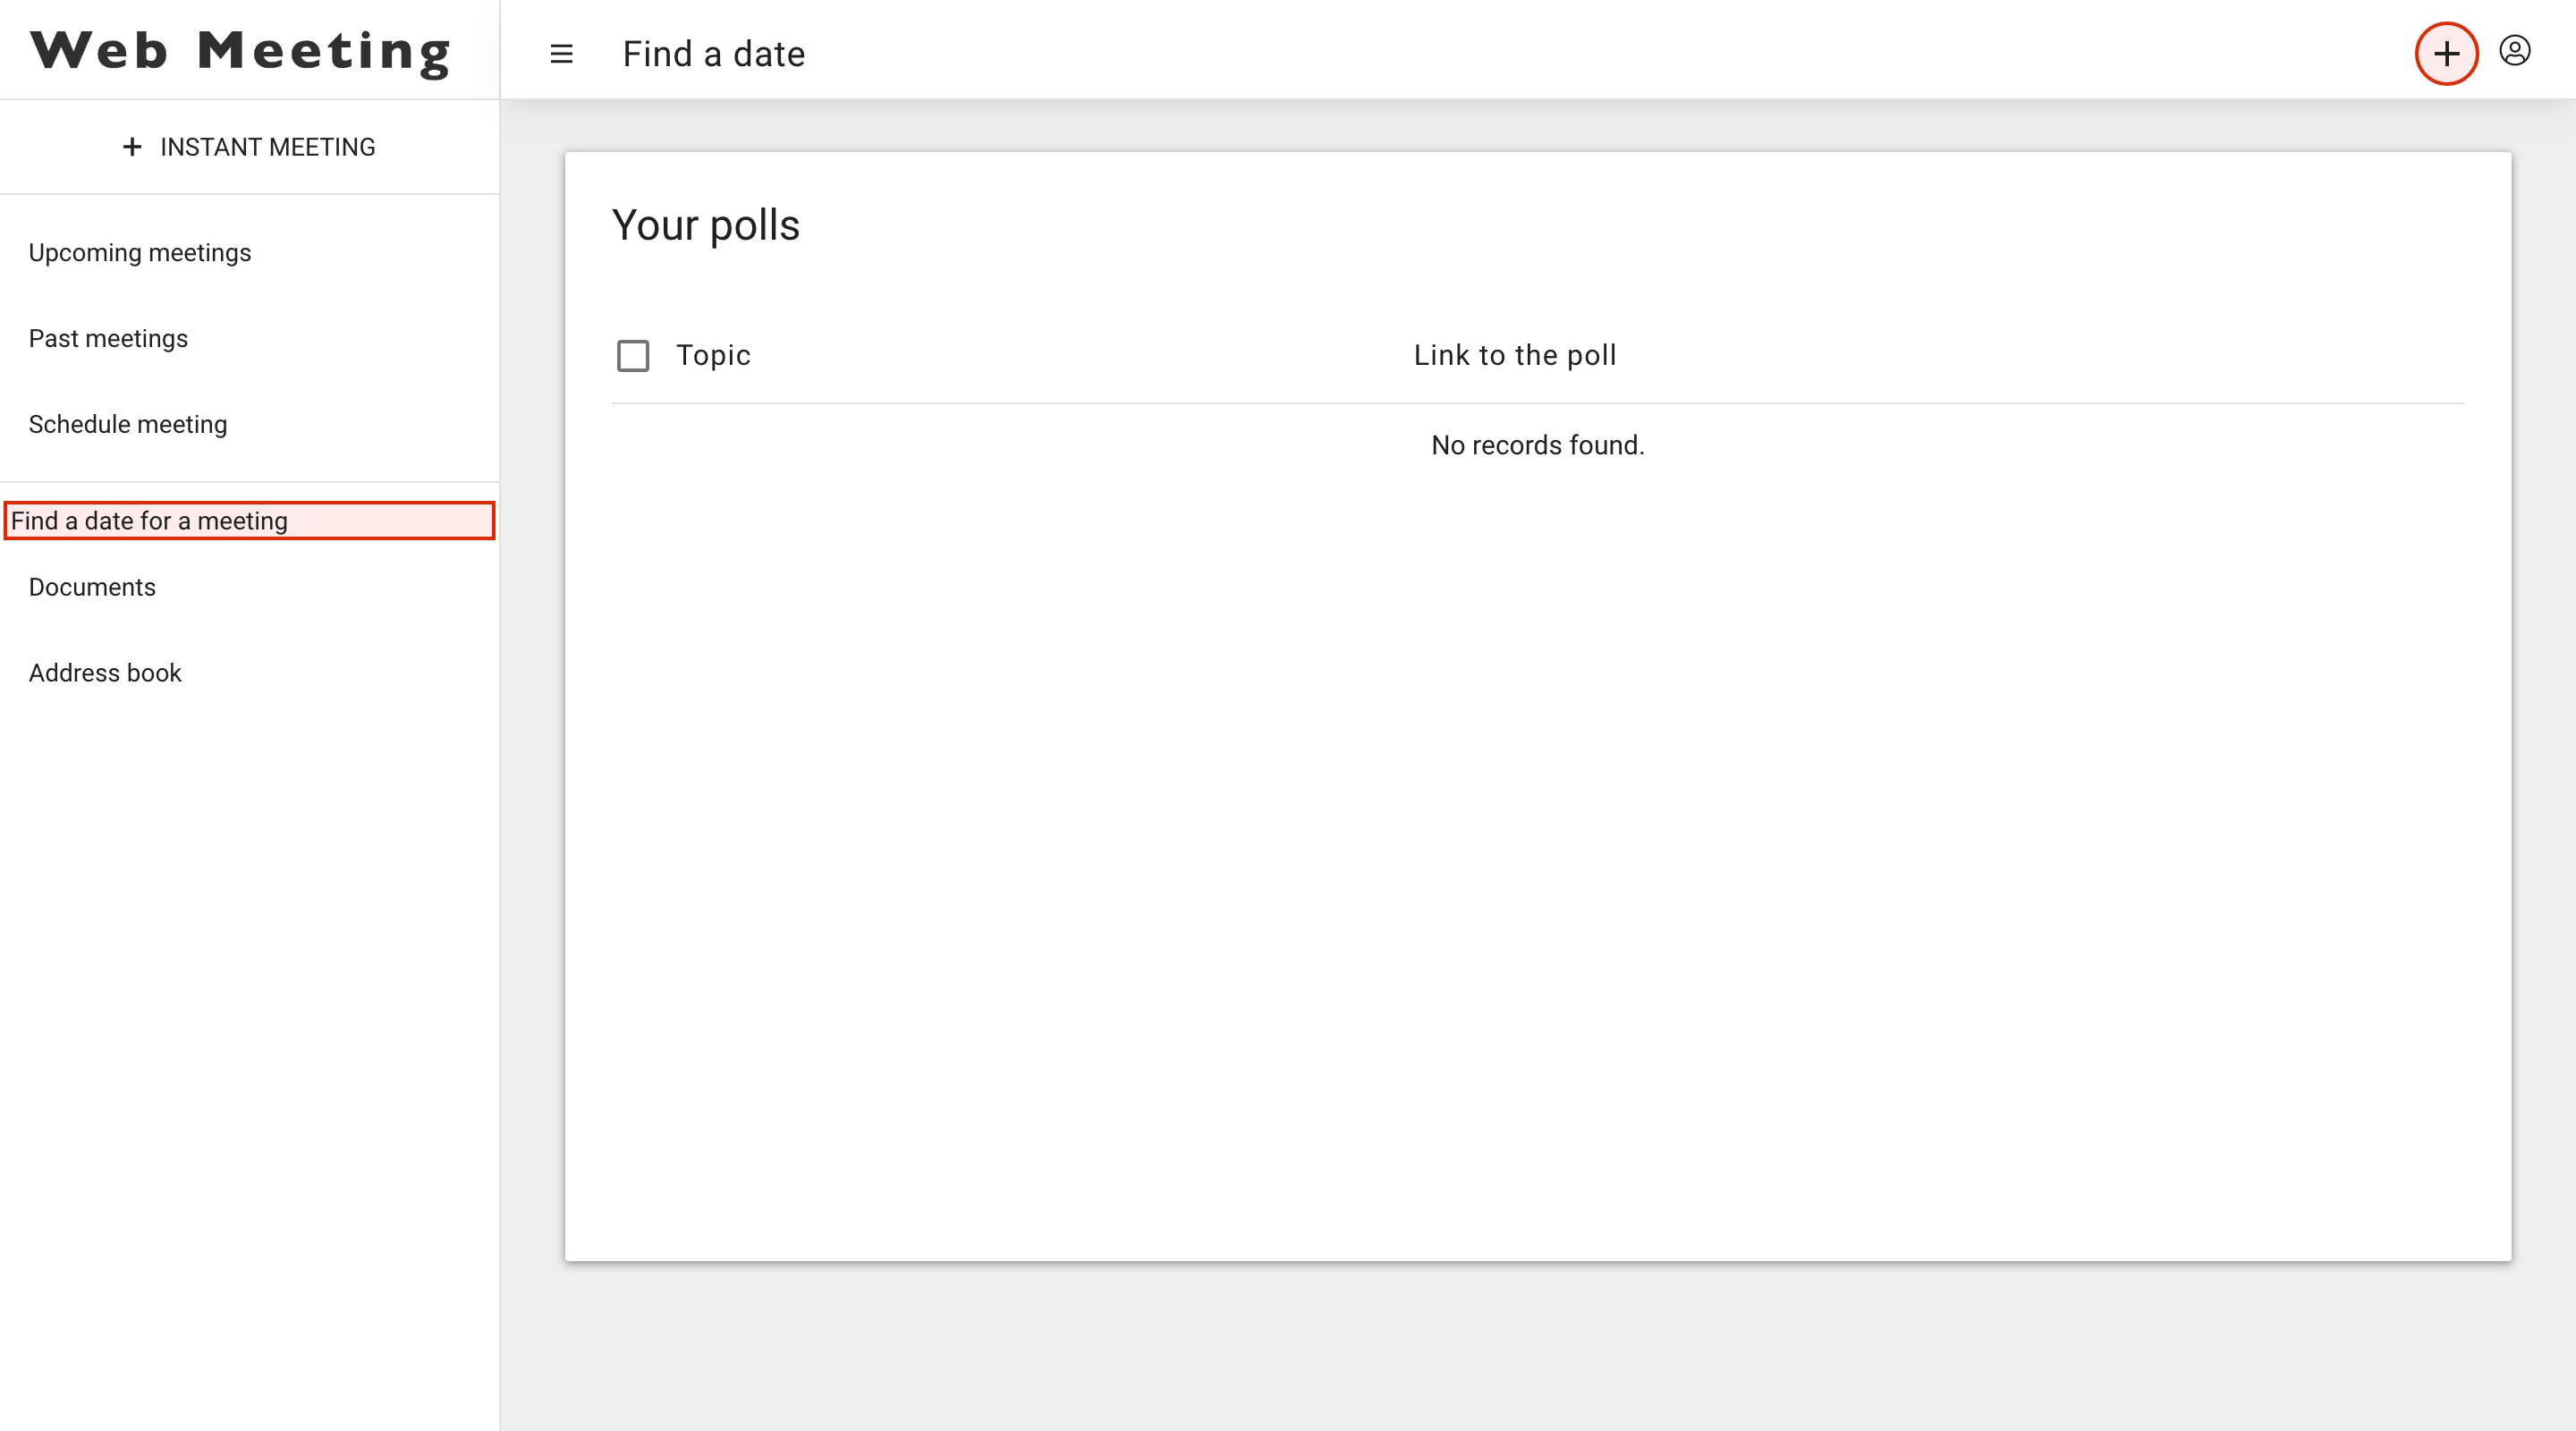
At this point you can create a poll to send to your participants. It is possible to propose different days and times. Just follow the different steps proposed.
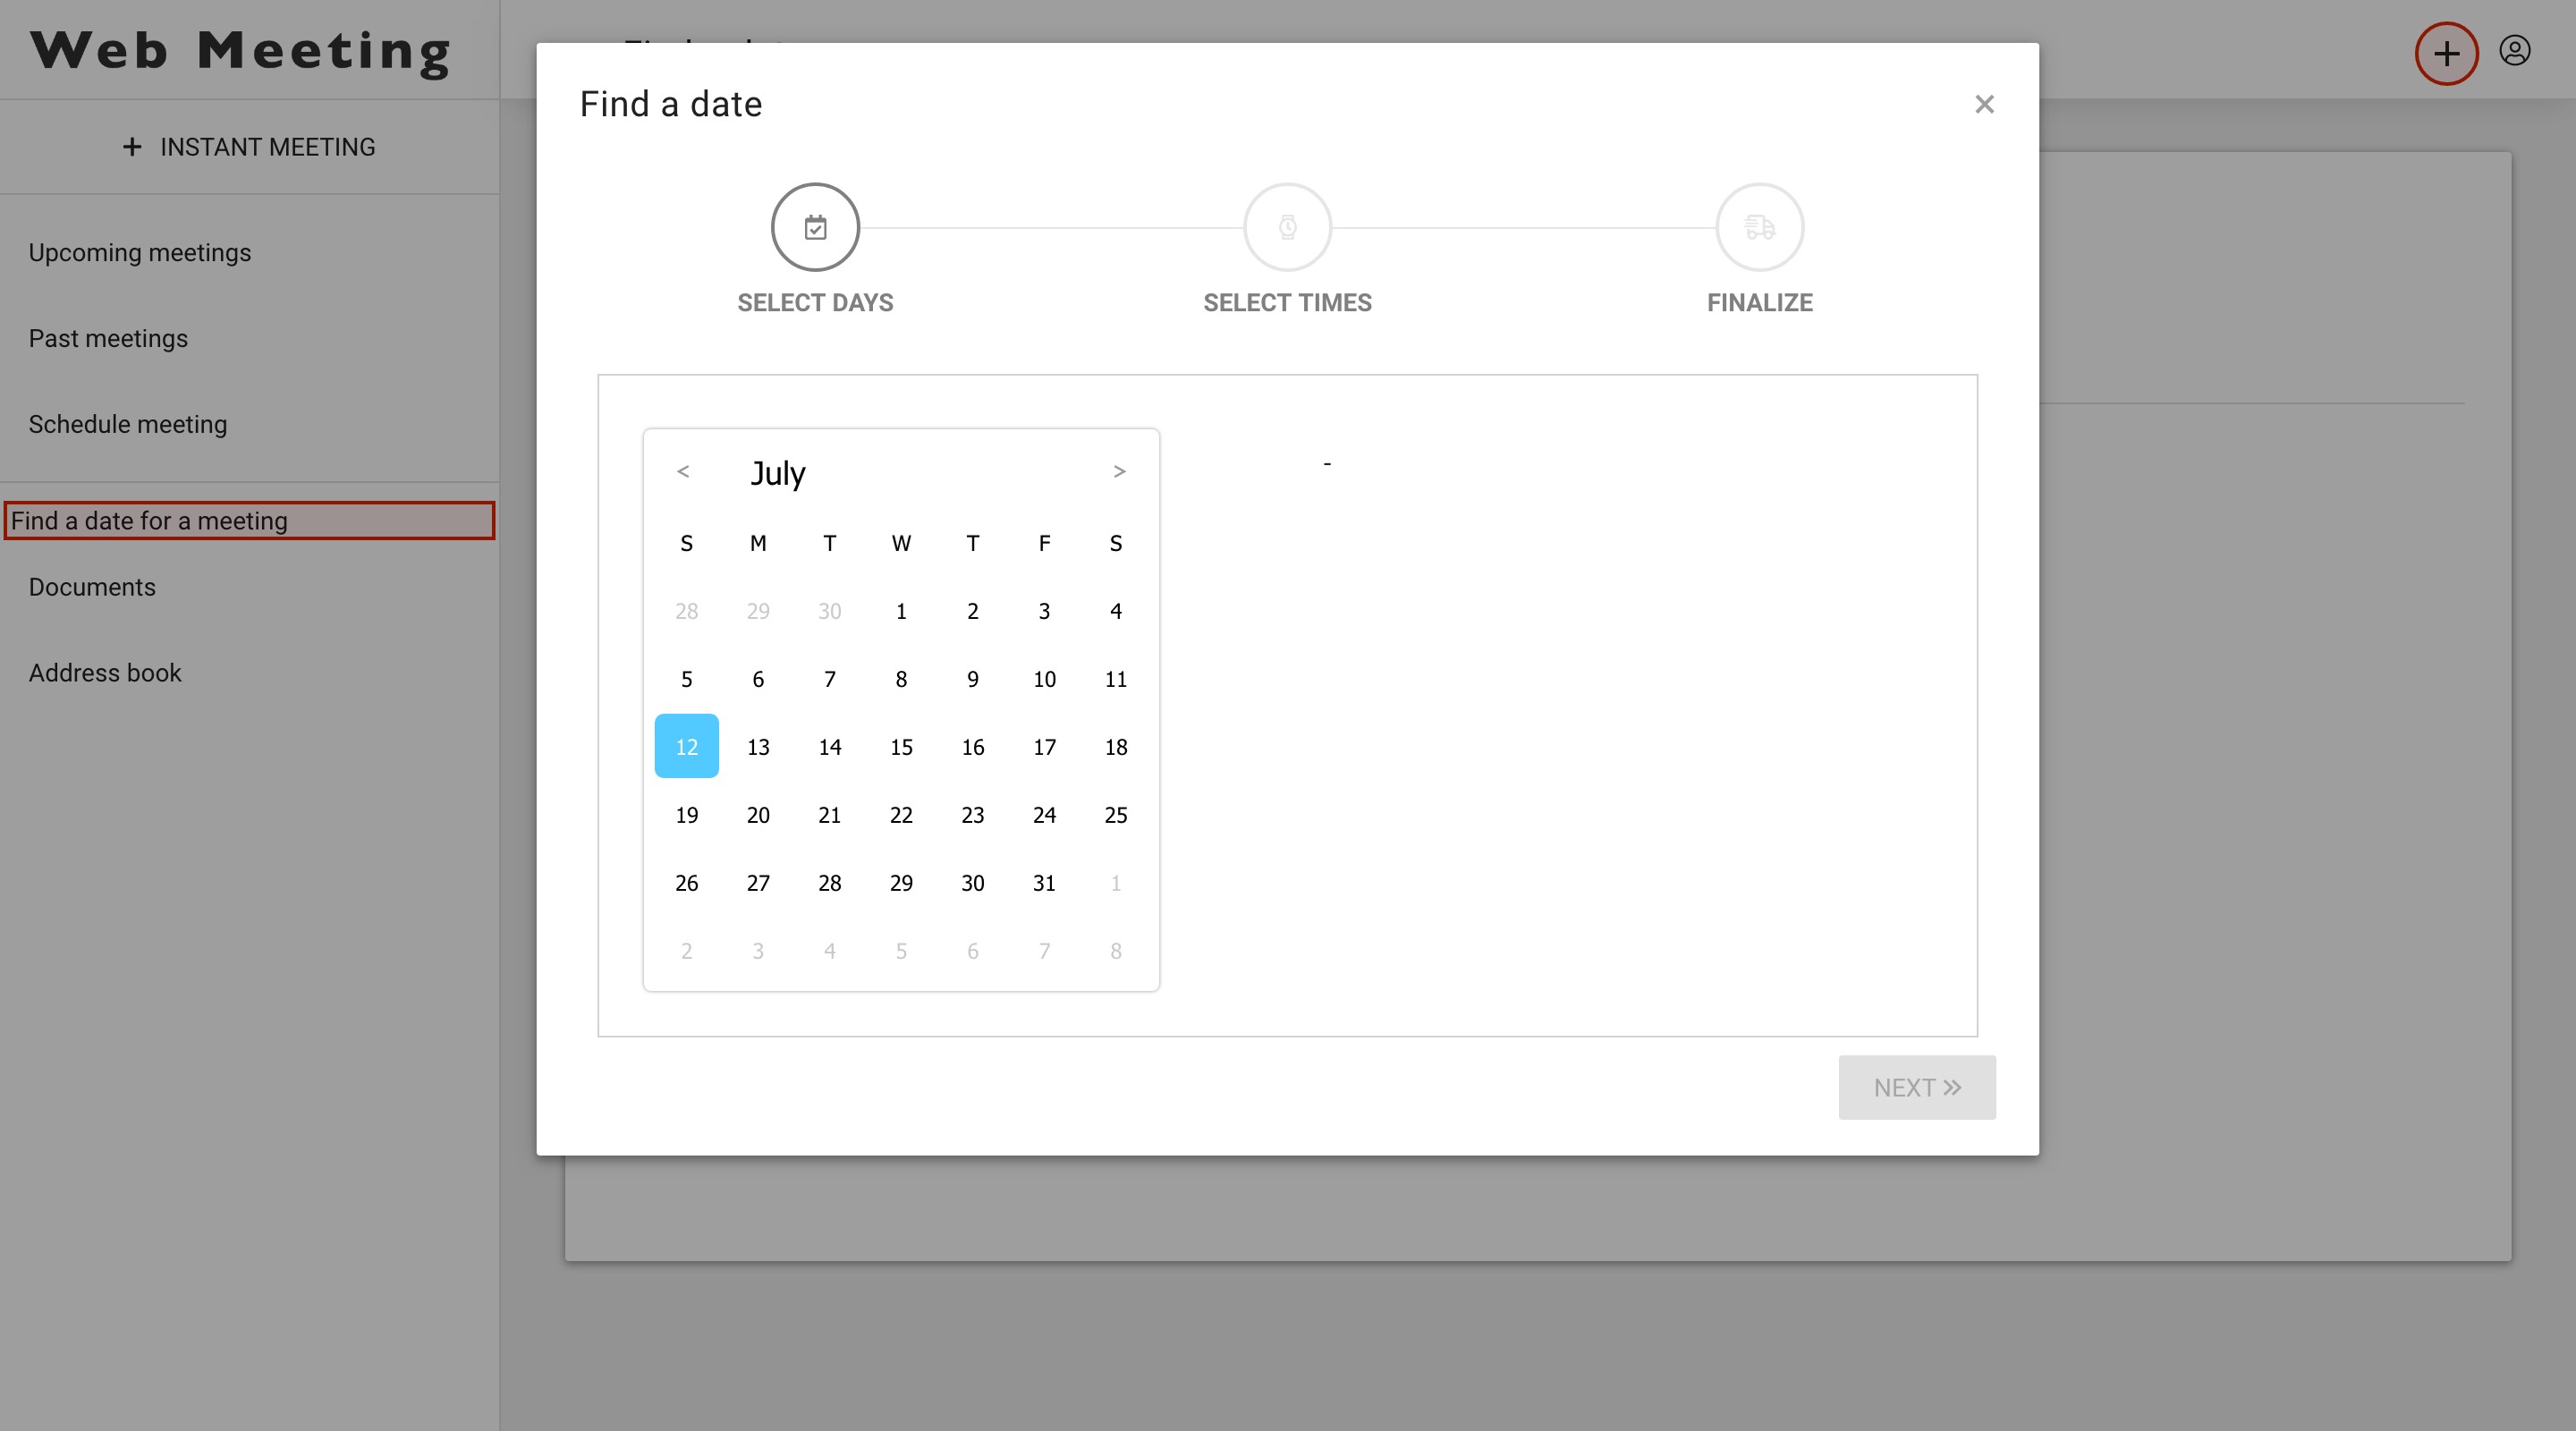
After having completed the poll options, the created poll will appear in the list. To access and view the poll, click on the poll link.
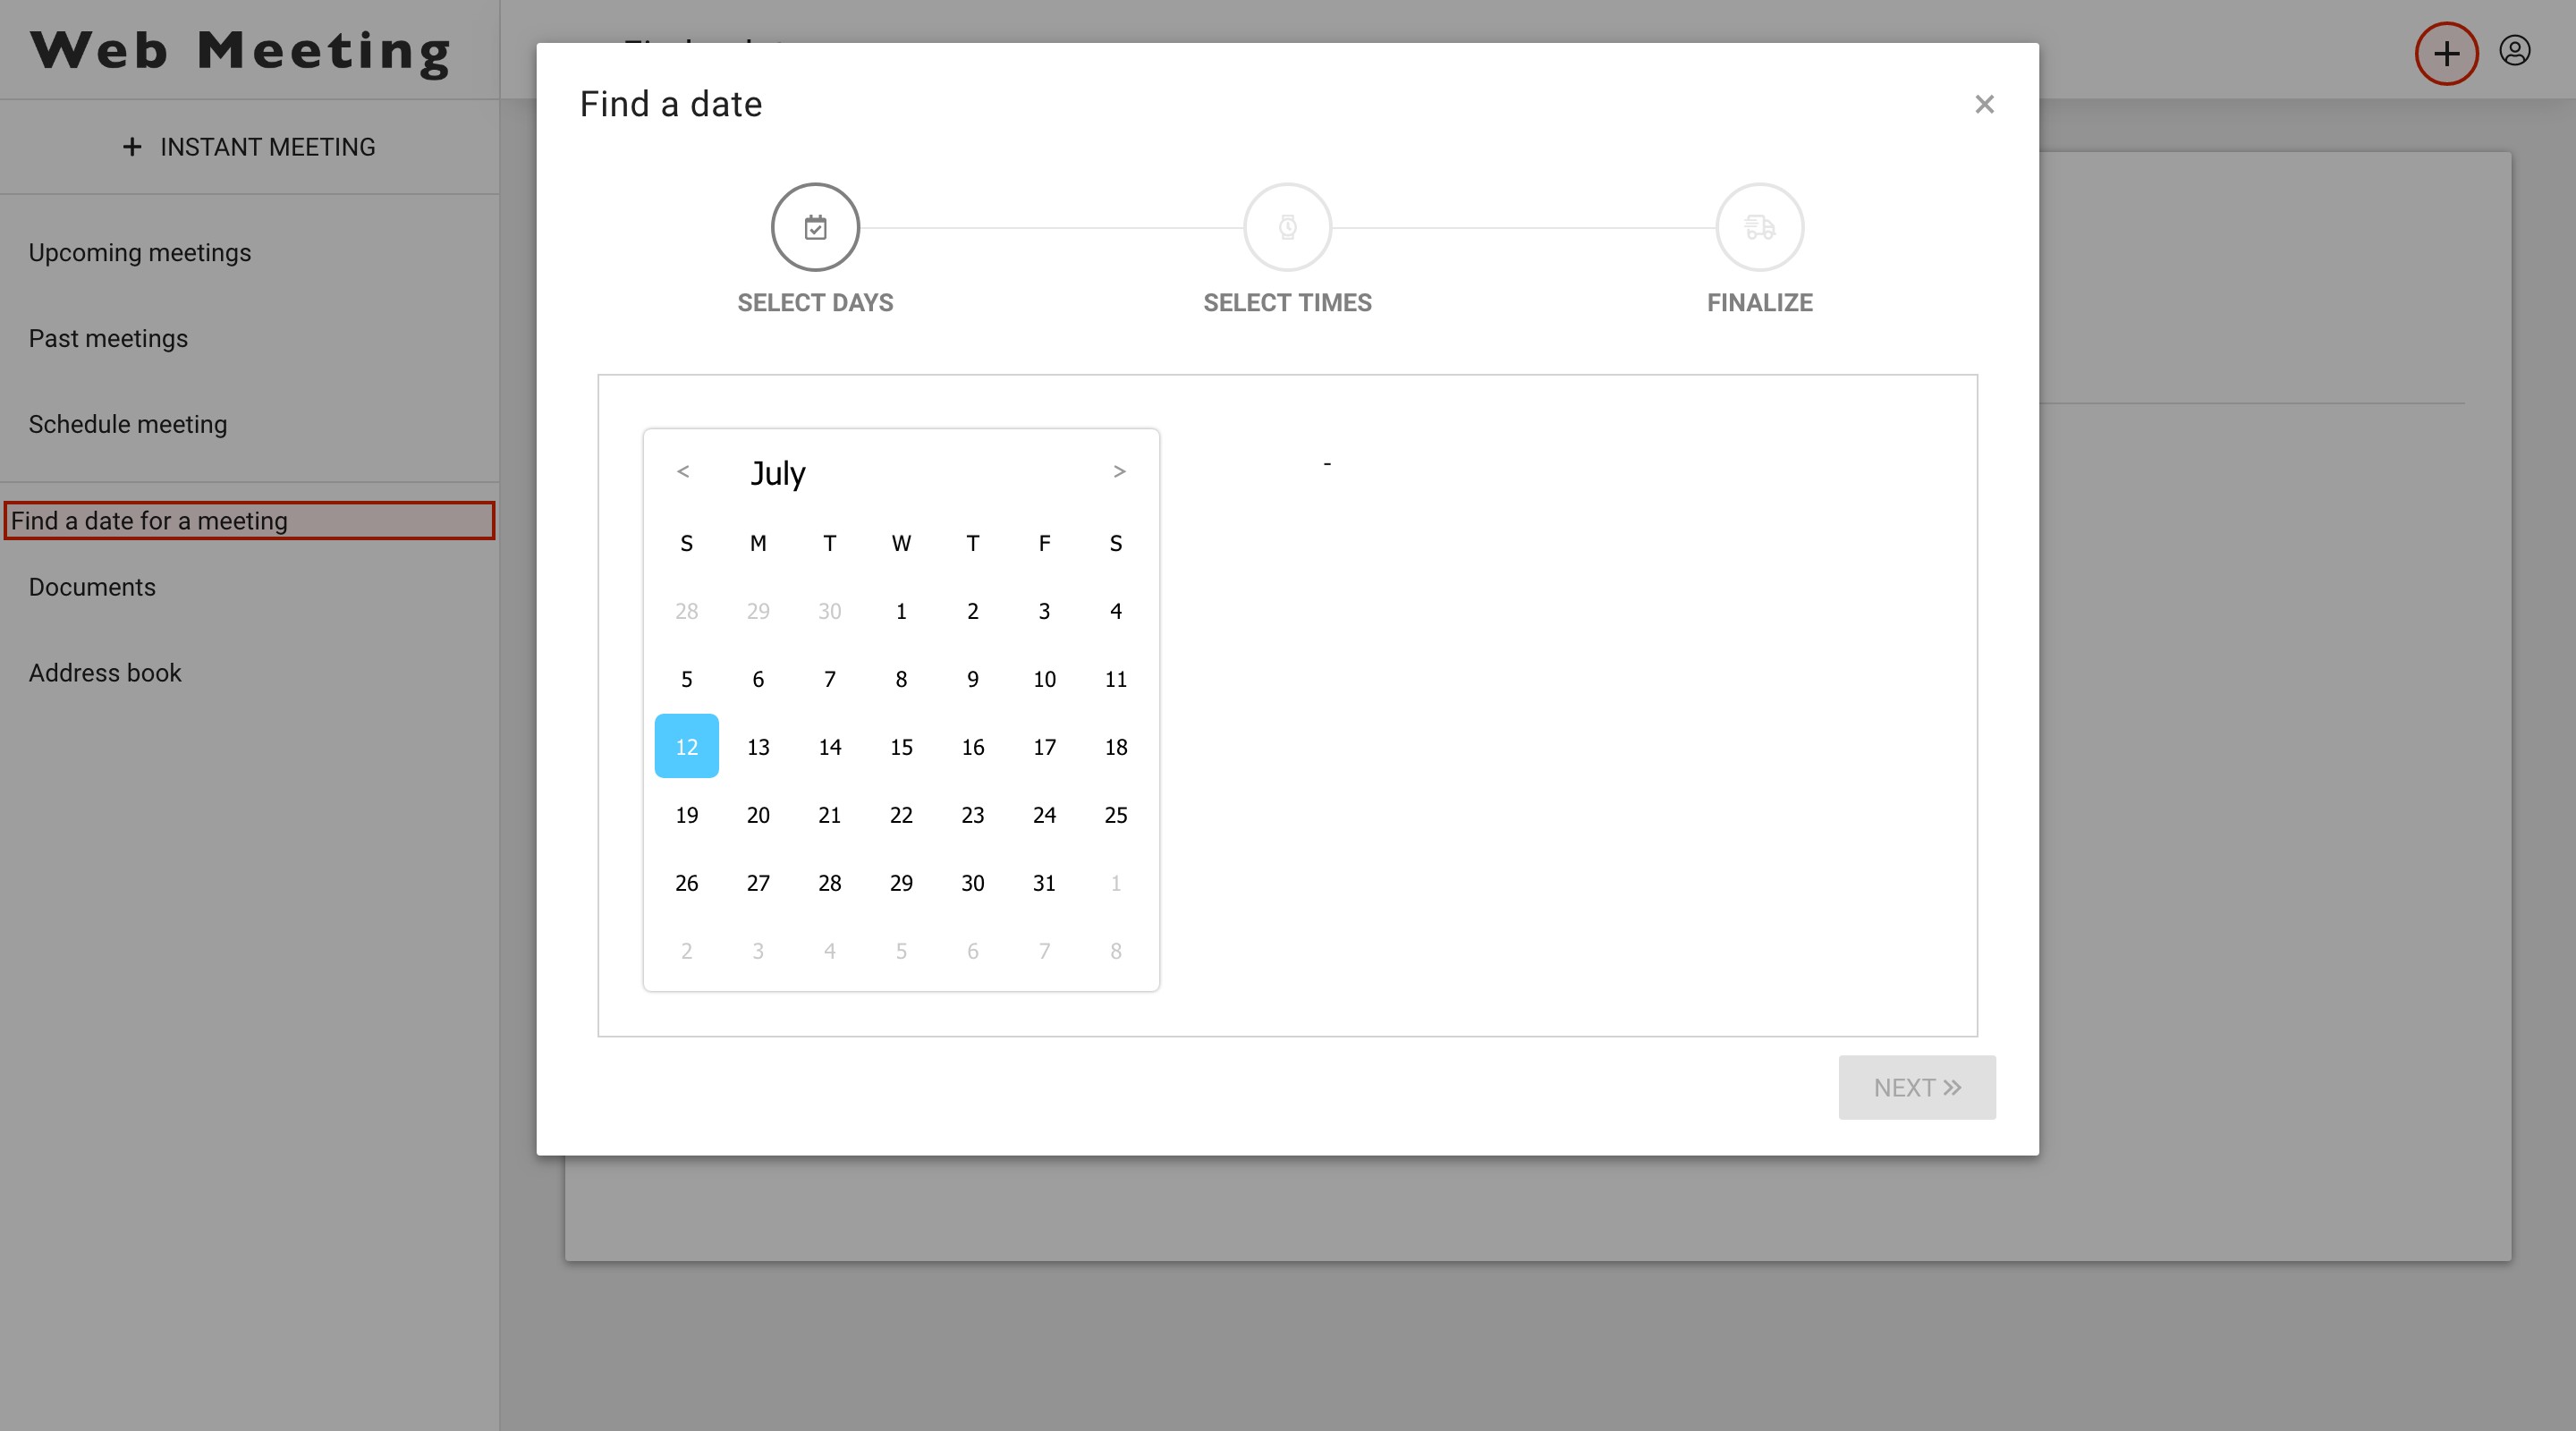
By selecting the check box(es) in front of the poll(s) you can select the one you wish to delete entirely. A red text ‘delete selected polls’ will appear in the top right corner of the interface. Click this text to delete the poll(s)
Documents
Here you can add documents to your library and will find an overview of all documents that you have uploaded in the past.
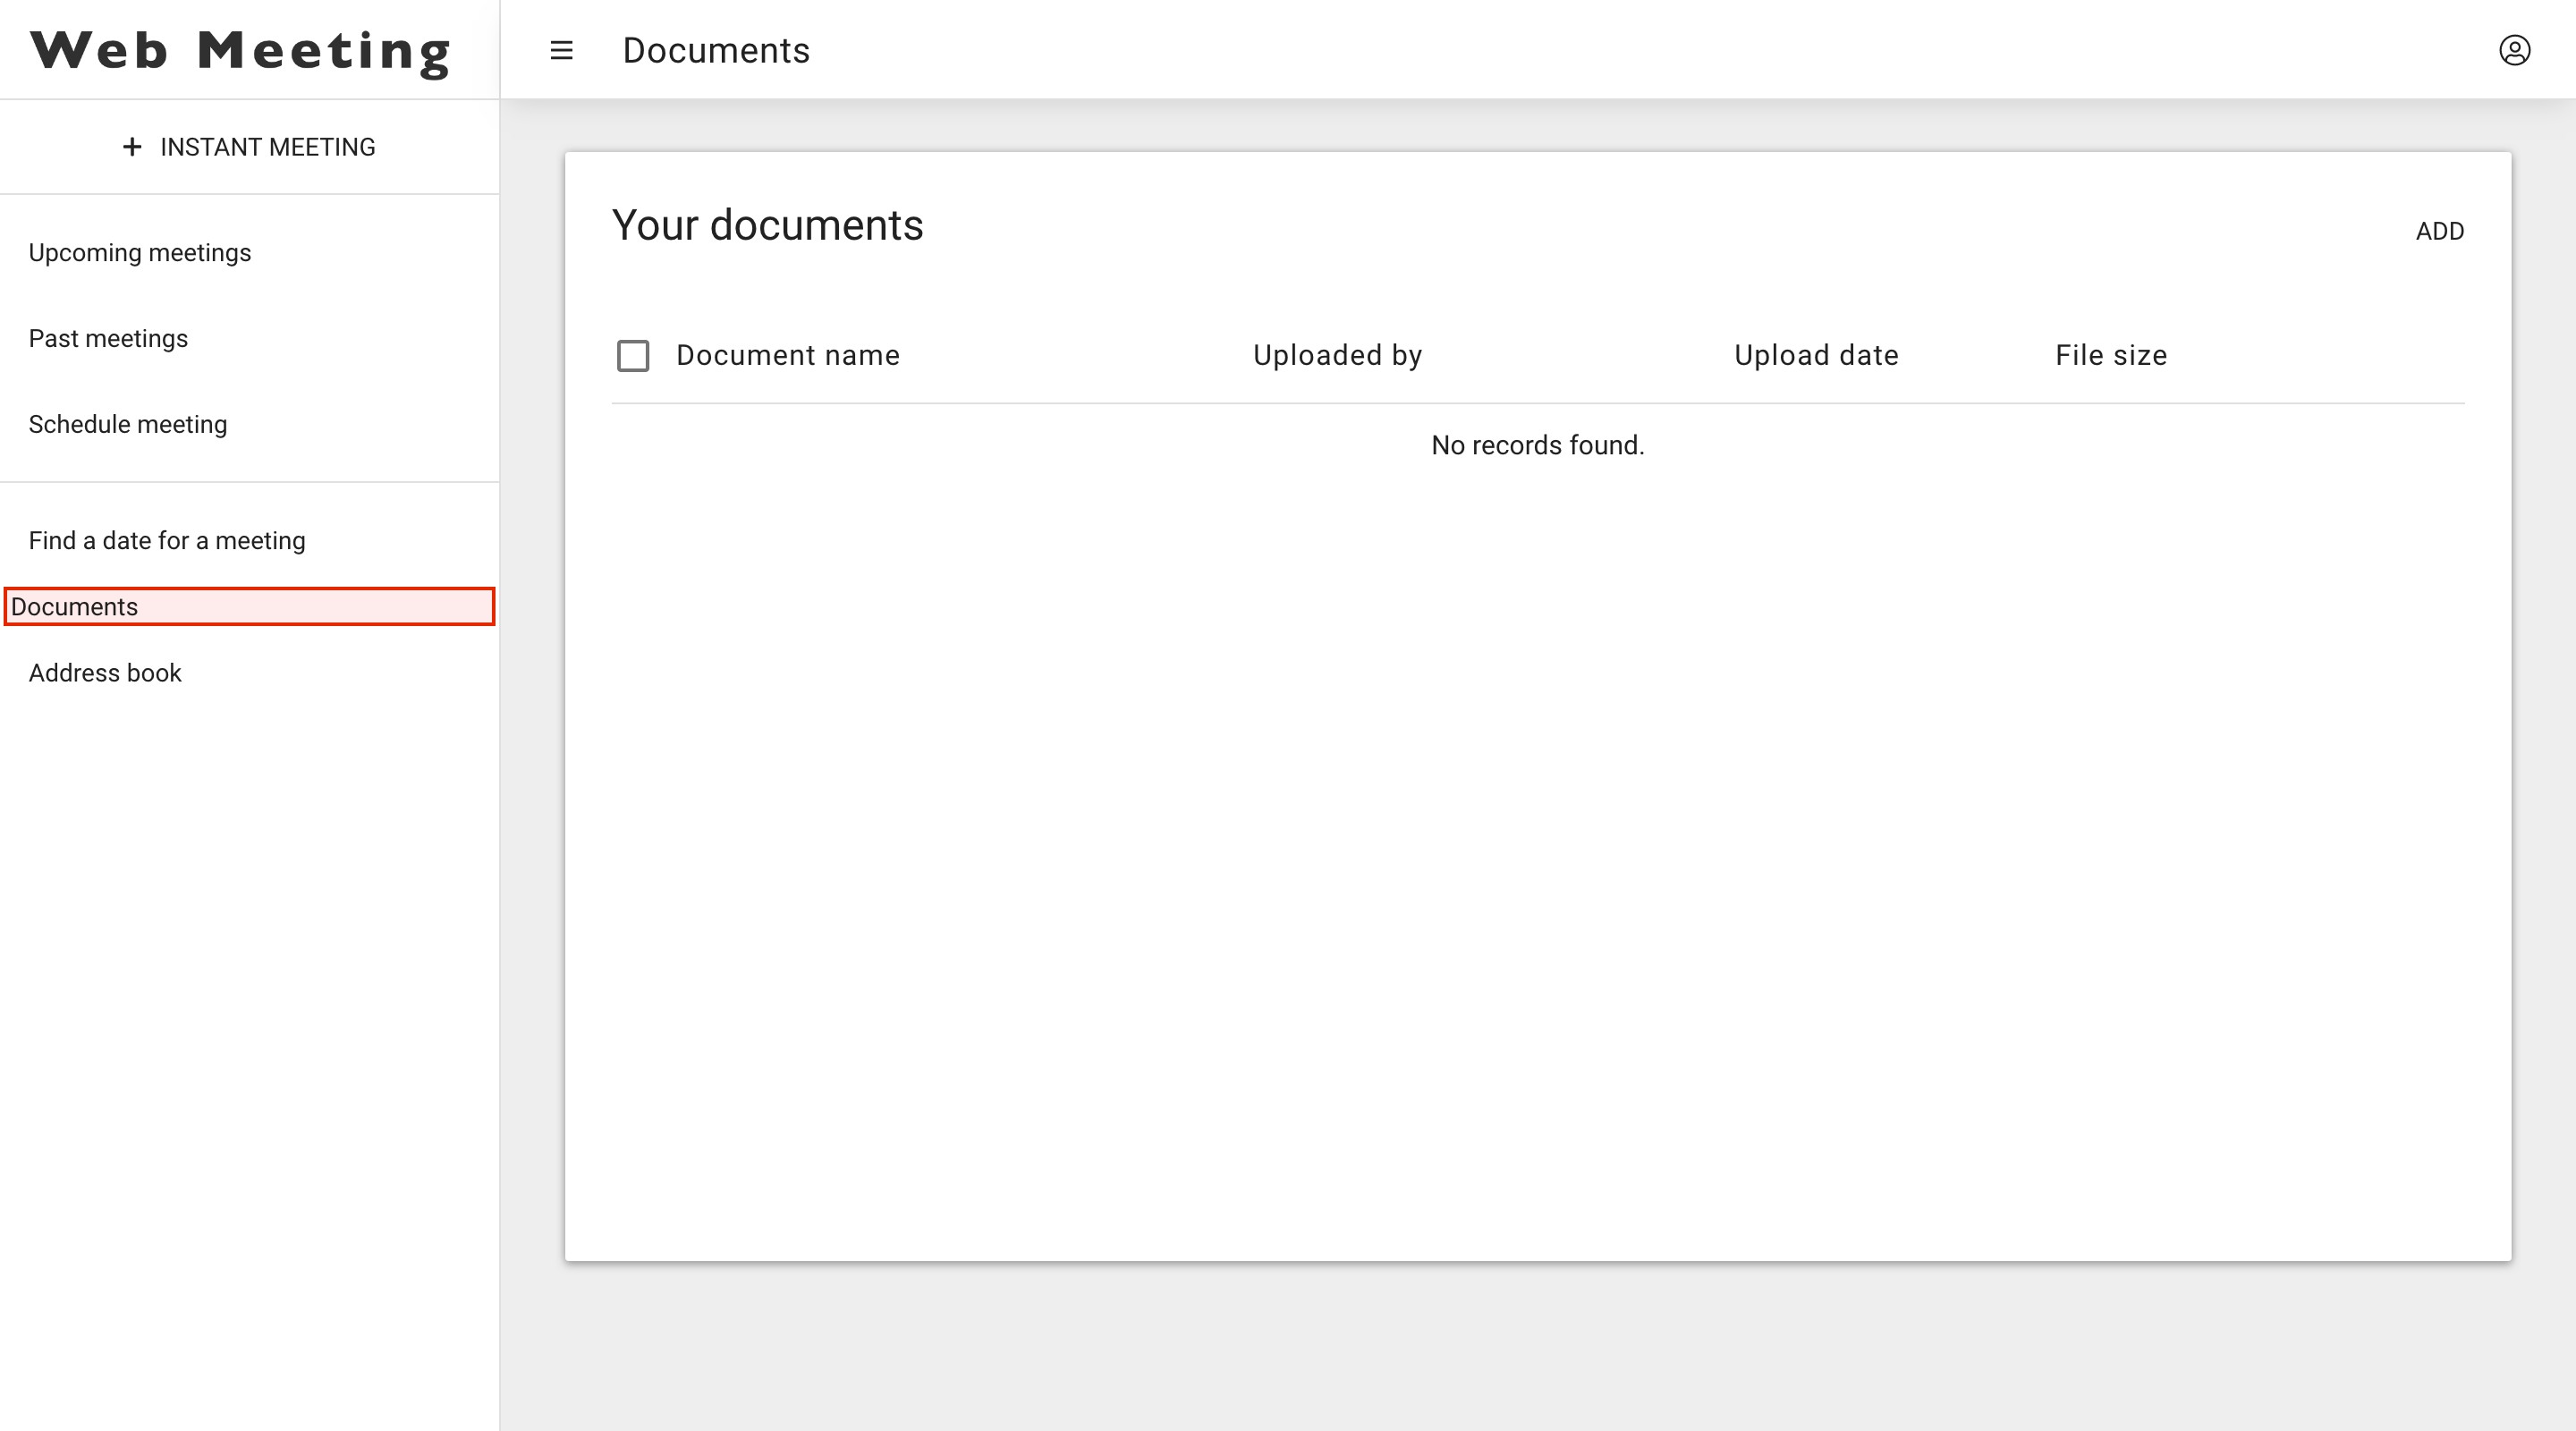
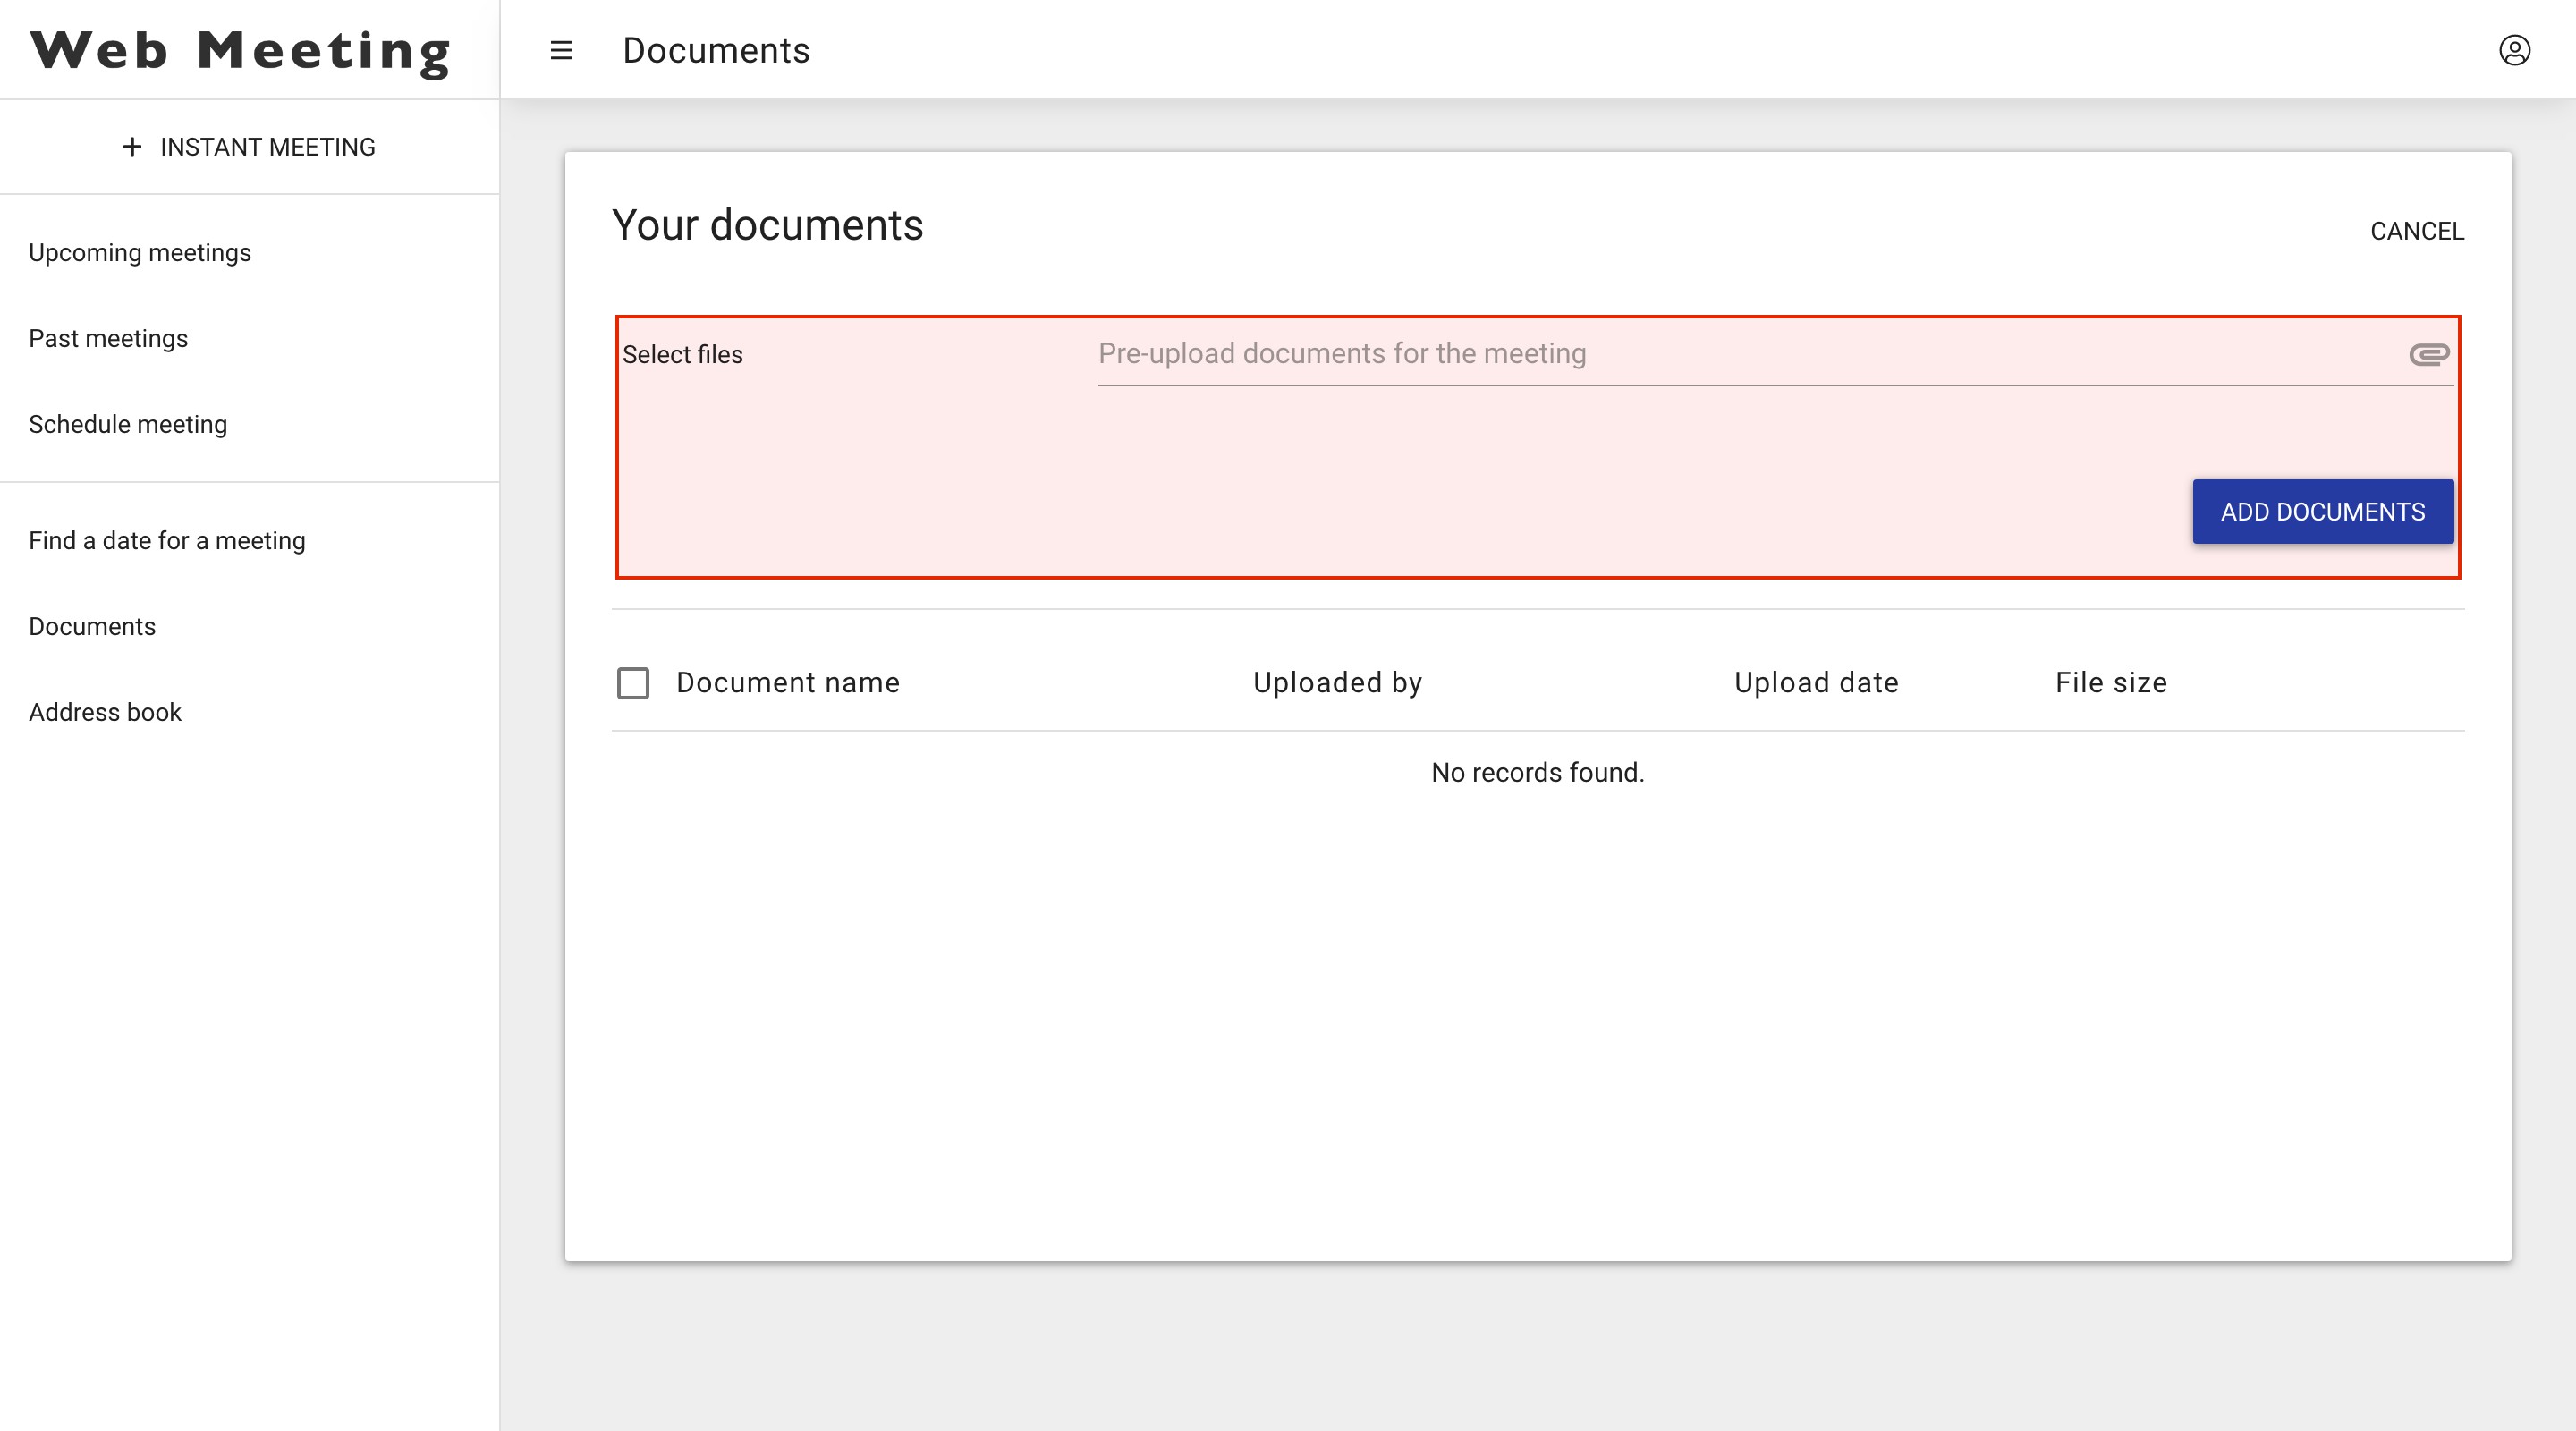
To add a new document, press the ‘add’ button on the top right corner of your interface, a drop down window will then appear.
By clicking ‘Pre-upload documents for the meeting’ you can add documents from your PC to your library in the Meeting portal. Once your desired documents are selected, click ‘add documents’. Your documents are now added to your library.
When scheduling a Meeting Room, you can as from now also add these uploaded documents from your library to the Meeting Room. (see point 3.4 : Schedule Meeting - Documents)
By selecting the check box(es) in front of the document(s) you can select the document(s) you wish to delete entirely. A red text ‘delete selected Documents’ will appear in the top right corner of the interface. Click this text to delete the document(s).
If you click on the download icon on the right side of a document, you can download that specific documents locally.
Address book
Here you can add e-mail addresses to the address book of your Meeting portal.
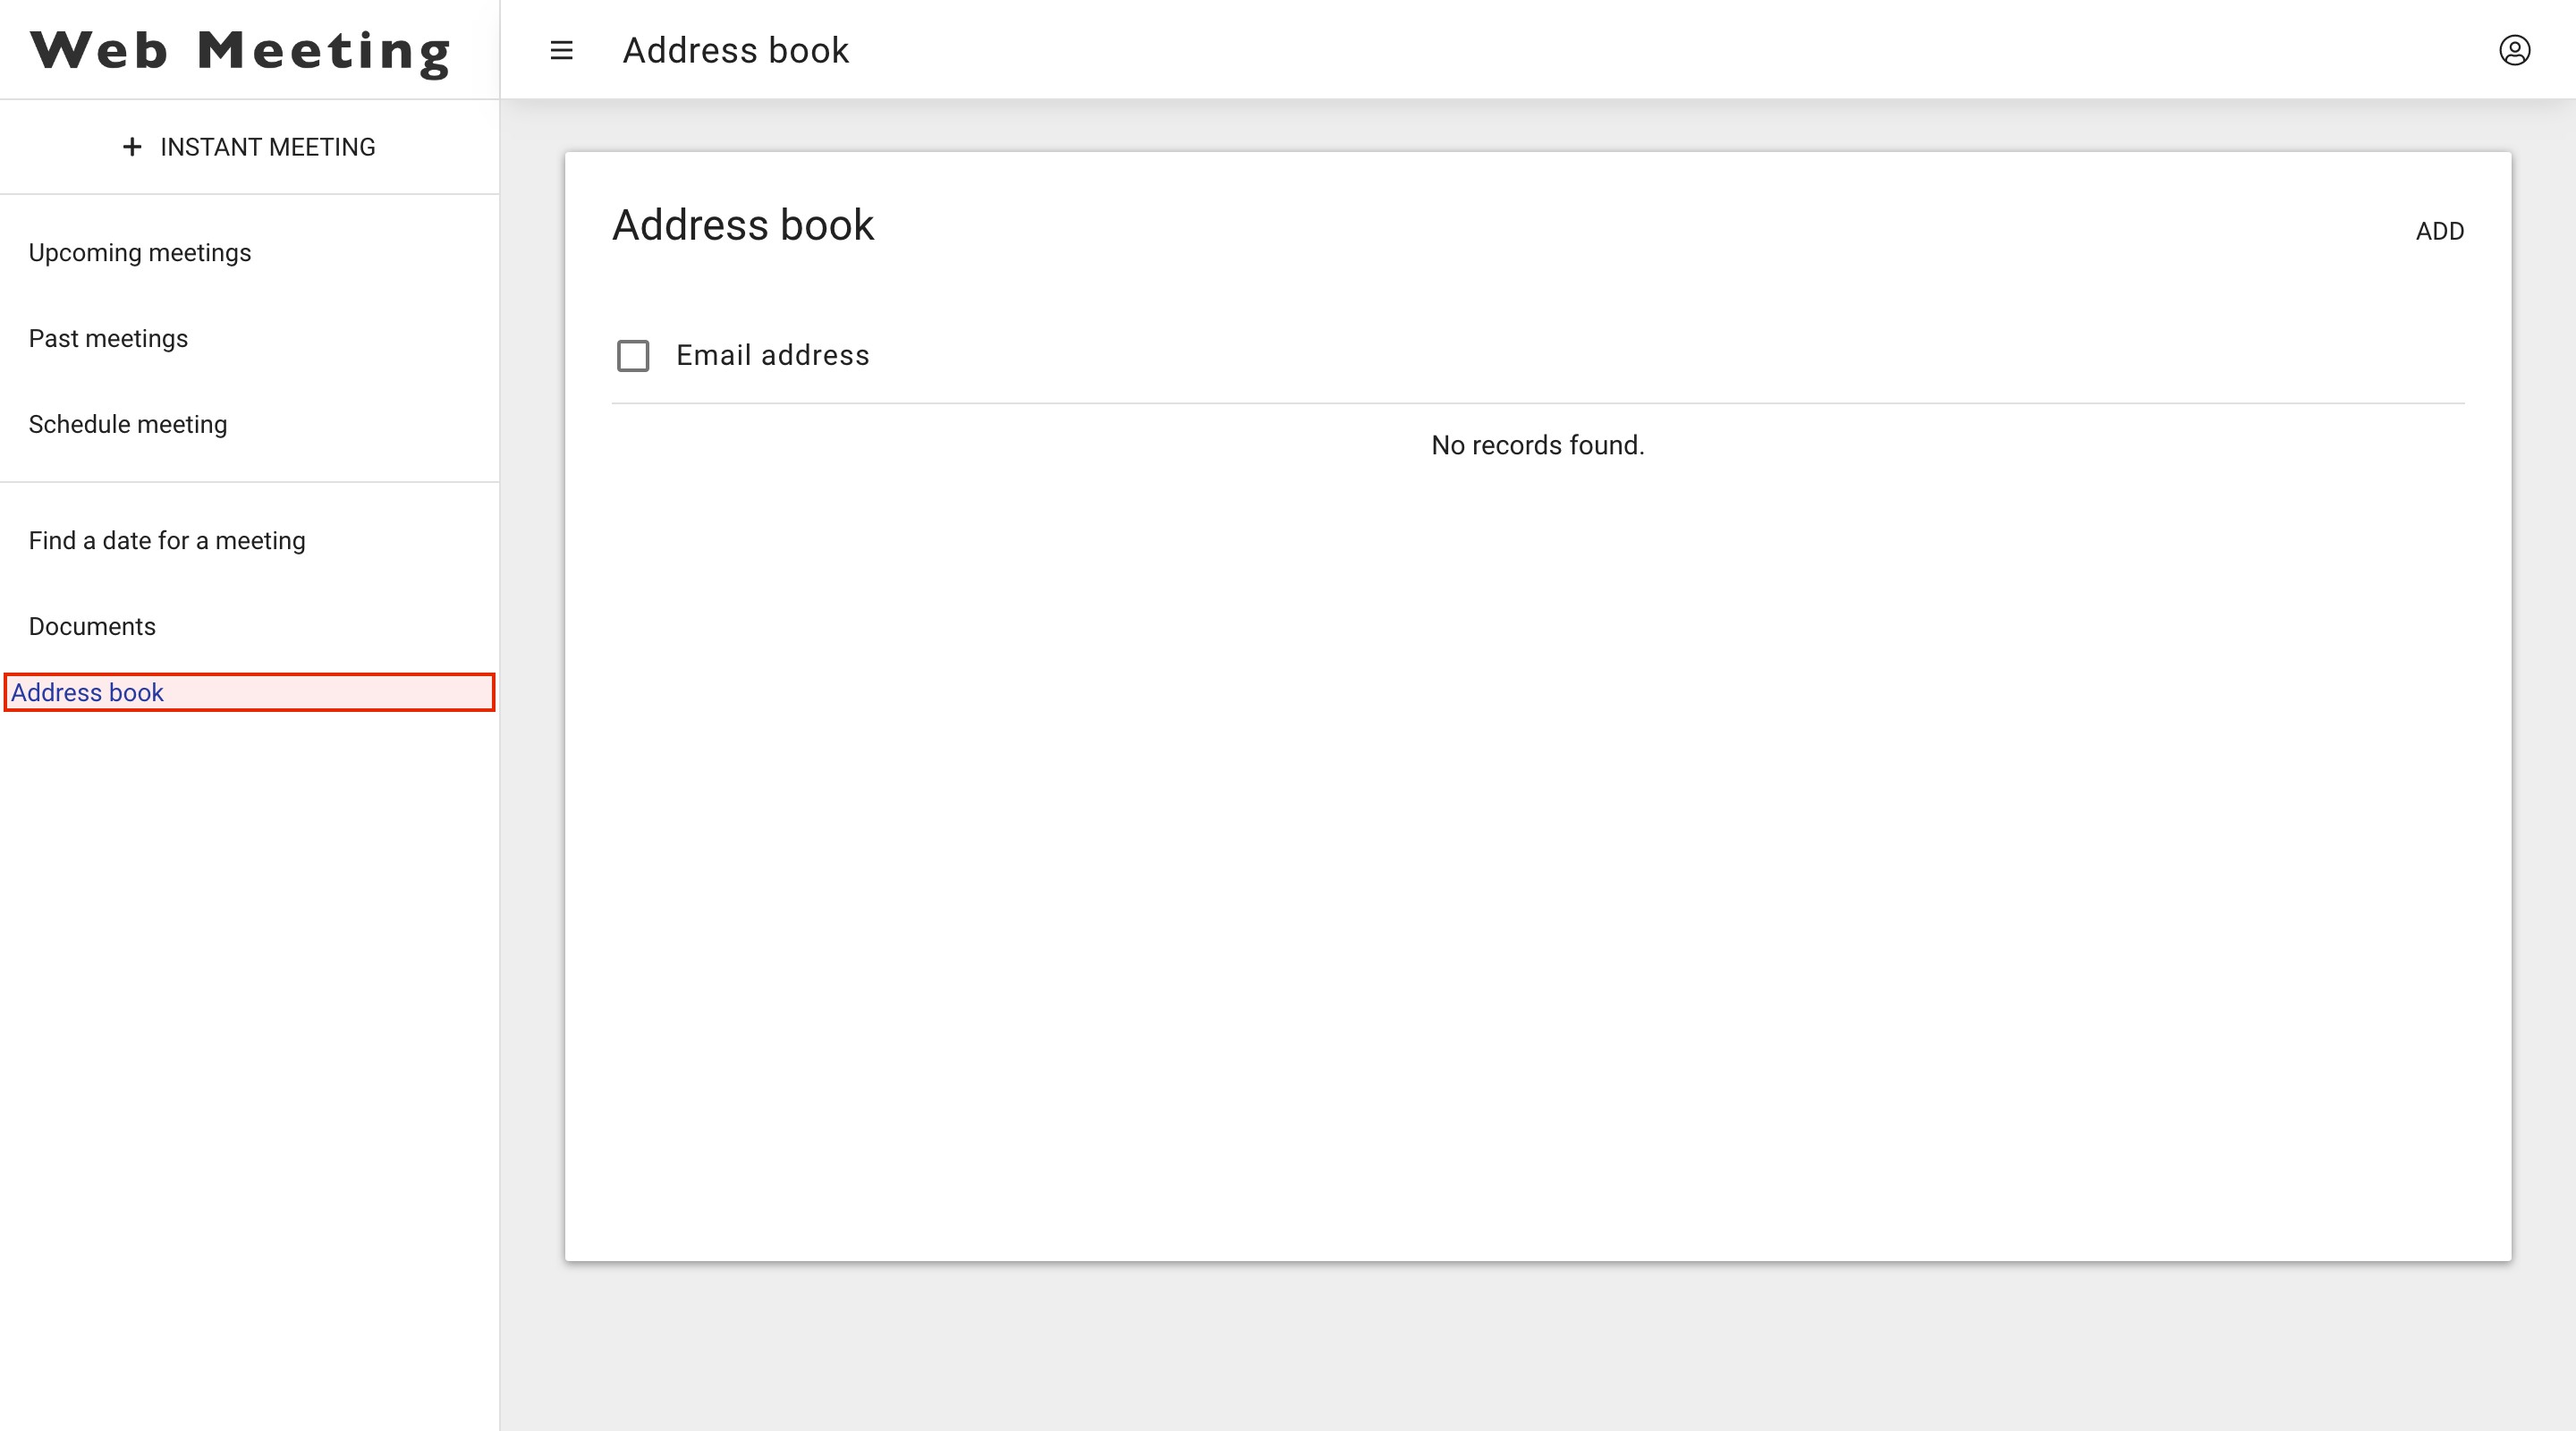
To add a new e-mail address, press the ‘add’ button on the top right corner of your interface, a drop-down window will then appear. Add the desired e-mail address into the input field and click on the button ‘add to address book’.
At the moment there is no option to bulk-import addresses. The address book is filled with the addresses of those you have added or invited for a meeting in the past. Those addresses are offered as a "type ahead" when you schedule a new meeting.
If you want to send out your invitation to multiple participants we advise you to create a meeting request in your mailing system and simply add the meeting link to this invitation. (see point 3.4.5. Invite participants (optional))
(see Invite Participants)
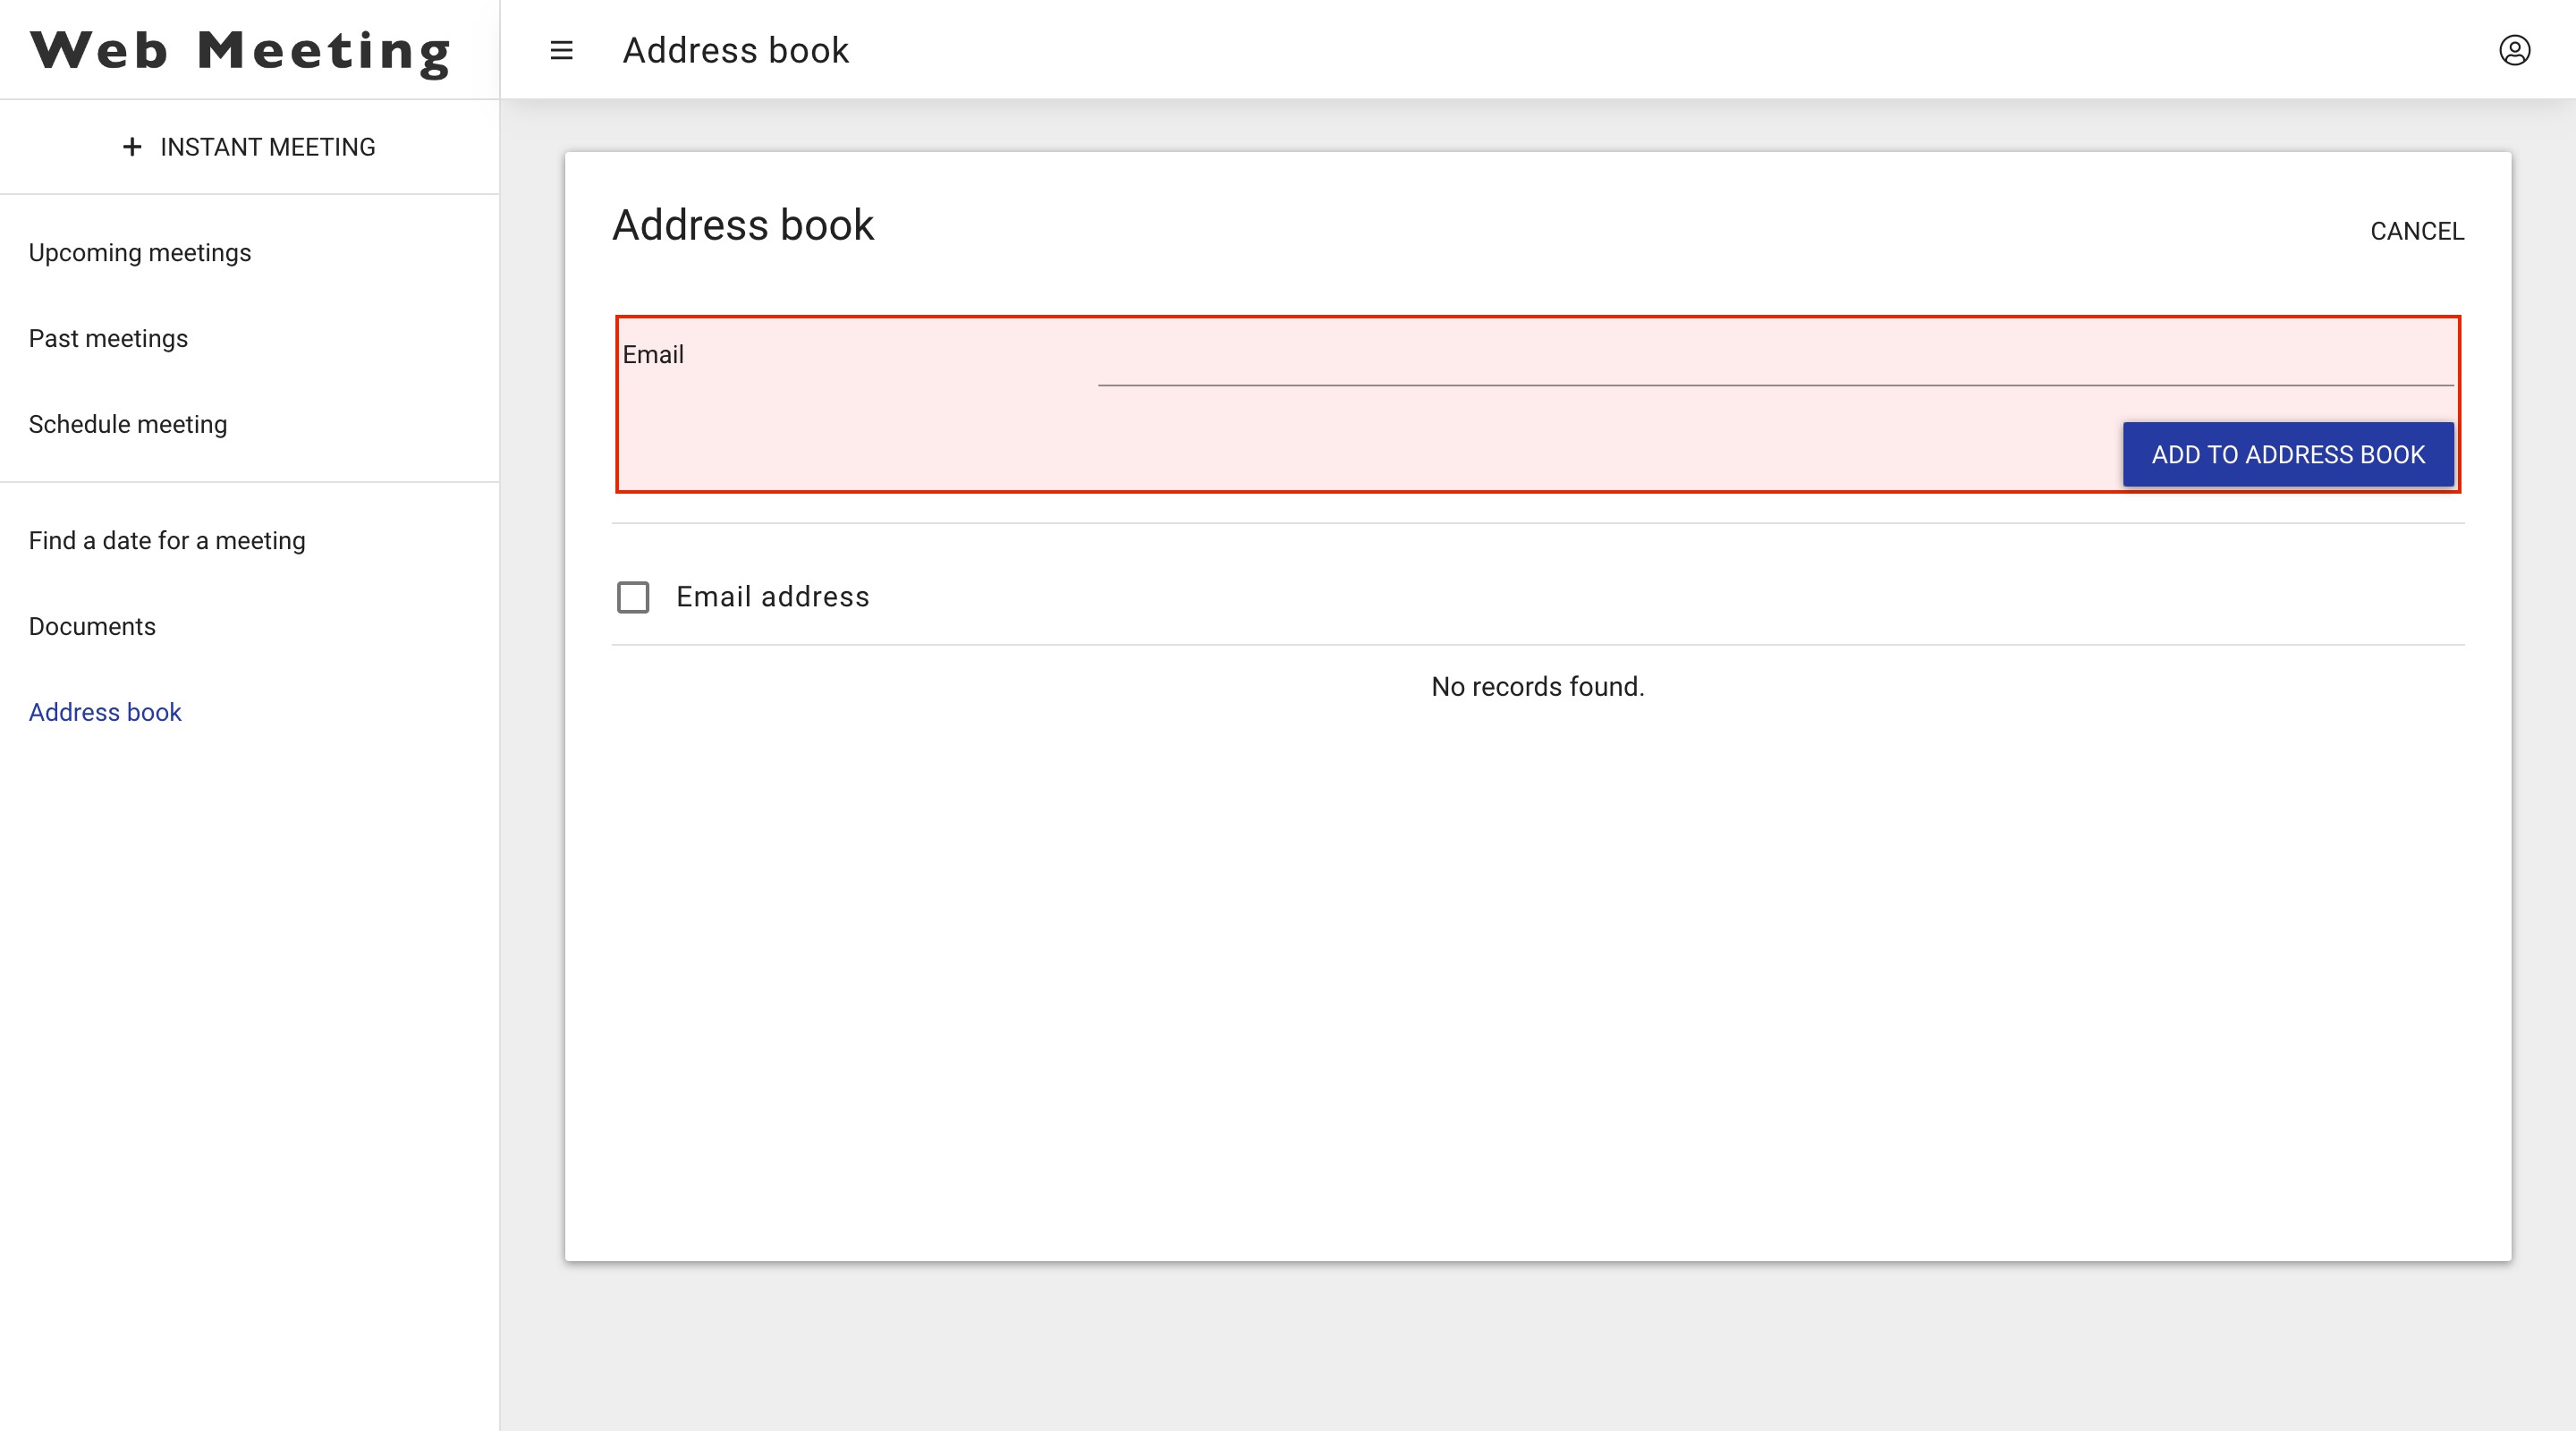
By selecting the check box(es) in front of the e-mail address(es) you can select the one you wish to delete entirely.
A red text ‘delete selected addresses’ will appear in the top right corner of the interface. Click this text to delete the address(es).
